Preparing and Facilitating a Whiteboarding Session
A whiteboarding session is a 48-hour meeting which allows you to invite any iObeya users, even if they are not part of your team. The limit is 100 users in a whiteboarding session.
Note
You can invite people without an iObeya account in a whiteboarding session only if this is authorized by your organisation. See your organisation policy.
Access your list of rooms after connecting, or click
 , then click
Start a whiteboarding session.
, then click
Start a whiteboarding session.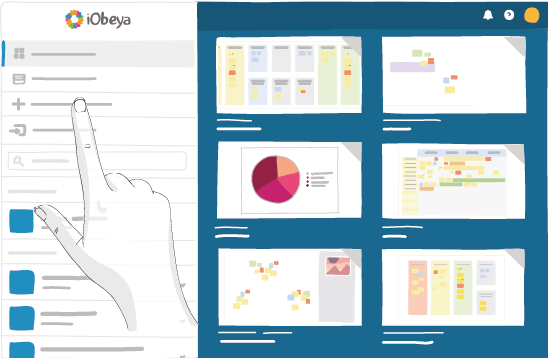
Only one active whiteboard per user is allowed. You must stop your current whiteboarding session before starting another one.
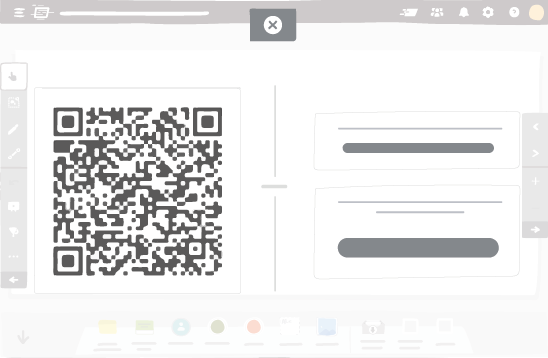
In the window that is displayed, rename your whiteboarding session and/or import an existing board.
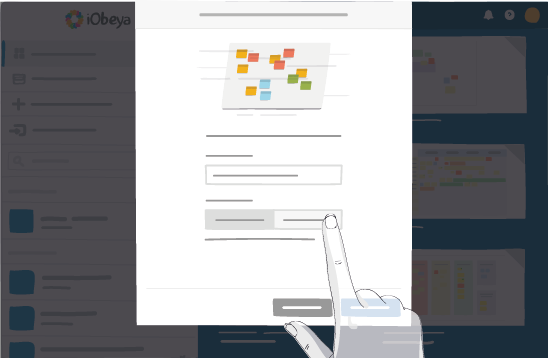
1 – Start your whiteboarding session with the default parameters
2 – Import an existing board by selecting a ZIP file on your device
Make sure the name of your whiteboarding session is not too long, as it may appear truncated in certain parts of the application otherwise.
Choose between a blank board or an imported board.
- Imported board
A ZIP file from your device. It must come from an existing board you have downloaded as part of the import-export function. The whiteboarding session starts with all the characteristics of this board (e.g., board size, background and dock).
- Blank board
A 3A0-sized board with the default dock.
Share the whiteboarding session access with your participants.
Warning
The URL in your browser address bar cannot be used to join the whiteboarding session.
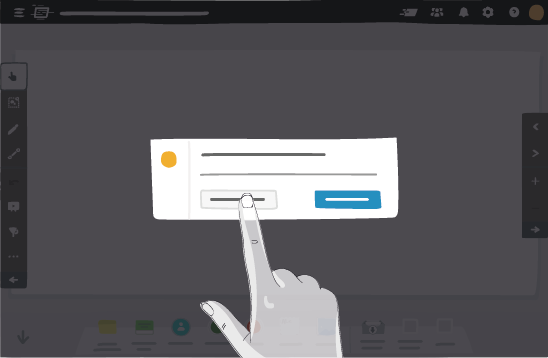
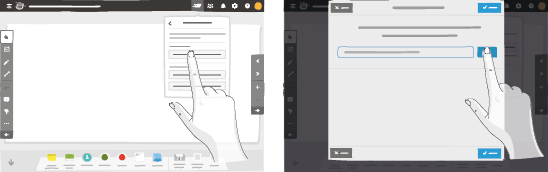
After starting a whiteboarding session, you are on a board. A window is displayed in order to provide access details for your attendees. You can copy these details onto your clipboard or simply continue.
A URL and a whiteboard code are generated for each whiteboarding session you start. This allows any user to access your whiteboarding session (100 users max.). They do not have to be iObeya users for you to invite them to the session. However, if they are not, they have to create an account before they can join it.
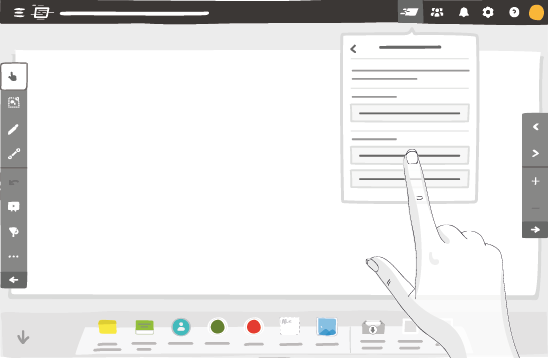
- When you are on your whiteboard, click the whiteboard icon
 on the top right of your screen, then click Give access to the whiteboarding session. In this way, you can copy
these details onto your clipboard and share it with your attendees.
on the top right of your screen, then click Give access to the whiteboarding session. In this way, you can copy
these details onto your clipboard and share it with your attendees.
- You can highlight the whiteboard information on the screen, which may be useful when your attendees are in the same room and need to join with their mobile device or laptop.
- You can send private invitations by email. Click the whiteboard icon, then Give access to the whiteboarding session. Click the uppest button in order to open a window. This allows you to type the email addresses of attendees you intend to invite.
Welcome to your whiteboarding session. You are ready to use the board with:
- Several tools from the dock by default
- All the board utilities
Tip
- Editing of the dock is not enabled during the whiteboarding session. However, when starting the session, you can import a board with a fully configured dock.
- Compared to a standard board, the whiteboard has few parameters.
- To change the board background
Click
 on the top right of your screen, then click
Change parameters ‣ Board background catalog.
on the top right of your screen, then click
Change parameters ‣ Board background catalog.You can change the background even when your attendees are already collaborating on your whiteboard.
- To download the board
- Click , then click Download the board ‣
Download (ZIP).
- To Display the Time Remaining
Click
, then click Display information.Just below the editor information, there is the remaining time for your whiteboarding session.
Stopping a whiteboarding session is irreversible; if you do intend to stop it, participants should be informed.
- To End the whiteboarding Session
Click
, then click End your session.After clicking, the action must be confirmed—as at the end of the whiteboarding session, you and the participants would no longer be able to collaborate on the Whiteboard.
Whiteboarding sessions automatically end after 48 hours.
- To export or download the board at the end of the session
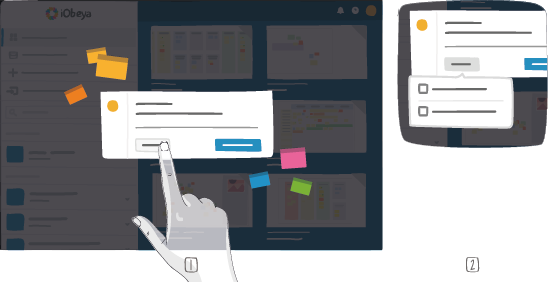
1 – The facilitator screen after stopping the whiteboarding session
2 – Two downloading options are available
After stopping the whiteboarding session, you are going to see a window, from which you can retrieve a visual export of the board. A visual export comes in two forms:
- A ZIP file that contains all the board content and its dock tools, as well as its parameters (e.g., format and board background);
- A PNG image of the board.
These visual exports are available for a 30-day period following the end of the whiteboarding session. They can be found via the list of your rooms or by using the Whiteboard URL.
- To return to iObeya
Click Back to home page on the right of the window to return to the home page.
Your whiteboarding session starts! You are now able to collaborate with your attendees. You now know everything there is to know about facilitating a whiteboarding session. You might want to also participate in one.