Adding Elements to Your Planning Board
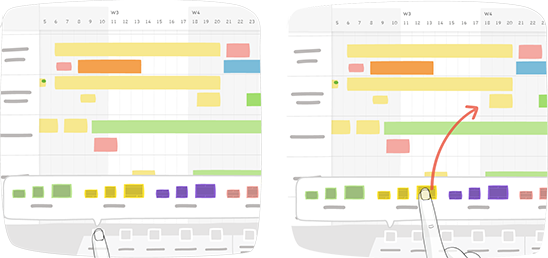
Click a planning board.
Click a tool in the dock, then drag and drop an element onto the board.
- Activity with a start date and end date
You can use a resizable element to represent an activity spanning a certain period.
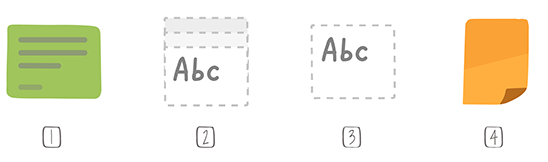
1 – Activity card
2 – Label
3 – Free text
4 – Roll
An activity card tool is created by default when a new planning board is created. You can modify the tool to fit your requirements.
The start and end dates of an activity are determined by the position and width of the element on the planning board. In order to modify these dates, simply move or resize the element.
A resized element can be displayed on several rows at the same time.
- Activity with a single date
Use a non-resizable element in order to represent an activity with the same start and end date.
For non-resizable elements, only their position on the planning board determines the date and row to which they correspond.
To position an element on the correct row and at the desired dates, use the indicators present on the headers. A non-resizable element can only be present on one row.