Jira Add-On for iObeya
Introduction to Jira Cards
The Jira card is a new tool that enables the visualization and management of Jira issues in iObeya.
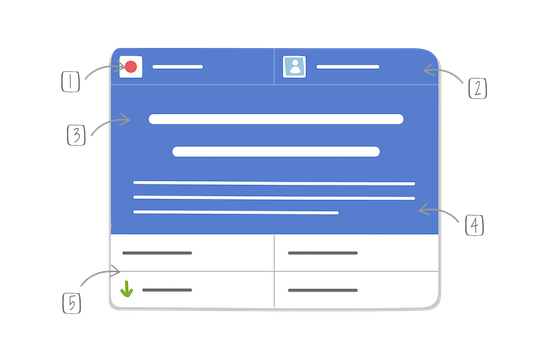
On a Jira card, you can visualize:
- the number and issue type,
- the assignee (editable in iObeya),
- the issue title (editable in iObeya),
- the issue description (editable in iObeya),
- four customizable fields, including labels, fix version/s, component/s, due date, etc. (editable in iObeya).
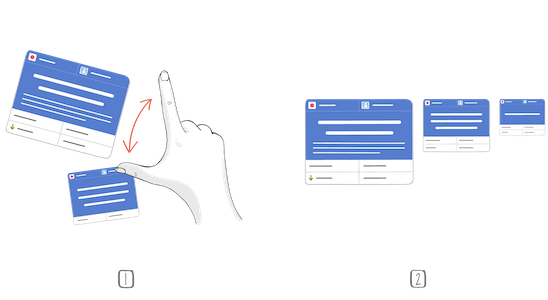
1 – Greater level of detail when zoomed-in
2 – Available in three sizes: small, medium and large
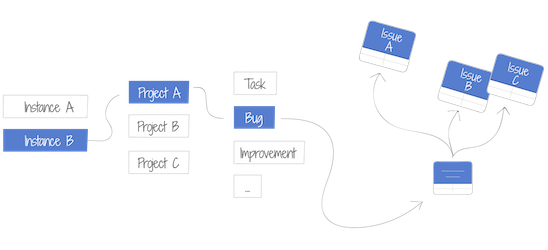
To assign an issue to your Jira card, every card type needs to be linked to a specific issue type from a specific Jira project (e.g. a card type representing all Bugs from Project A hosted on Instance B). You may create several types of card linked to the same issue type from the same Jira project and then choose different fields to monitor specific information in different use cases. Fields at the bottom of the card are customizable.
Jira Instance Configuration
As a room administrator, the first step is to choose all the Jira instances that you and your team are planning to connect to.
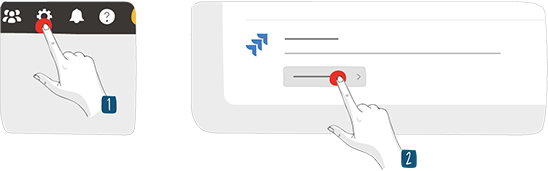
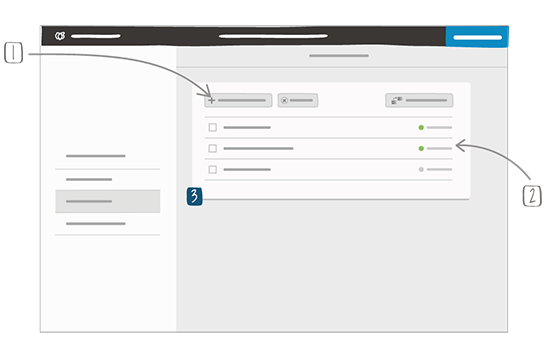
1 – Add an instance
2 – Shows which instances you are connected to
Configure the Jira utility from the room settings.
Manage your instances.
Add, migrate or delete the instances that is needed to define your Jira cards’ settings. Migration allows you to replace a Jira instance with another in the room’s tools and in the cards placed on the boards.
All Jira instances need to be registered and configured properly in iObeya administration before you can select them and use them in your Jira card tools. If not, they are tagged as Invalid in the list.
Connecting to Jira
Before you can configure and manipulate your Jira cards, you need to be connected to the related Jira instance. All Jira instances used in the room and to which you are not connected are displayed:
- in Jira card utility menu,
- in tool editing option panel,
- and in bulk import screen.
Tap the links to connect to each instance.
Jira Card Configuration
Note
To configure the Jira card tool, you need the following permissions in Jira: Browse project and Create issue.
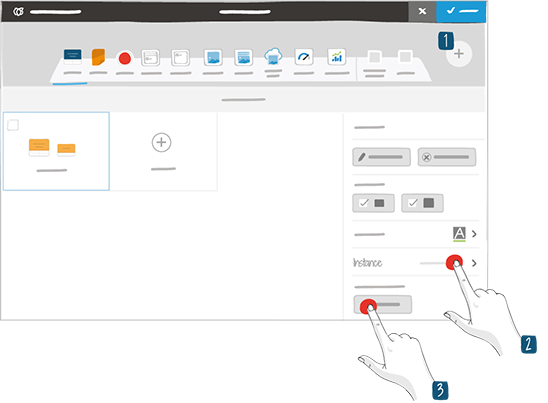
Add the Jira card to your dock from the Cards category of the tool catalog.
Choose an instance.
Note
To add an instance from the Jira card tool, you need the following permissions in Jira: Browse project and Create issue.
You can select only the ones you are connected to.
Click Modify.
Select:
- a project,
- an issue type,
- a card template.
Assign an issue type fields from Jira (fix version(s), labels, description, etc.) to each box at the bottom of the card.
Warning
For a field to be available in the card configuration, it has to be added to the “Create issue” screen in Jira.
Check Atlassian documentation for more information.
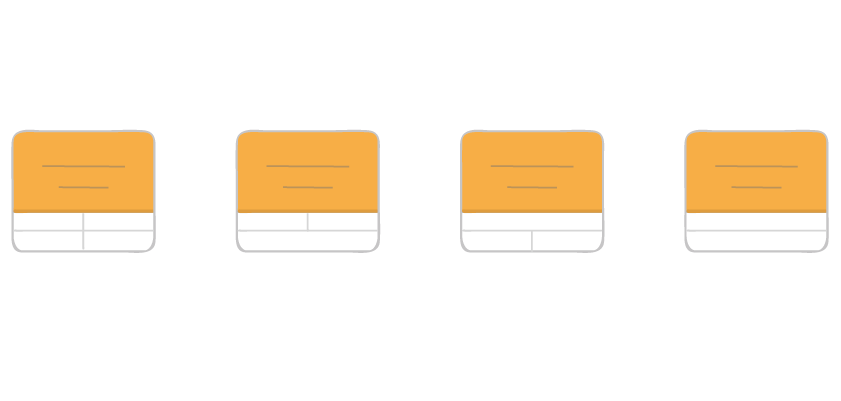
Example of the different layouts possible
- Click Save.