4. Historical Data Management
4.1. Historical data
Historical data is based on selected board time window when you create your QCD board.
Example:
With a monthly board time window, it is possible to create historical data over the time window representing a calendar month: January 2024, February 2024, etc.
Here is the data list and QCD configurations specific to each historical data:
- List of indicators defined in the QCD letters
- Values entered in indicators
- Indicator thresholds in QCD letters
- QCD letters description
- Labels of custom cut-outs defined for the current time window. These labels can be saved between two different time windows when you create a new time window.
Note
These data are stored in each historical data and loaded with it. They are only displayed when the historical data for the corresponding time window is loaded following a time window change (or when the board is loaded).
Here are the global QCD configurations for a board:
QCD letters
Global thresholds for QCD letters
QCD Actions created
QCD Table description
QCD Chart description
Note
These configurations do not change when you change time window.
4.2. Creating the first historical data
When you create a QCD board:
By default, the board:
- contains no QCD letters,
- is set to the current time window corresponding to the selected time window when you create the board.
Examples:
| . | Date value according to the type of time window | ||
|---|---|---|---|
| Current date | Annually | Quarterly | Weekly |
| January 1st, 2024 | 2024 | Q1 | W1 |
| July 14th, 2025 | 2025 | Q3 | W29 |
- No time window historical data is created at this time: the time window historical data list is empty.
Creating the first letter in the board triggers the creation of the first historical data for the current board time window. This first historical data appears in the historical data view.
You can then change the time window. The data for each time window is saved each time and can be reloaded by selecting one of the entries via the view of the historical data or the time window change.
4.3. View of Historical Data
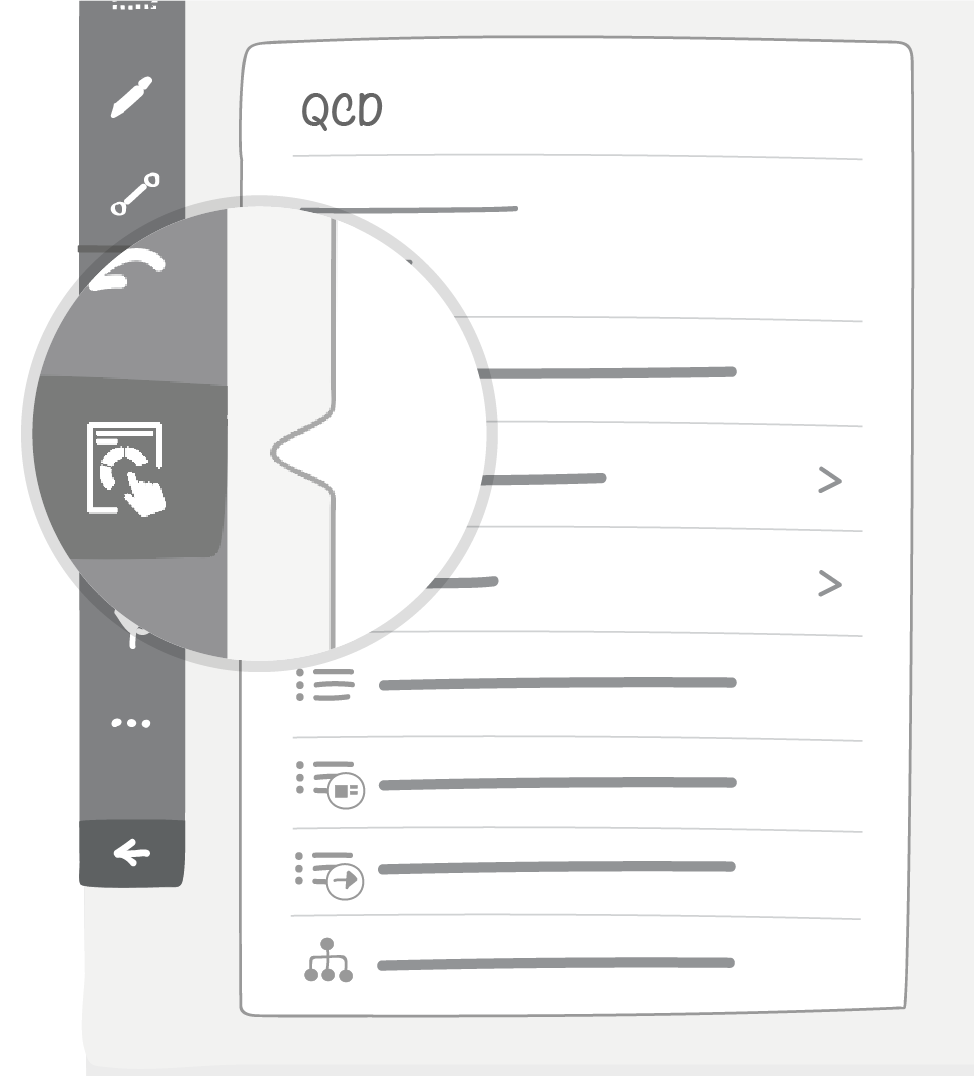
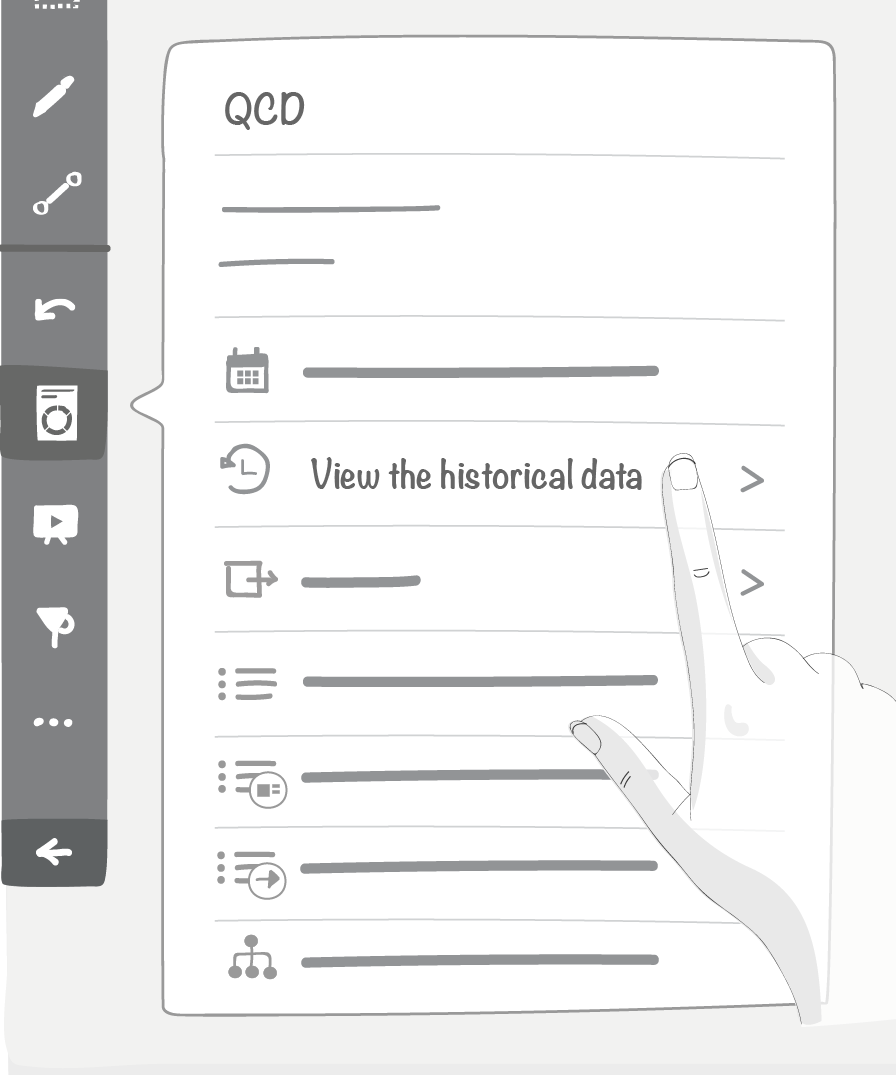
You can access historical data from the utility bar on the left hand side of the screen.
This historical data view lists all the time window historical data that have already been created on the current board.
By selecting a time window from the historical data list, all historical data is restored in QCD letters and QCD board elements such as charts or indicator tables. The latter are automatically updated with data from the selected time window.
Note
You can only use the historical data view to load existing historical data. This view does not allow you to create a new time window.
To create a new time window, use the time window change menu. See the following section Creating/Changing a time window to view historical data to find out more.
4.4. Creating/Changing a time window to view historical data
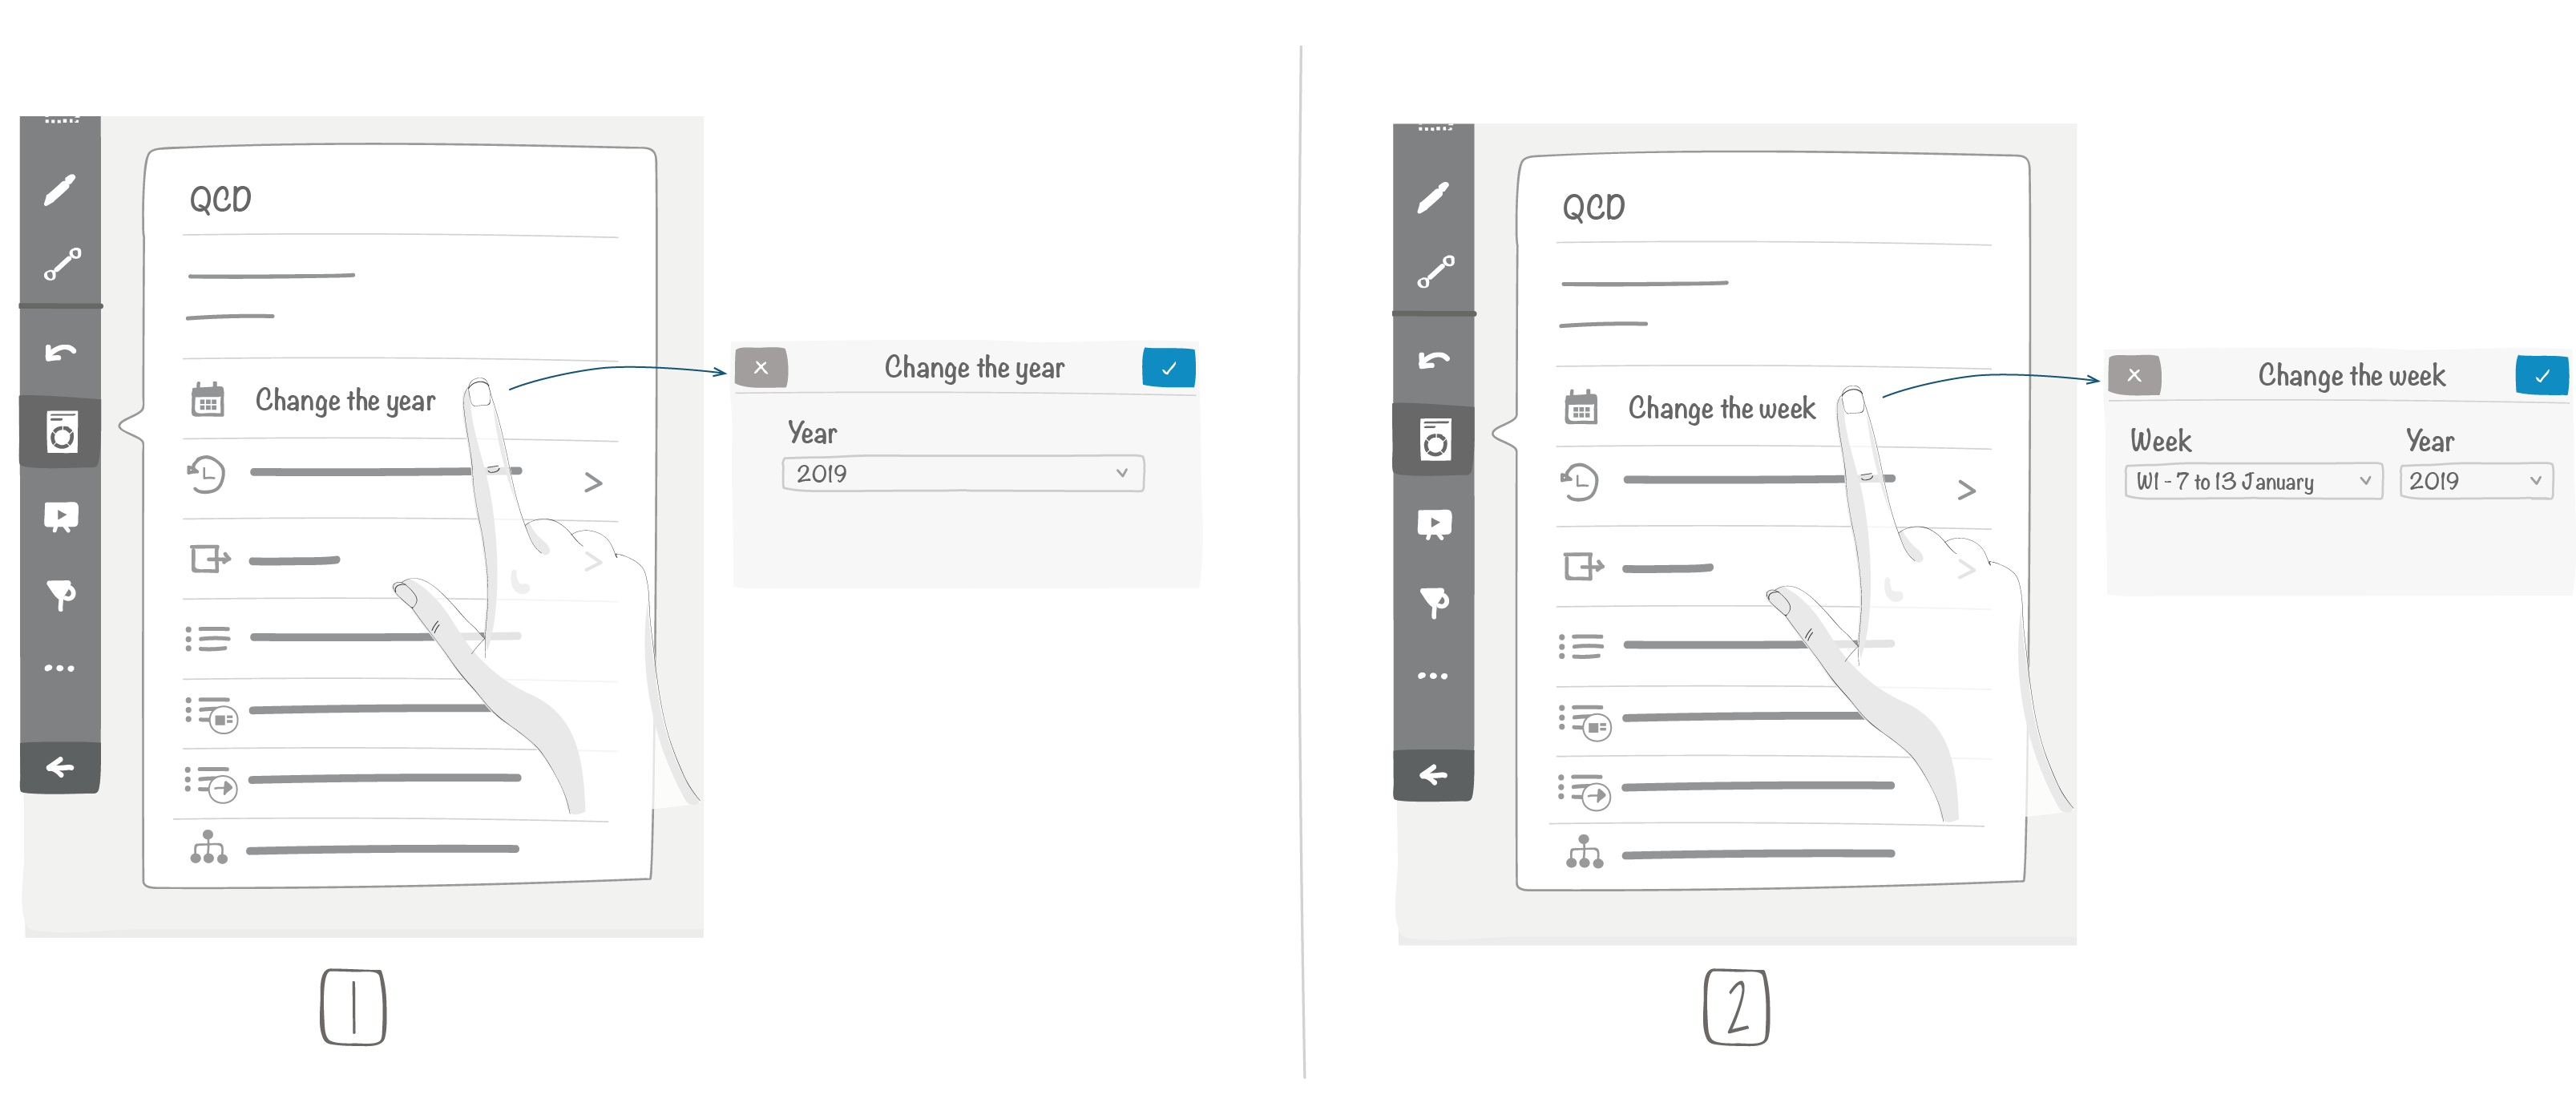
You can change time window from the utility, by selecting the options shown below according to the frequency set on the board.

Annual frequency
Weekly frequency
To change the time window (or create a new time window historical data):
- Select the desired time window from the time window change interface.
- Confirm the time window change.
This action allows to:
load data for a time window whose historical data has already been created.
Note
Each time window historical data is unique. It is therefore not possible to create a historical data twice for the same time window.
If a time window historical data exists, changing this time window to the new one load the data from the existing historical data. This process is similar to loading a time window from the historical data view.
create a new time window historical data if it has never been created before. The historical data for this time window then appears in the historical data view.
When creating a new time window historical data:
The configuration of the new historical data is based on the configuration of the time window on which you are positioned when you create your historical data.
Example:
If the board is positioned in October and a time window historical data is created for November, then indicators created in the November time window remain the same as those created in October. They are duplicated in this time window.
If the new time window historical data is made from September onwards, indicators for September are duplicated.
This allows:
to avoid having to recopy the configuration from one time window to another. Most of them are similar.
to maintain continuity between the indicators of the previous time window and the newly created time window. During this time window historical data creating process, the link between the indicator of the previous time window and the new time window is established.
This continuity is important for preserving consolidation-related configurations, as well as for displaying long-term charts and tables showing the evolution of the same indicators over time.
When a time window historical data has been created, it behaves autonomously.
Any changes made in the previous time window are not taken into account in the new time window. Conversely, any changes made to indicators in the new time window are not copied to the previous time window.
Therefore, it is recommended to:
never create a time window historical data too far in advance.
create a new time window historical data only when the configuration from which you are generating this historical data is unlikely to change.
This autonomy of historical data means that your indicators can evolve over time without impacting previous historical data.
- If a time window historical data is created too early, and with the wrong configuration, it can be deleted to reinstantiate the time window correctly. See the following section Deleting data history to find out more.
4.5. Delete data history
Note
Only room administrators can delete the data history.
From your board, click the QCD utility.

Click View data history.
Click Manage data history.
Select the time windows you want to delete.
Tip
You can select time windows over several years.
Click Delete data history selected (N).
