Azure DevOps Instance Configuration
As a room administrator, the first step is to choose all the Azure DevOps instances that you and your team are planning to connect to.
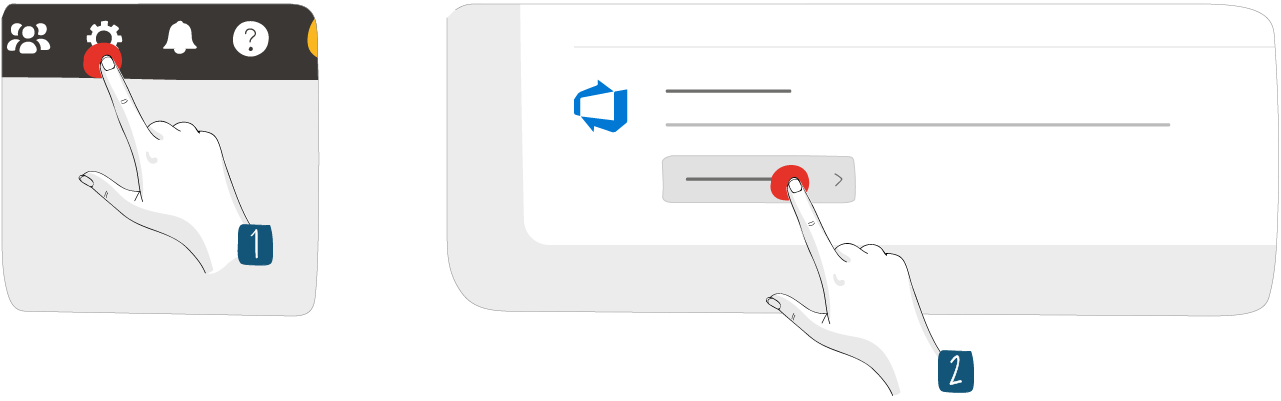
- From the Room settings, click Utilities.
- Click Configure the utility.
This page allows you to manage your instances.
Add a new instance
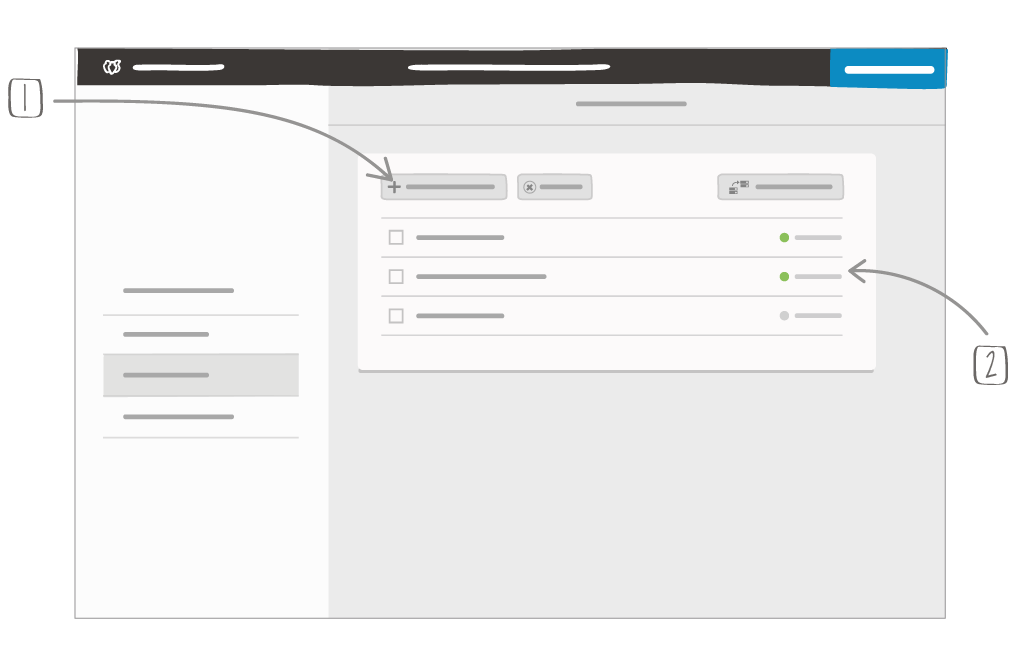
1 – Add an instance
2 – Shows which instances you are connected to
All Azure DevOps instances need to be registered and configured properly in iObeya administration before you can select them and use them in your Azure card tools. If not, they are tagged as Invalid in the list.
Connecting to Azure DevOps
To configure and manipulate your Azure cards, you need to be connected to the related Azure DevOps instance. All Azure DevOps instances used in the room and to which you are not connected are displayed.
Add the Azure card to your dock from the Cards category of the tool catalog.
Click Instance.
Click on the instance link.
A new tab opens.
Fill in:
- Token name: to identify your token,
- Authorization HTTP Header: Basic,
- Username used for Azure DevOps,
- Token: to get your token see Microsoft documentation.
Warning
If you use Azure DevOps Server, the minimum scope required to generate your Token is:
- Work items: Read & write,
- Member Entitlement Management: Read,
- Identity: Read,
- User Profile: Read,
- Project and Team: Read.
If you use Azure DevOps Services, the minimum scope required to generate your Token is:
- Work items: Read & write,
- Member Entitlement Management: Read.
Click Save Access Token.
From the Edit dock page, click Save.