Team board
Adding a team board
Warning
Team boards are tightly tied to Program boards. You have to create and configure your Program board before adding a Team board to your room.
The dock configured in the attached program board is automatically added to your Team board.
Note
The size of your board is defined automatically by iObeya according to the number of values selected:
For columns:
- from 1 to 4 values: 3A0,
- from 5 to 6 values: 4A0,
- from 7 to 10 values: 5A0.
Tip
You can change the size of your board from the contextual menu of the board once created.
You can downsize your board according to its number of columns and rows:
For columns:
- 3A0: maximum of 6 values,
- 4A0: maximum of 8 values,
- 5A0: maximum of 10 values.
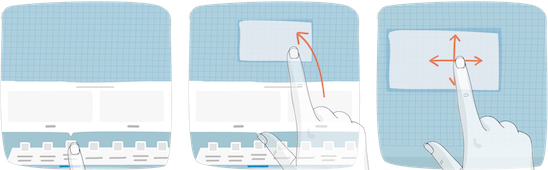
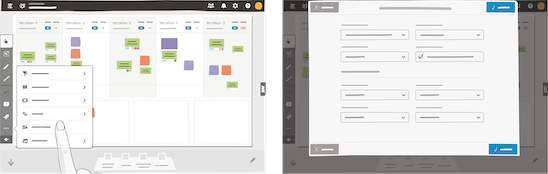
From the Room configuration, click New boards in the dock.
Drag and drop a Team board to your room.
Select:
- a Program board,
- a Team.
Note
The Team board automatically use the same number of iterations and time period corresponding Program board.
If necessary, modify the name of your Team board.
Note
The default name is generated automatically using the Program board name and the selected team.
Tip
You can always modify the name of your Team board later from the board settings in the room or board view.
The name of duplicated Team boards and Team boards created from a template can also be modified at any moment from the board settings in the room or board view.
Click Save.
Adding and manipulating content on the team board
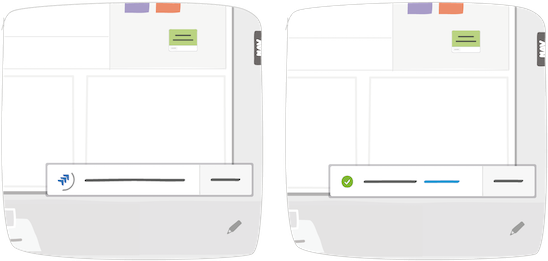
Configure capacity
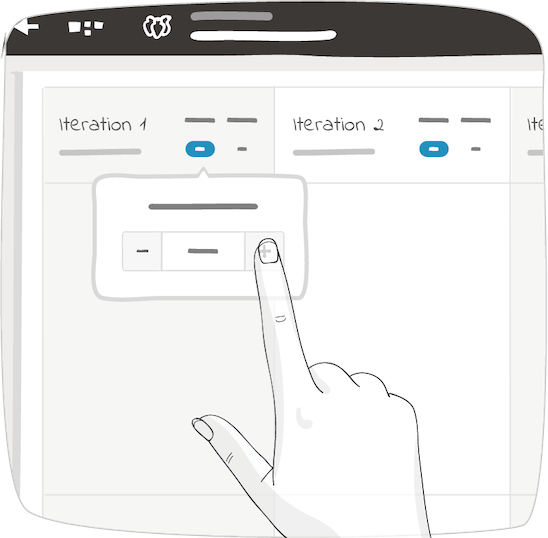
For each iteration, click on the “Capacity” blue button. Choose a value from 1 to 9999, depending on your team availability using the “+” or “-”.
Use and configure your cards
You can use three types of cards on this board: the iObeya story cards, Jira cards and Azure DevOps cards.
If you choose to use Story cards, they are available under the cards category of the tools catalog. Open the dock, select the story card of your choice, then drag and drop it onto the board.
- The card’s title is the only mandatory field;
- After discussing with your team or using planning poker, add story points (from 1 to 999) to your story using the “+” or “-” buttons;
- Use member assignment to affect a story to someone.
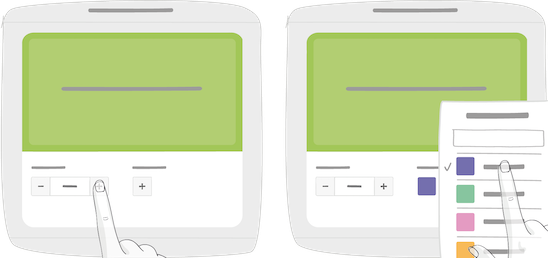
Your story card is configured by clicking / tapping on Save.
Jira and Azure DevOps cards are also available under the cards category of the tools catalog. For Jira please refer to Jira Add-On for iObeya. For Azure DevOps, please refer to Introduction to Azure cards.
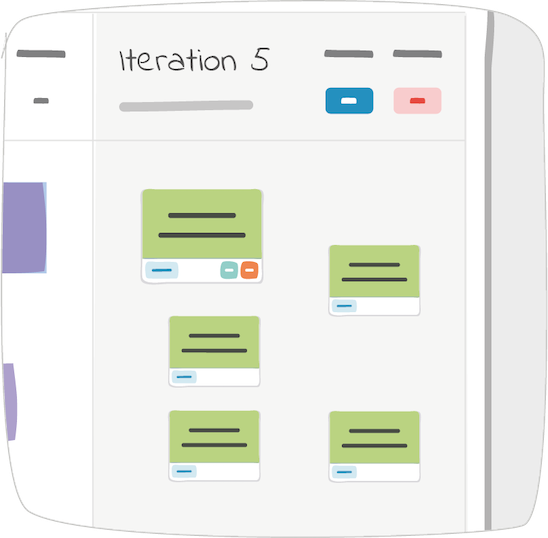
Manage your loads
The board will automatically add up every story point from each iteration to display your load. If the load happens to be higher than the configured capacity, it will be displayed in red.
To use the Story Points fields on Jira and Azure DevOps cards, the Story Points must be configured as a custom field in your card template.
Export your stories into Jira
Once you and your team are done with the stories, you can directly export them all from a team board into Jira. From the utilities bar, click / tap on the “…” button to expand more options, then on “Export stories into Jira”. Select your Jira instance—it needs to be configured by your room administrator—the project in which you want them to be exported and finally, which kind of Issue Type on which your stories will be mapped.
If you use Jira boards, you can also decide to map iObeya’s iteration according to your sprints in Jira. Click / tap on “Export” and it will automatically create your stories as issues in Jira.
Note
The Jira add-on needs to be installed in order to have access to this functionality.