Using the My Cards View
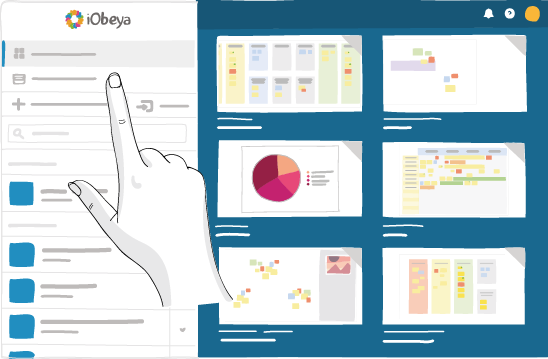
Access the home page directly after your connection or by clicking
 .
.To view all your cards, click My cards on the top-left of the screen.
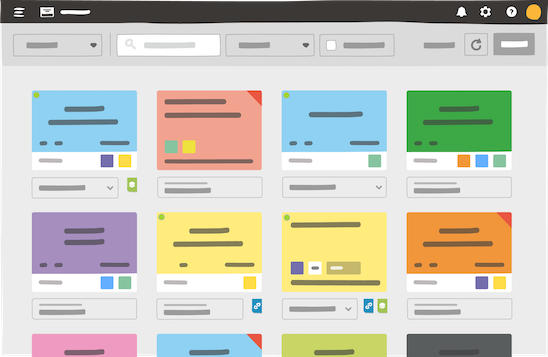
The My cards view displays a mosaic of all the cards that you are assigned to. You can easily navigate between cards, as this view regroups cards from rooms to which you have access.
Note
This view does not display archived cards.
Filter your cards thanks to the different filter parameters at the top of the screen (card type, due date, priority or text content).
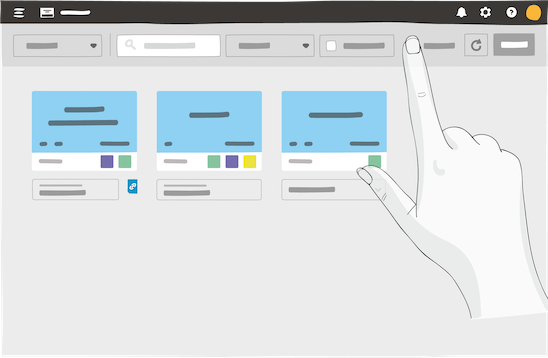
Click a card to view or edit it, according to the editing rights you’re granted.
Access a board on which a card is located by clicking the name of the room / board to locate it directly within its context.

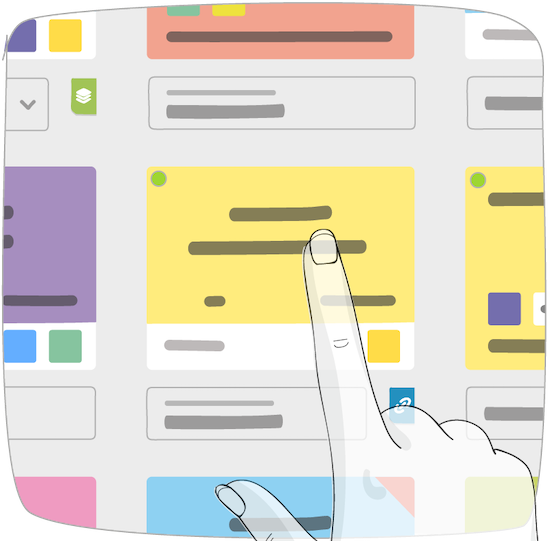
To send the address of a card to other users, click your card to open it, then copy its hyperlink from the navigation bar.
Share this hyperlink with iObeya users who have access to the room, or to the card. The same editing rights apply as to those of the board.