Preparing and Facilitating a Meeting
Access the room or the board in which you wish to start the meeting.
Click Meeting facilitation in the utility toolbar, and configure the utility.
The
 button displays the options for the Meeting facilitation
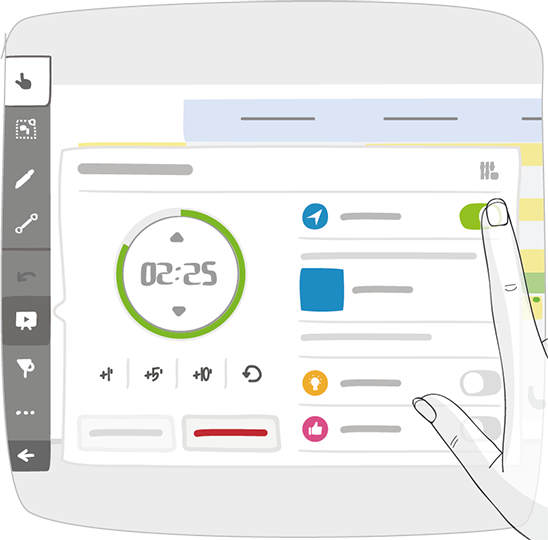
utility. To initiate a meeting, you can start the
Timer, and / or activate Guided navigation
(in any order).
button displays the options for the Meeting facilitation
utility. To initiate a meeting, you can start the
Timer, and / or activate Guided navigation
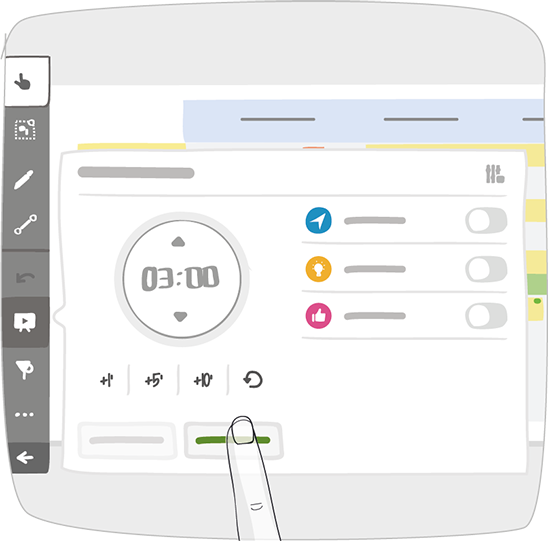
(in any order).You can increase or decrease the duration of the session by using the arrows in the utility interface: +1 / +5 / +10 minutes.
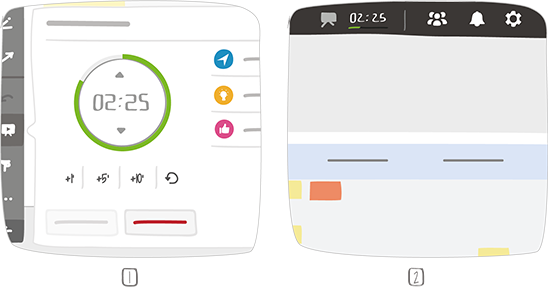
Facilitator’s screen
The default meeting time that is displayed in the utility can be set by a Room Administrator from the room settings interface.
All of the iObeya users that are signed in the room receive a notification informing them that the meeting has begun. Users that sign in during the meeting are also notified that the meeting is underway.
As the meeting facilitator, you are the only one that can modify the meeting’s parameters, and end the meeting.
Message received by the participants
- Timed meeting
Start the Timer to launch a timed meeting. Users are still able to navigate around the room, and modify the content on the boards. The timer allows you to:
- Measure speaking time for meeting participants.
- Define or measure the time spent reviewing a specific board.
- Define or measure the length of a meeting.
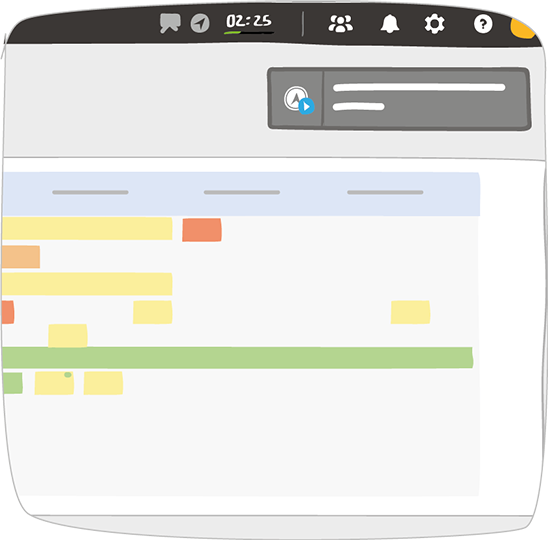
The time remaining in the countdown is visible for all participants, on the top right of the screen.
1 – Check the speaking time using the timer
2 – Display of the remaining time
Once the countdown has reached zero, the timer displays the time exceeded in red.
- Guided meeting
To start a guided meeting, click Guided navigation. Once activated, other users in the room no longer have access to tools and utilities. They are not able to navigate around a board, as instead they are guided by your actions (zooming into a board, changing boards, highlighting elements with filters, opening a hyperlink, and previewing elements).
Guided navigation is independent of the timer; you can therefore start or stop the timer at any point during a guided meeting.
To hand over control during a guided meeting, click Give control in the contextual menu of the utility, then select the participant to whom you wish to give control of the meeting.
A meeting participant can also Request control of the meeting. As the meeting facilitator:
- You can choose to accept or refuse the control request.
- You can take back control of the meeting at any time.
The ability to hand over control of a meeting to another user can be activated / deactivated in the room settings by a Room Administrator. To be able to guide a meeting, a user account must at least have the Edit room boards permission.
To end the meeting, stop either Timer or Guided navigation.
Meeting participants are notified that the meeting has ended, and they are again able to interact with the board elements (if Guided navigation was activated).
To ensure that all team members are using the same information, use the Lock board editing tool in a room.
The Lock board editing tool allows Room Administrators to lock / unlock the modification of all the boards in a given room.
For some teams, distributing identical information to all team members is of paramount importance. By using the Lock board editing tool, content in iObeya remains unchanged between meetings, only becoming modifiable during meetings. This encourages team member presence for when modifications are to be made, as well as drives consensus on these modifications.
Between meetings, the up-to-date information is still accessible to all team members, but the information cannot be modified until the following meeting.
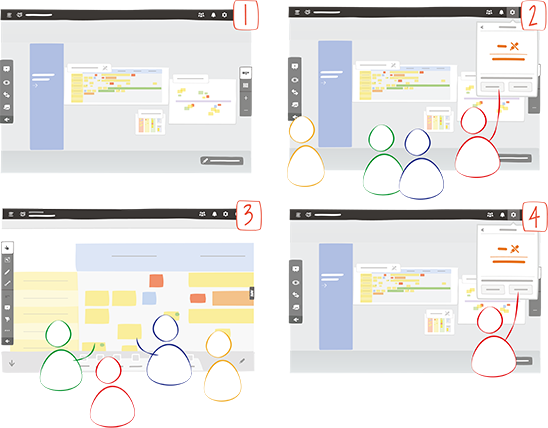
1 – Before the meeting
2 – Beginning of the meeting
3 – During the meeting
4 – End of the meeting
See also