5. Lite mode
The lite mode allows teams to focus on their rituals by using only the essential features.
Note
This icon  appears when the simplified mode is activated.
5.1. Activate the lite mode
Note
The lite mode can only be activated by a room administrator.
Refer to the section Roles in iObeya for more information.
From your board, click the QCD utility.
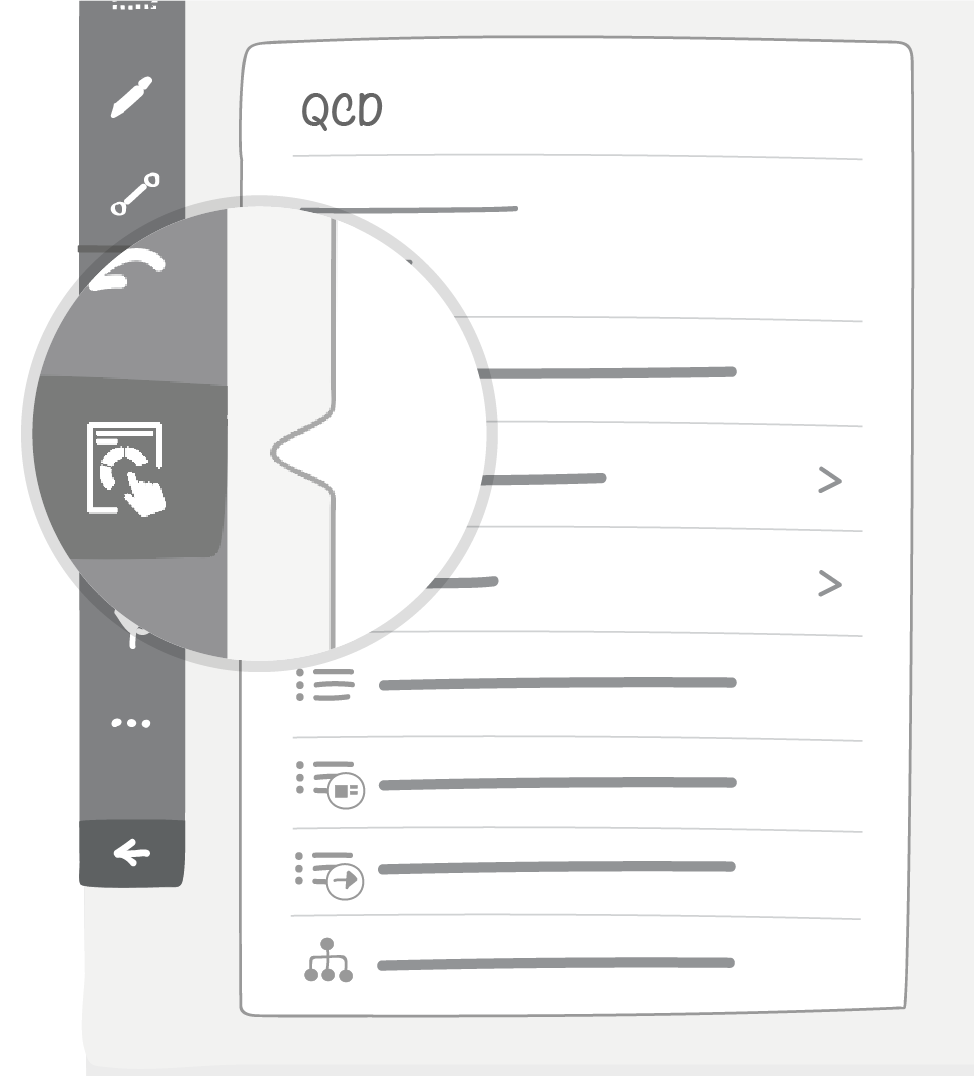
Click Lite mode.
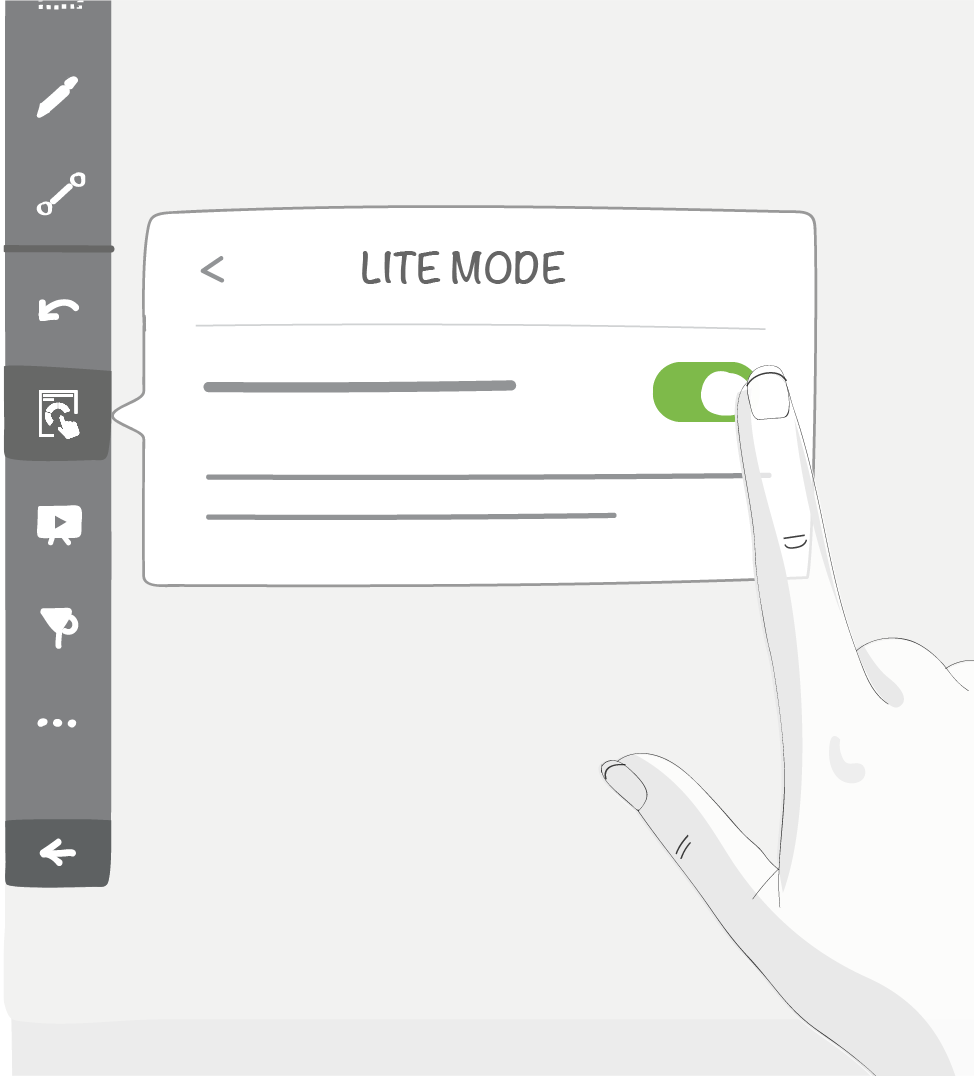
Click the button on the right to activate the lite mode.
5.2. Use the letter tool
Note
The lite mode is designed for users of the room with editing rights.
Refer to the section Roles in iObeya for more information.
This is the main tool of QCD: a letter carrying all the data that will be visualized and processed
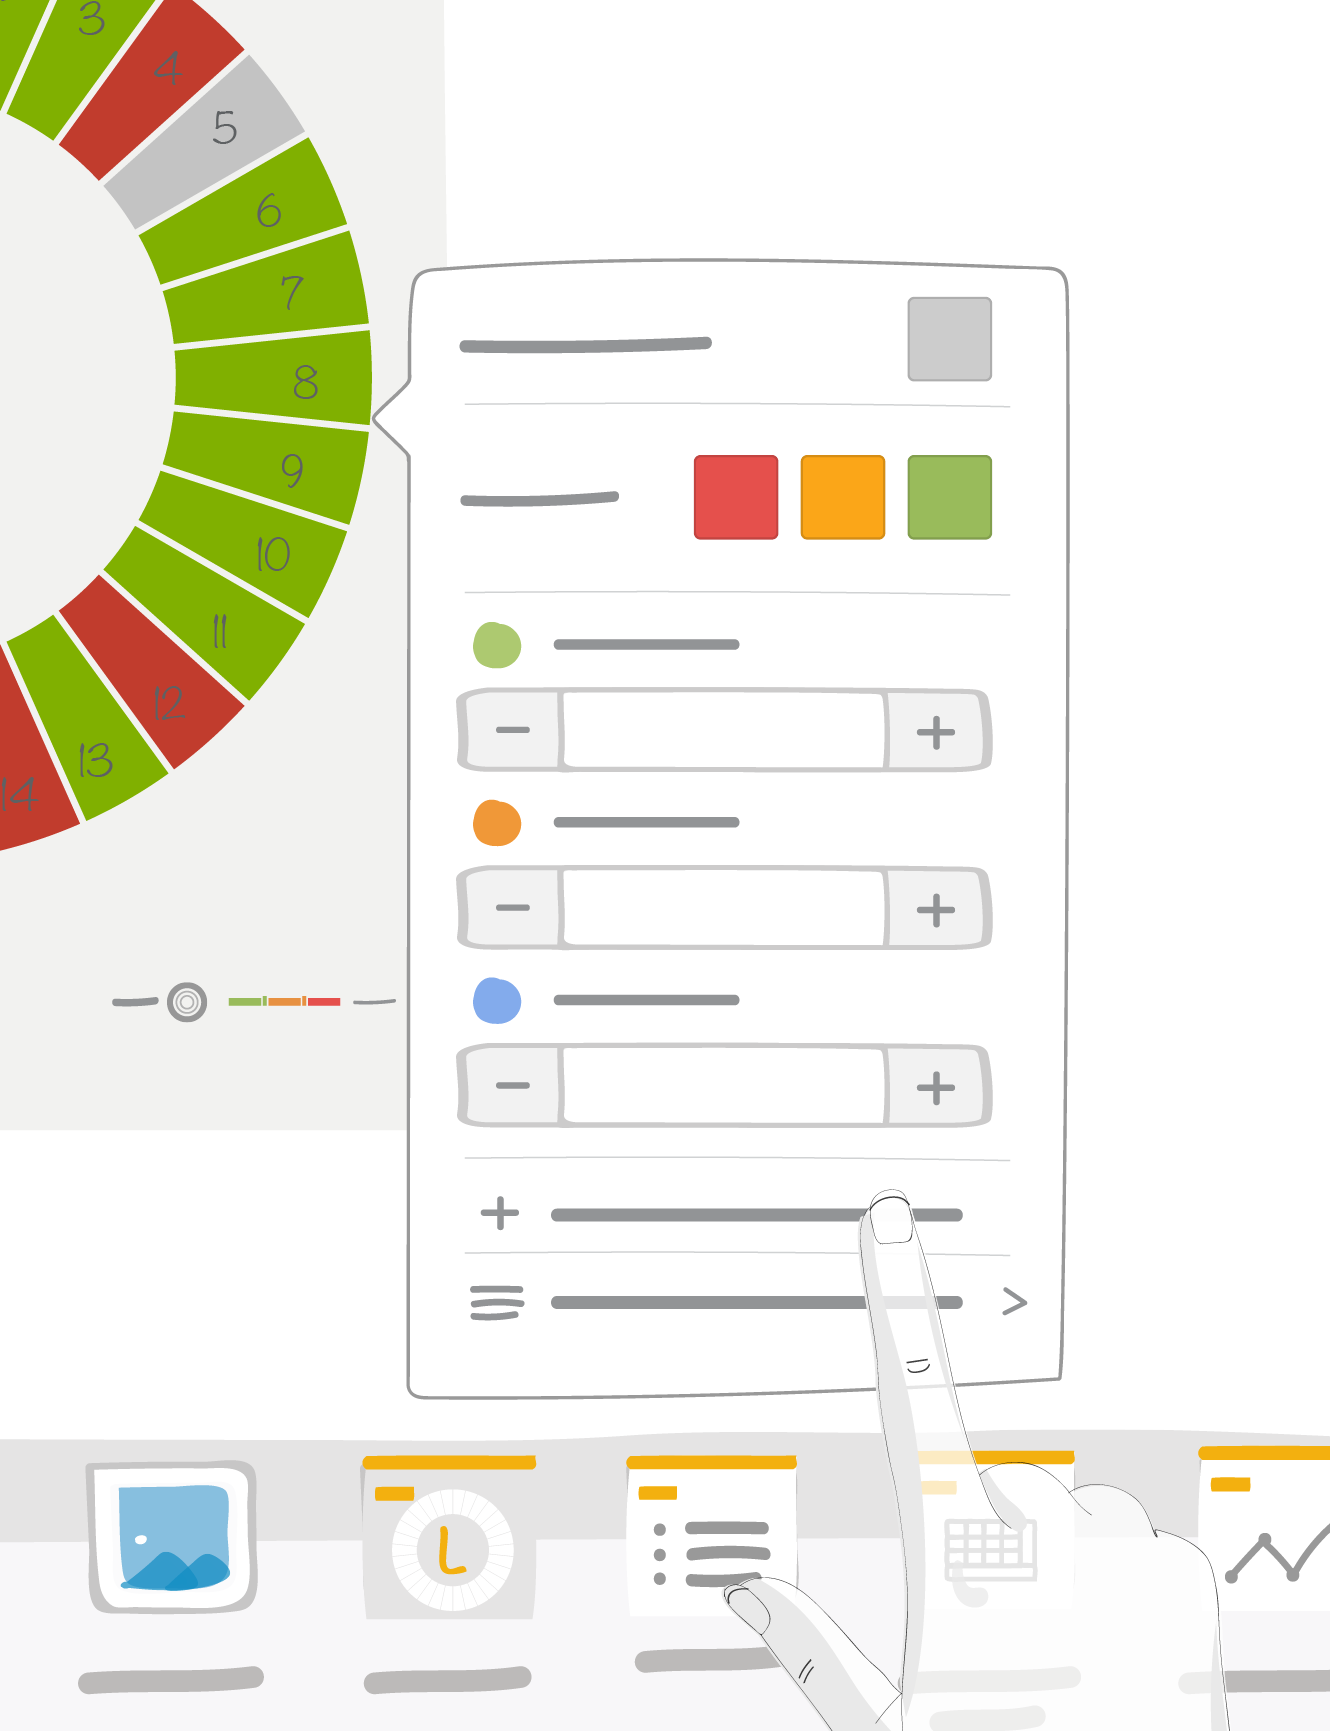
5.2.1. Display
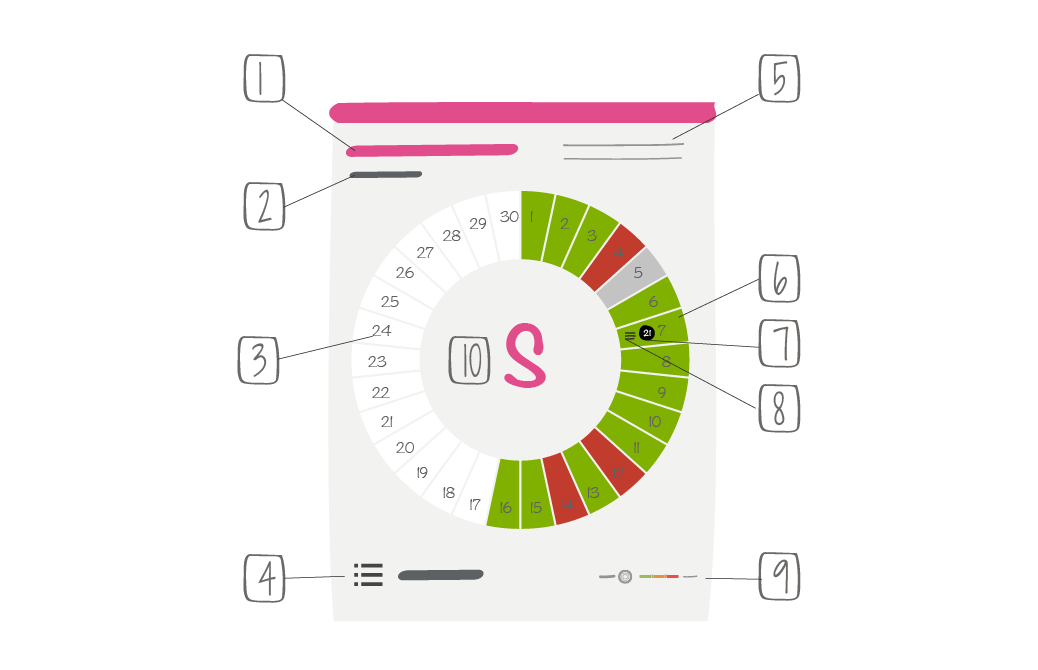
1 -> Letter “full name”, fully customizable in the dock
2 -> Current (short term) time window. Time window is used as a basis for past historical data storage
3 -> Update frequency for current time window. In this example frequency is one week. Depending on the time window, it can be day, week or month
4 -> Number of pending actions related to the letter
5 -> Description
6 -> Box color code : red, orange or green color code depends on the value of indicators related to the ring
7 -> Box related actions
8 -> Box related comments
9 -> Ring names and legend
10 -> Letter character, fully customizable in the dock
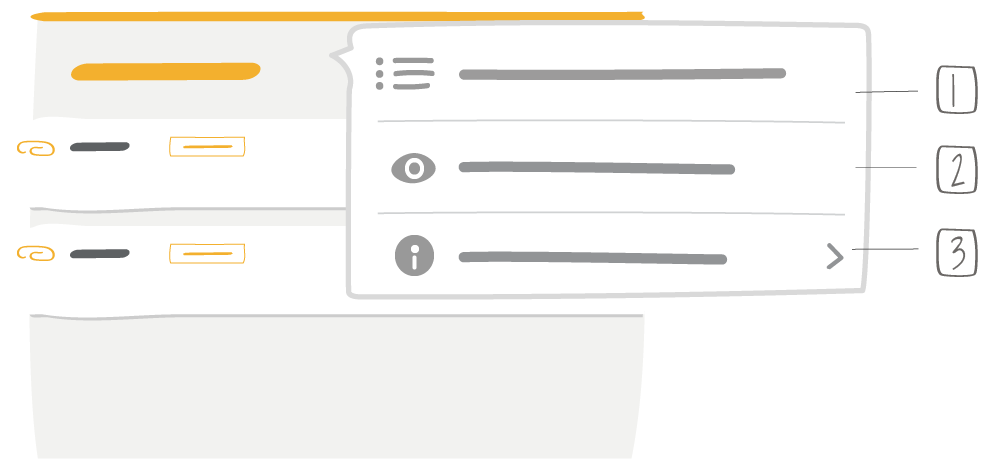
When using the lite mode, the contextual menu of the letter offers only the essential features:
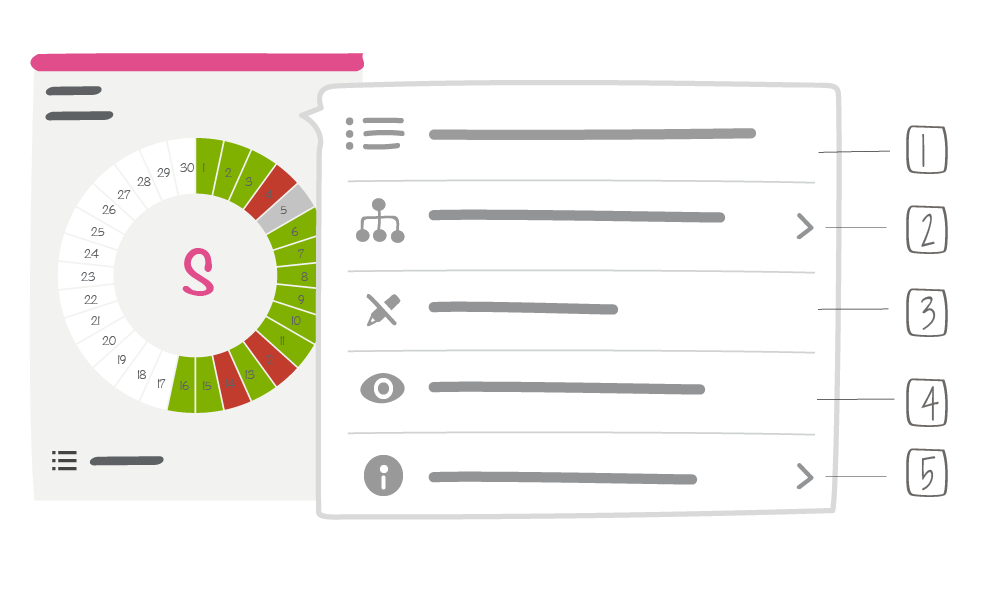
1 -> View all opened actions
2 -> Update consolidation
3 -> View settings
4 -> Preview this element
5 -> Display information
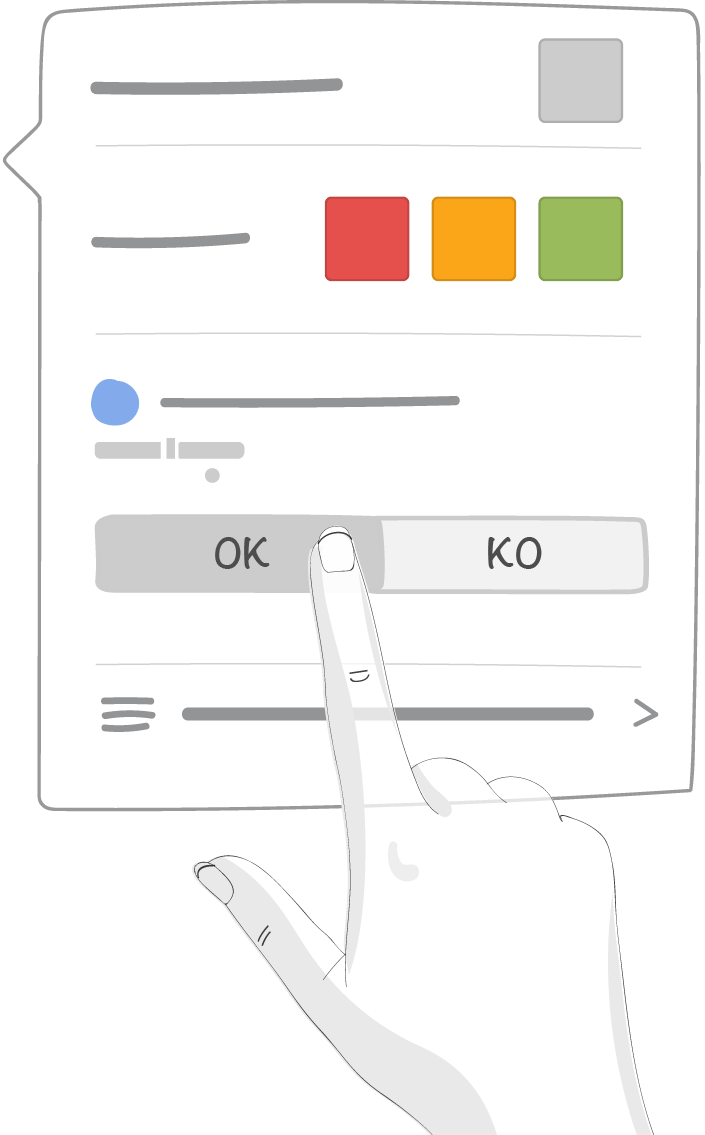
5.3. Box colour code and indicator value entry
By clicking on a box, a pop-up menu appears. Its content depends on the color coding of the ring the box belongs to.
5.3.1. Box color code
- If a box corresponds to a day off, it is automatically grayed out. Nonetheless, you can always manually select a color code for your box, if no automatic color coding is enabled
- For a box belonging to a ring with manual color coding, you can give the box a color by clicking on it
- For other types of box colour coding, the color depends on indicator values.
5.3.2. Indicator value entry
Every indicator belongs to a box that belongs to a ring. Every indicator can be entered a value for each box. If the ring color coding is global threshold (overall or single thresholds (per indicator), then the box color will be determined by indicator values.
A mandatory indicator has a star (*) in the middle of its color code pin
Tip
The input of indicators is also accessible from the QCD utility.
Refer to this section to learn more.
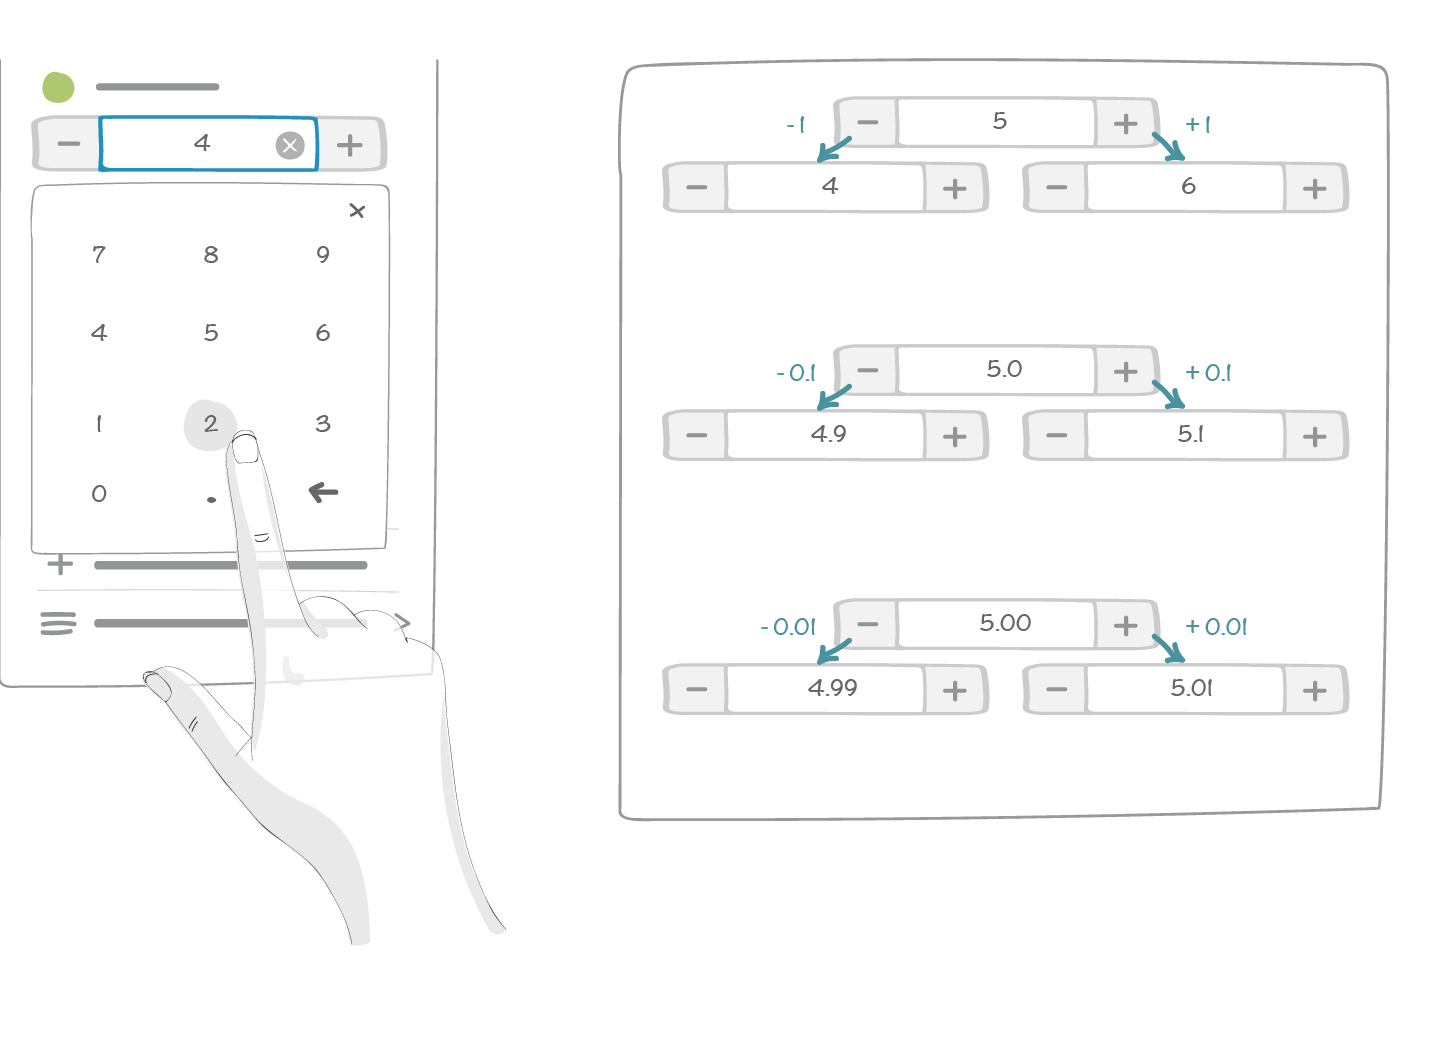
5.3.2.1. Indicator value entry mode: “free”
- You can enter up to 4 digits before the decimal point and 2 decimal digits

- When you click on an indicator data field, a virtual keyboard will pop up
5.3.3. Comment entry
Every box has a comment entry button (free text). Boxes with a comment will display an icon.

5.3.4. Action creation in a box
You can create an action if you click directly on a box or if an action creation pop up appears .
5.4. Using the action table tool
When using the lite mode, the contextual menu of the action table offers only the essential features:
1 -> View all opened actions
2 -> Preview this element
3 -> Display information
5.5. Using the graph and table tools
When using the lite mode, the contextual menu of the graph and table tools offers only the essential features:
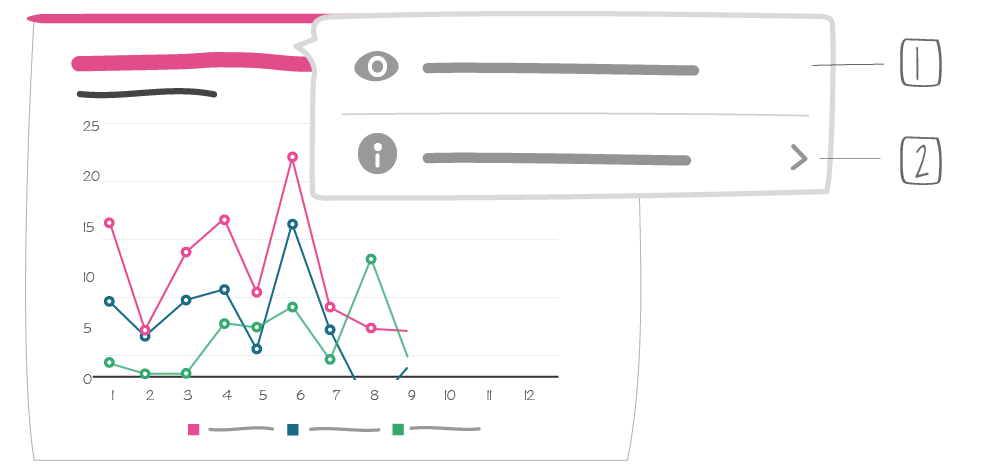
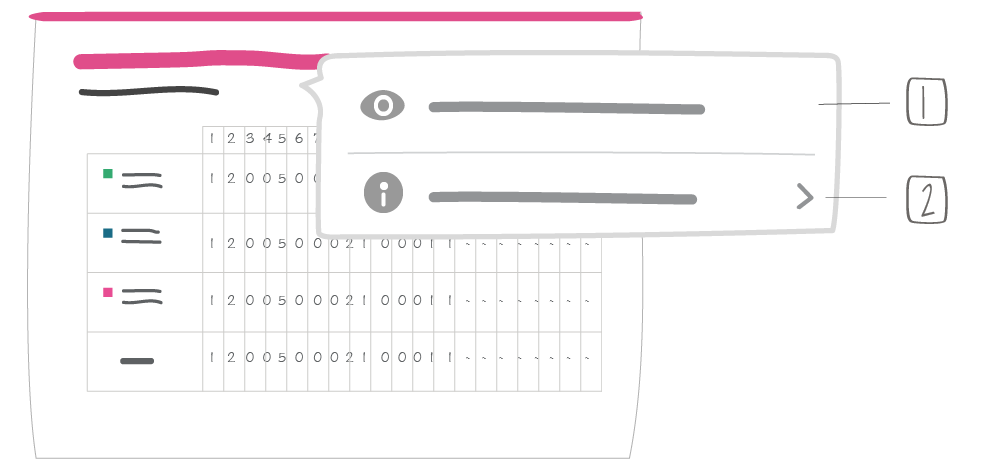
1 -> Preview this element
2 -> Display information