Program board
Adding a program board to the room
Start the configuration of your room
Once in your room, click on / tap the “Configure the room” button on the bottom-right of the screen. If you do not see it, it means that you do not have room-administration rights.
Add a program board
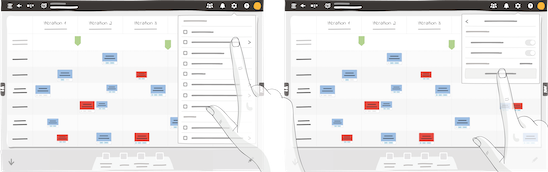
- From the Room configuration, click New boards in the dock.
- Drag and drop a program board to your room.
Note
The size of your board is defined automatically by iObeya according to the number of values selected:
For columns:
- from 1 to 4 values: 3A0,
- from 5 to 6 values: 4A0,
- from 7 to 10 values: 5A0.
For rows:
- from 1 to 9 values: Standard board,
- from 10 to 30 values: Double board.
Tip
You can change the size of your board from the contextual menu of the board once created.
You can downsize your board according to its number of columns and rows:
For columns:
- 3A0: maximum of 6 values,
- 4A0: maximum of 8 values,
- 5A0: maximum of 10 values.
For rows:
- Standard board: 15 values,
- Double board: 30 values.
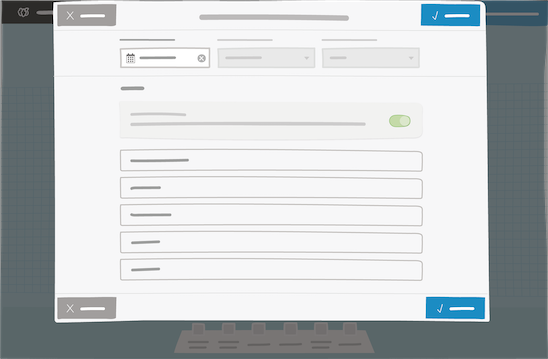
Name and configure your program board
Enter a name for your board, then configure its settings.
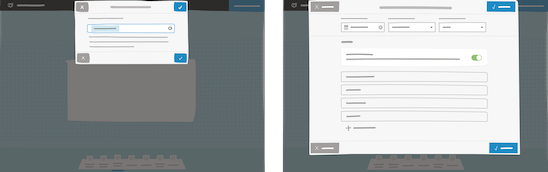
Configure the start date, iteration length and number of iterations.
The “Milestone” row creates an empty space at the top of the board—above the other rows—to be used to highlight important events happening during your PI or to simply store elements. It is enabled by default.
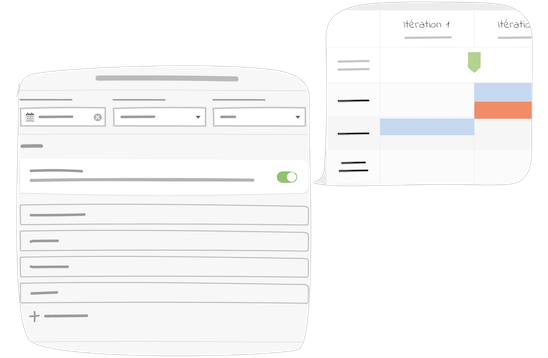
Create the rows of your program board, adding all the teams that will participate. Use the “Enter” key to validate each row.
Your program board is now ready to use (click on / tap “Save”).
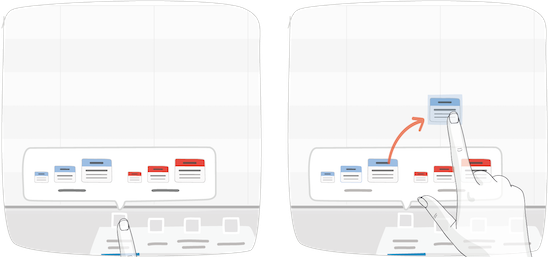
Adding and manipulating content on the program board
All elements displayed on your program board are associated with an iteration and a team. You can therefore arrange and organize any of the elements on the board—like milestones and feature cards.

1 – Feature card
2 – Milestone
Access the program board
…on which you wish to work.
Add your features and milestones
It is recommended to use our specific card “Feature” on this board. If you keep track of your different features in Jira, check out our Jira add-on and tutorial on the iObeya Resource Center.
Open the dock, select the card of your choice, then drag and drop the element onto the board. As cards are non-resizable elements—with the notable exception of the activity card—they can only correspond to one iteration and one team.
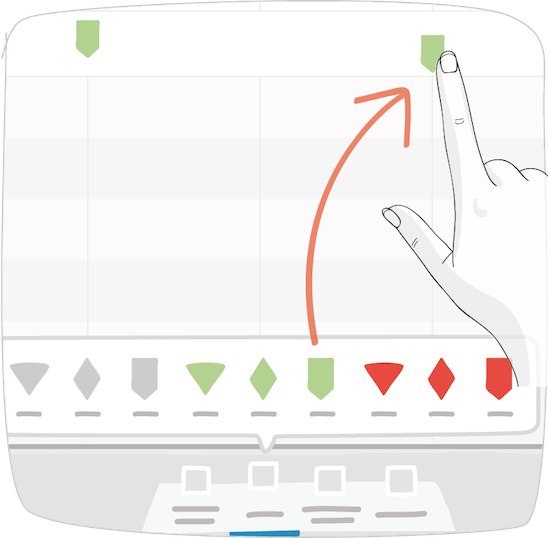
To highlight important deadlines or events, use the milestones tool in the corresponding milestones row of your board.
Use and configure feature cards
If you choose to use feature cards, they will be available under the Cards category of the tools catalog.
The card’s title is the only mandatory field. However, you can configure multiple useful specifications to detail your feature, such as:
- Listing benefit hypothesis to ensure your end goal;
- Listing acceptance criteria to determine if the implementation is correct and matches the hypothesis;
- Calculate the Weighted Shortest Job First (WSJF) to help you prioritize the feature.
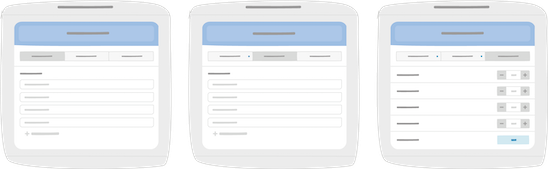
Your feature card is configured by clicking on / tapping “Save”.
Once on your board, grey indicators mean that their respective fields are not completed in the card (e.g., “H” for hypothesis, “Criteria” for acceptance criteria, etc.)

1 – Grey indicators
2 – Blue indicators
Modifying the configuration of a program board
You can modify the parameters of your program board at any time.
Access board parameters
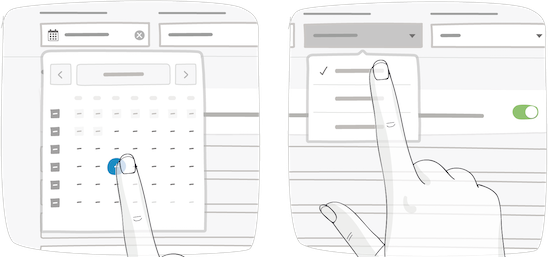
From the board, click on / tap the parameters menu with the star-wheel icon on the top-right of your screen. From the room, click on / tap “Configure the room” button, then on the board. Select “Change parameters” in the contextual menu, then select “Edit board parameters”
Modify the start date and team’s name
Modification of the program board’s time period automatically adjusts cards’, milestones’ or any elements’ position. If some of them are situated beyond the new time period, elements are sent to the trash. You can edit any team’s name, but can’t delete or add a new one.
Note
Be careful! Any changes will not be impacted on team boards generated from this program.