2. DCM board
2.1. Adding DCM Board in the room
Note
Only Room Administrators can add and configure DCM Board.
A new type of board is available in the dock of the Room configuration. To add a board in your room, follow these two steps:
Enter your room, then click Configure the room at the bottom right of the screen.
The Room configuration page displays.
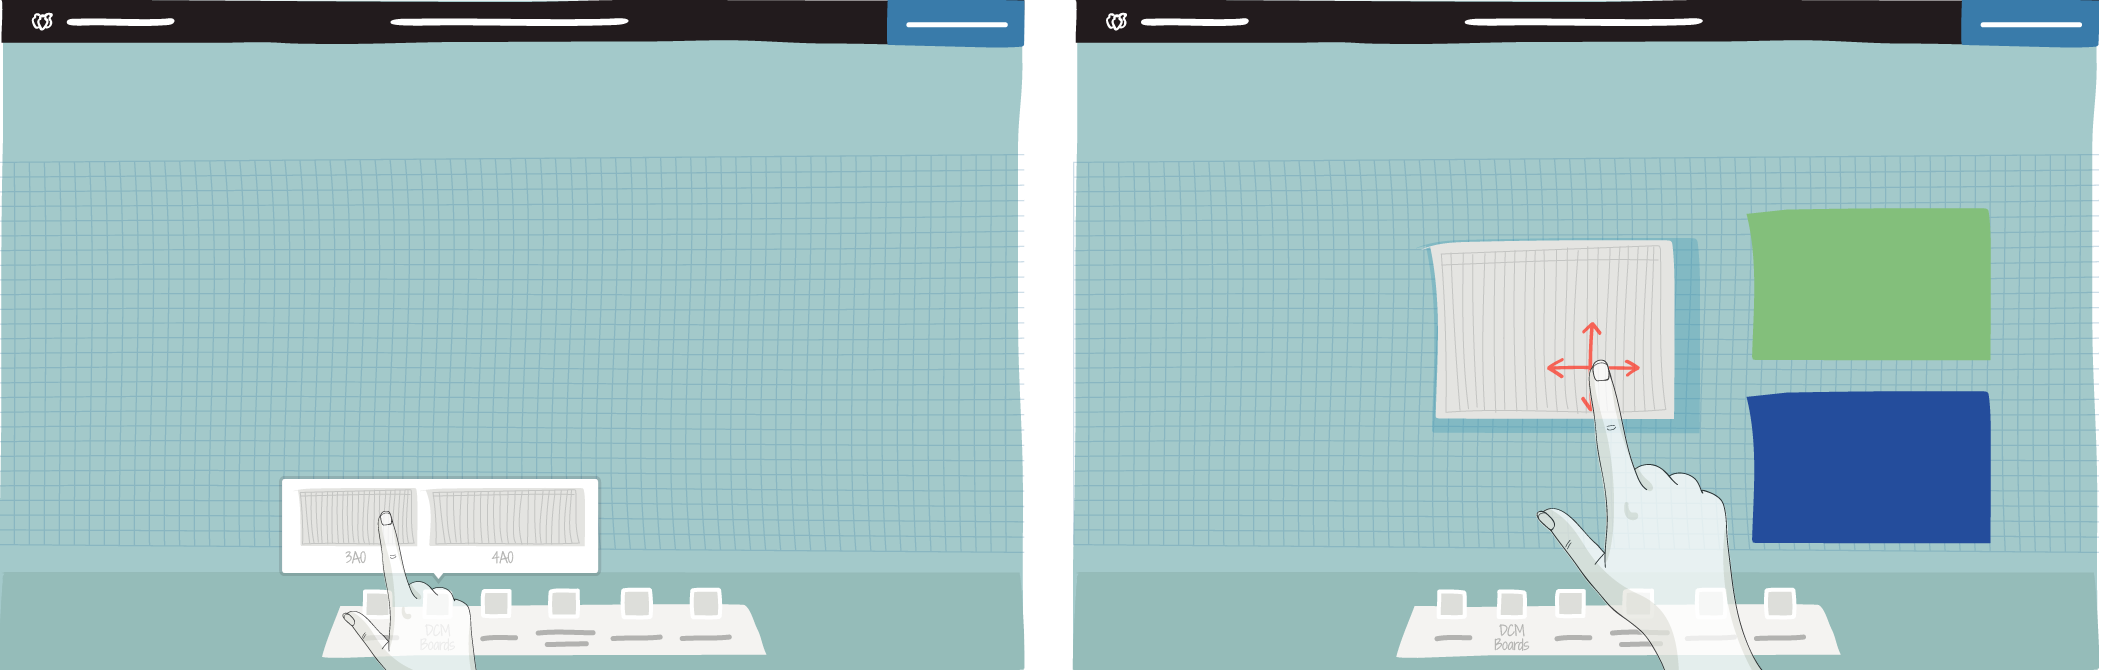
Click DCM Planning boards in the dock, then drag and drop a board to the blue zone.
There are two sizes of boards available: 3A0 and 4A0.
Enter a Board name.
Configure the Board settings.
Note
You can also add a DCM Planning boards from a board template, or from an imported board.
2.2. Planning settings
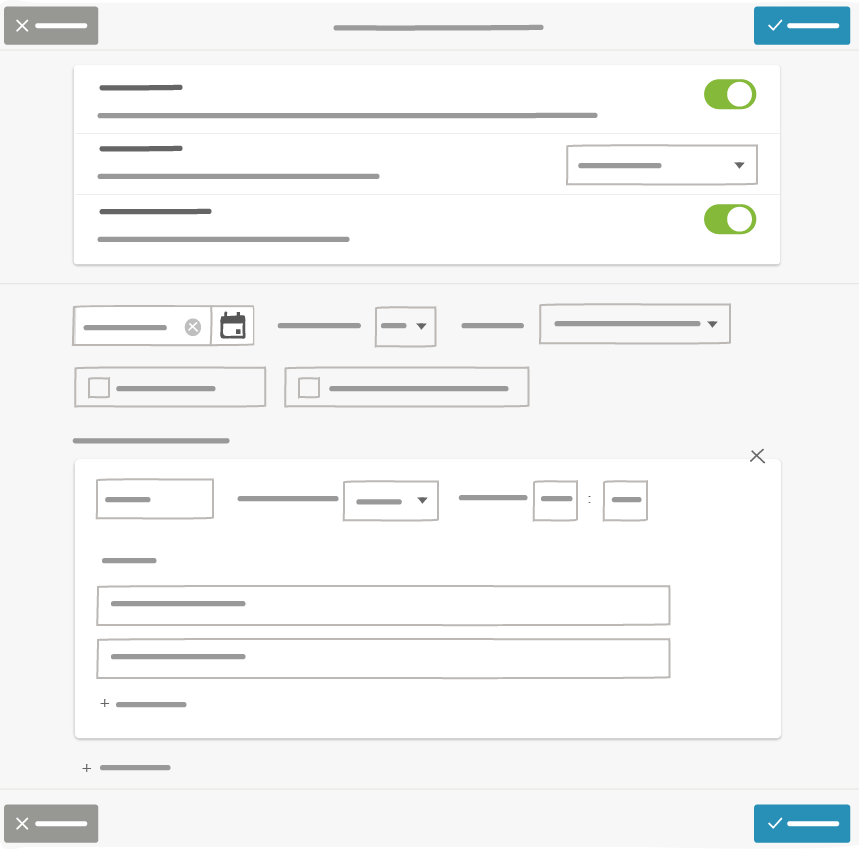
2.2.1. Configure the settings options
- Milestone row
- Activating the Milestone row creates an empty space at the top of the board, above the other rows, to be used to highlight important events in the schedule, or simply to store elements.
- Parking lot
Activate an empty column on the right side of the board when the parking lot size is selected. Activating an empty column creates an empty space at the right side of the board, to be used to track important items, ideas and issues that may not be useful to discuss at a time in the agenda. The principle is to return to them later.
Four sizes for the Parking lot are available:
- Small : 210 px
- Medium : 420 px
- Large : 840 px
- Extra large : 1260 px
Tip
If you don’t want to display a Parking lot in your DCM, select No Parking lot.
2.2.2. Add two ressources per row
In general rows represent the resources available. You can decide to manage two tasks at the same time in parallel. To do so you just have to activate the 2 lines per resources button.
2.2.3. Display configuration
- Starting date
- You should choose the starting date of your DCM Planning boards.
- Working days
- It corresponds to the number of days that will be displayed in your DCM Planning boards. You can plan up to a maximum of 14 days in the DCM board.
- Displaying
- The planning information displayed in the header can be a combination of weeks number, days number, hours & half-hours.
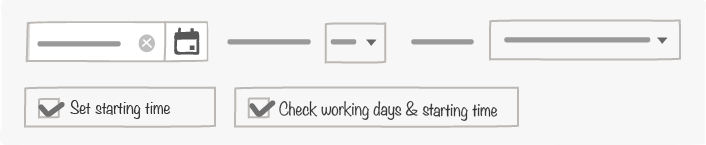
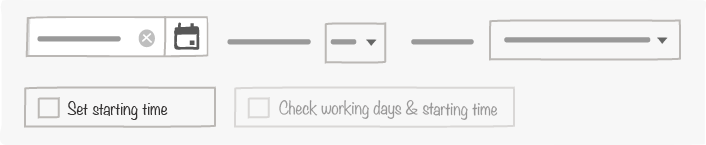
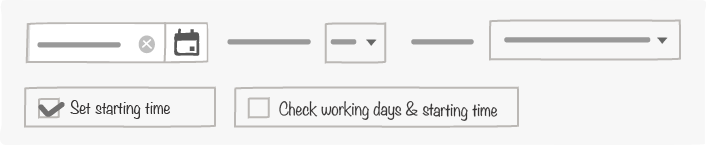
- Set starting time
- Determine if set starting time is mandatory.
- Check working days & starting time
- Check that set starting time in shifts are consistent with the number of hours in a working per day.
2.2.4. Add Shifts
You should define the shifts you want to display in your board. In the DCM board, you can set up to 3 maximum shifts.
- Name
- Shift name displayed in the header.
- Working per day
- Number of hours worked by the shift.
- Starting at
- Shift starting time.
- Row
- Add row titles to the schedule one by one, using the Enter key to validate each one.
- Limit and rules :
42 rows maximum.
2 resources (members of team or equipment) maximum per row. Can also be blank.
Tip
If you want to use an image of your resources (team member or machine) you can add a blank row.
2.3. DCM planning with shifts
If you choose a number of working days less than 2, the DCM board can manage a maximum of 3 shifts. Each shift can have its own team members or equipments.
There are three different ways to display your DCM planning:
- Without starting time
- With starting time
- Starting time with consistency of the working per days hours between shifts