Changing Your iObeya Preferences
Warning
You are accessing documentation based on a legacy UI of iObeya.
If you want to change preferences from the new home page UI, see the iObeya NextGen UI section of our new Getting Started guide.
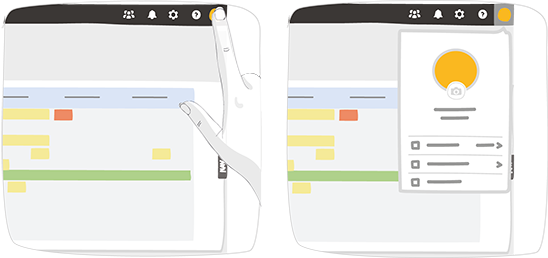
On the top right of your screen, click the button displaying your initials.
The menu that appears offers several entries.
To change the interface language, click Language.
The entire user interface (as well as that of the administration interface) is updated in iObeya with the language selected. This is the language that is also used for automatic email notifications to you.
The contents of your Visual Management are not translated.
To change your password, if allowed by your organization’s security policy, click Change my password.
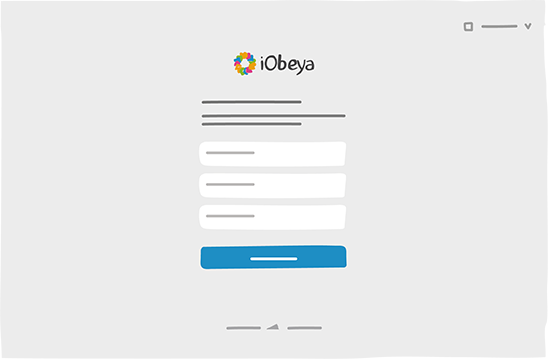
A new tab opens and a form is displayed for changing the password. Complete the fields and validate your choices. You then receive a confirmation email.
If your security policy does not allow you to change password, contact your iObeya Platform Administrator.
To manage your avatar, click
 , then upload an image in JPG or PNG
format.
, then upload an image in JPG or PNG
format.Adjust the image by resizing or repositioning the frame over it.
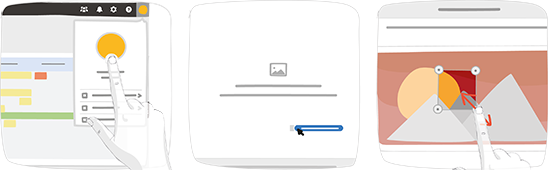
Validate the framed image. Your initials are now replaced by your avatar.
To return to using your initials, delete the avatar from the user menu.