Adding Elements to the Board
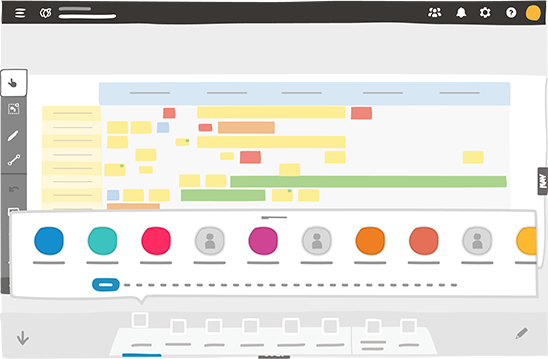
Displaying Available Tools
- Open a board.
- Click the DOCK tab at the bottom of your screen.
Tools have been defined by your Room Administrator, based on the specific use of each board.
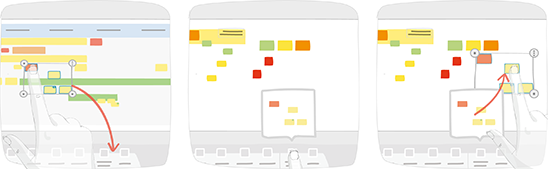
Inserting Visual Content on Your Board
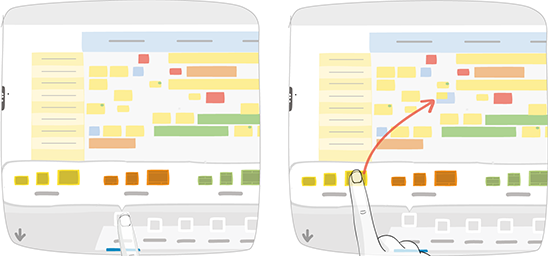
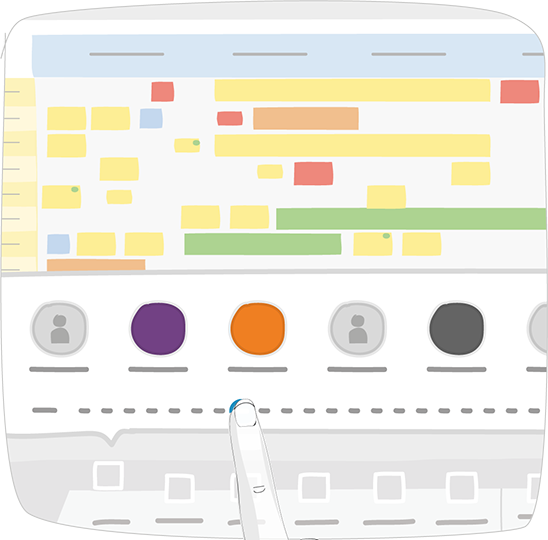
Click a tool on the dock.
Click one of the tool elements, then drag and drop it on your board.
Note
Blue shading underneath the element indicates its final size, and helps you position it in the correct place on the board.
For certain tools, a window is displayed once the element has been placed on the board.
- Note
To enter the text that the note contains.
- Standard card
To enter the text that the standard card contains and to define its parameters.
- Activity card
To enter the text that the activity card contains and to define its parameters.
- Shapes
To enter the text that the shape contains and to select its position.
- Label
To enter the text that the label contains.
- Free text
To enter the text that the free text contains, then to select parameters in the configuration menu.
- Image
To select a file from your computer.
- External image
To select an external source and the image to be displayed.
- Gauge
To select gauge value and parameters in the configuration window.
- Chart
To enter series data and select parameters in the configuration window.
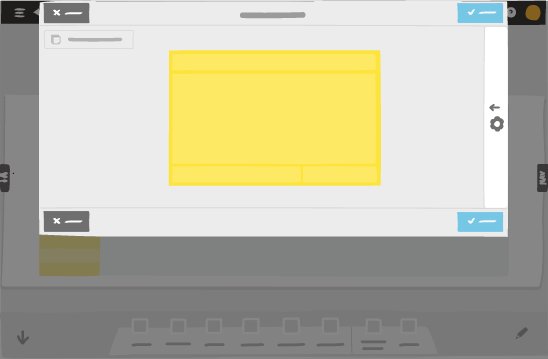
In the case of a note, a window appears in which to enter your content.
Tip
To help you quickly add ideas, you can create multiple notes at once. Just add a note to your board, then click Bulk creation in the window that appears.
Inserting and Moving Multiple Elements
Your elements are stuck together. If you move an element that is beneath another one, the whole group of elements moves.
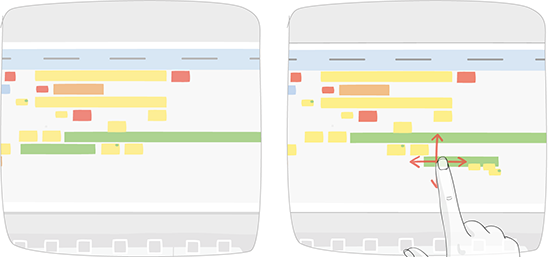
The elements are therefore naturally grouped together, in the same way as on a board on which you post and superimpose information.
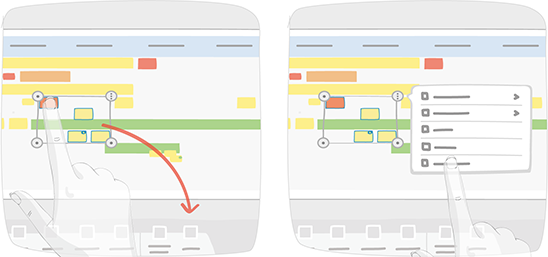
Modifying Elements
Click an element already present on your board.
The contextual menu that appears allows you to perform several actions on the element.
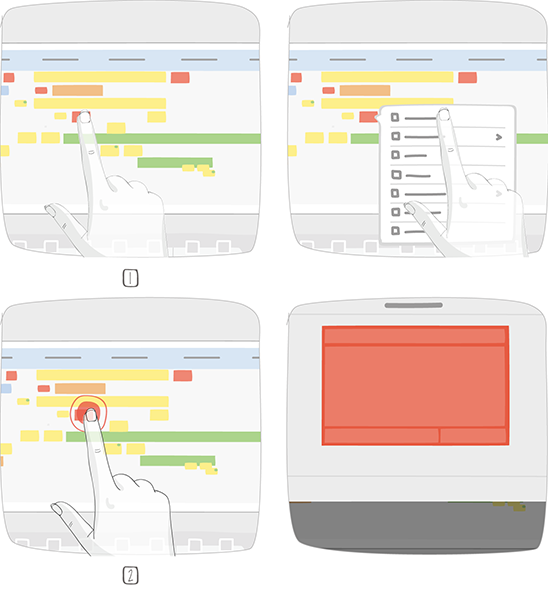
1 – Single click
2 – Double-click
Tip
Double-clicking serves as a shortcut to the first action of the contextual menu. For example, on a note, double-clicking allows you to modify its content.
Rotating an Element
- From an element contextual menu, click Resize and rotate or Rotate, depending on the element you want to rotate.
- Click
 to rotate your element.
Moving Elements to a Different Board
- Select the elements to be moved using the Pan and move or the Multiple selection mode.
- Drag and drop your elements into the exchange zone, or perform this action using the contextual menu.
- Go to another board in your room, and drag and drop the content from the exchange zone onto your board.
Tip
You can duplicate your elements before moving them to another board, allowing you to keep them on the current board and use them again on the other boards. Duplicate is available in the contextual menu.
Removing Elements from a Board
Select the elements to be removed using the Pan and move or the Multiple selection mode.
Drag and drop the elements into the trash in the dock, or select Send to trash in the contextual menu.
Tip
When selecting links on their own, they can only be permanently deleted and cannot be sent to (or recovered from) the trash. If, however, they are part of a group selection, they remain with the selected elements, and can therefore be sent to (and recovered from) the trash.
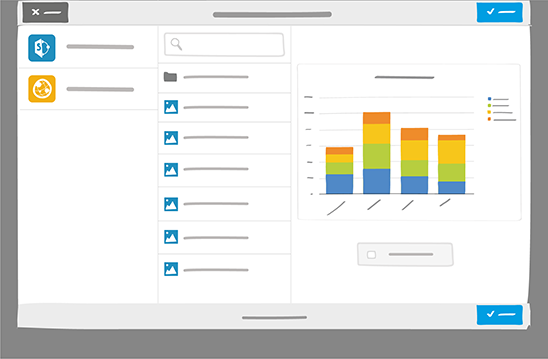
Using the External Images Tool
This tool allows you to integrate images from an external library with iObeya; libraries like Microsoft SharePoint, or other Remote FileSystems External sources must be configured by your iObeya Platform Administrator. The external images added through this tool are updated (automatically or manually, depending on your configuration) after being modified at the external source.
Click External Images on the dock.
An image selection window appears.
Identify the external source, and select the image you wish to add to your board.
If you are not able to add a new external source yourself, contact your iObeya Platform Administrator for access to an external source through iObeya, or to add a new one.
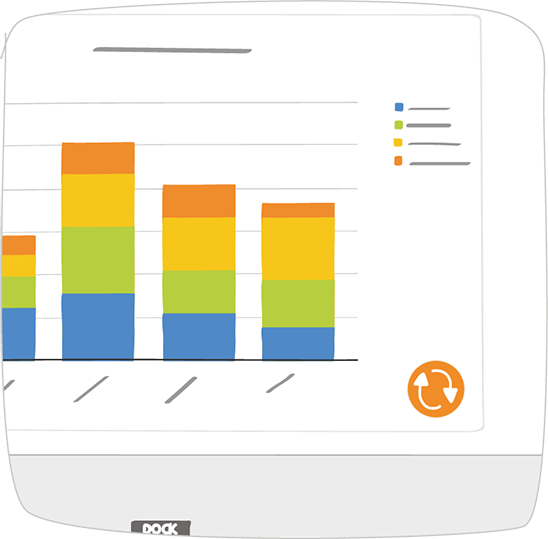
By enabling the Display the date and time of the update option in the image selection window, this information is visible on the top right of the image once it is on the board, or when selecting Display information from the image’s contextual menu.
- Automatic update
- Any changes in the source image are mirrored in iObeya; no action is required on your part. Depending on the source’s configuration, a visual indicator may signal a modification to the image.
- Manual update
- An indicator at the bottom right of the image indicates an available update; you need to click it in order to update the image.
Tip
The update settings for each external source are defined by your iObeya Platform Administrator.
Identifying Users with Access to the Room
The Team tool is automatically generated from the list of team members (users that have access to the room), and is updated whenever this list changes.
Visual representation of team members using their first name, last name and avatar or initials
In this way, you can use this tool on any board, so as to be able to use images representing the different members of the team. Whilst the tool is open, alphabetic filtering enables quick access to team members, which is useful when teams are big. Click the letter of the first name of a team member to filter them.
See also
- The Administrator Guide
- Text Input
- Contextual Menu
- Using the External Images Tool
- Using Multiple Selection
- Using Standard Cards
- Activity Cards