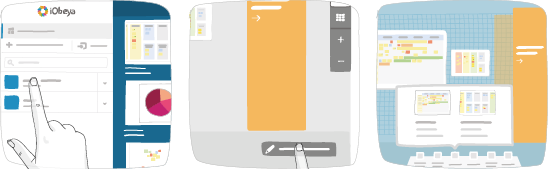
Sharing a Board With Another Room
Enter your room, then click Configure the room at the bottom right of the screen.
The Room configuration panel displays.
Click a board, then click Share this board.
Click Share with an Administrator, then enter the name of a user with Room Administrator rights.
Complete one or several fields, then click the magnifying glass to find the user.
Select a user, grant read-only or read/write rights, then click Share.
Repeat this step to add several recipients if required.
Note
A board can be shared multiple times with a user, and this shared board can be used in multiple rooms.
The owner of a source board is the only one who can share the board.
You can verify the status of the board that you have already chosen to share by entering room-editing mode, clicking the board once to open its contextual menu, and selecting Share this board. From the new screen, you are able to see if the sharing proposal has been accepted, and which room it has been added to, or whether the proposal was refused.
Retrieving a Shared Board

In the Notification center, a message informs you that one or more boards have been shared with you.
Go to the room to which you wish to add the shared board.
Click Configure the room.
The board is displayed in the Sharing proposals section of the dock.
You can use this shared board at any time by dragging and dropping it on to your wall, in the same way as with a blank board or a template.
If you need to use this board in several rooms, you need to ask the board owner to share it with you as many times as required.
Note
You may need to configure the utilities in the room settings to use some tools of the shared board in the destination room.
Refusing the Sharing Proposal
- From the Room configuration, click the Sharing proposals folder.
- Click the shared board.
- Click Refuse.
- Click Delete.
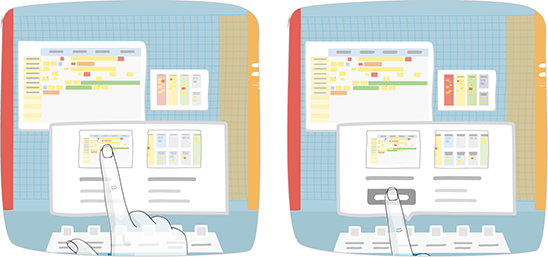
Editing the Shared Board
Warning
You need read/write rights to edit a shared board. If not, you can only access the board in read-only mode.
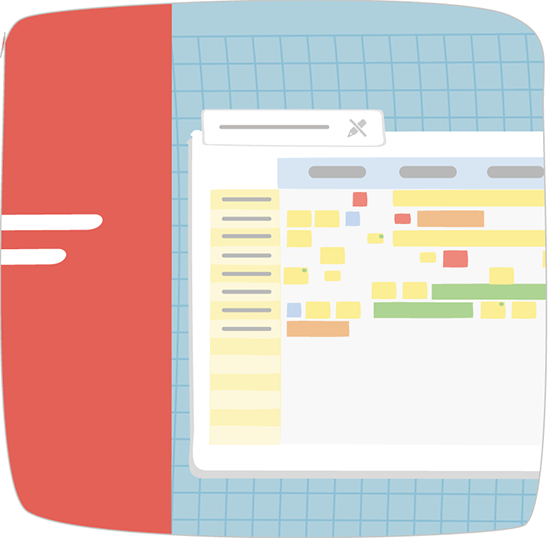
Shared board in read-only mode.
To edit the shared board:
- From your room, access the shared board.
- Click Edit this shared board at the bottom of the screen.
Note
All modifications made on a shared board are applied to the original board, and conversely.