Adding a Planning Board to Your Room
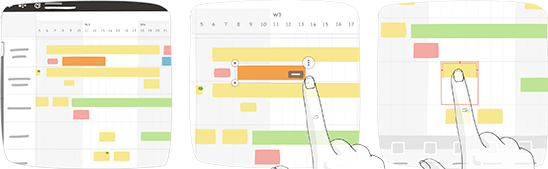
Thanks to the planning board and some of its specific features that facilitate the manipulation of content, you can manage planning activities in iObeya:
- Fixed row and column headers
- Magnetized background grid
- Activity duration displayed on resize
From your room, click Configure the room at the bottom right of the screen.
The Room configuration panel displays.
Click New boards in the dock.
Drag and drop a planning board to the blue zone.
Note
The default size of the planning board is 3A0.
Tip
If you want to change its size refer to: Changing the Size of a Board.
The sizes available for this type of board are: 3A0, 4A0, 5A0, double 3A0, double 4A0, double 5A0.
You can also add a planning board from a board template, or from an imported board.
Enter a name for your board.
Configure the board settings.
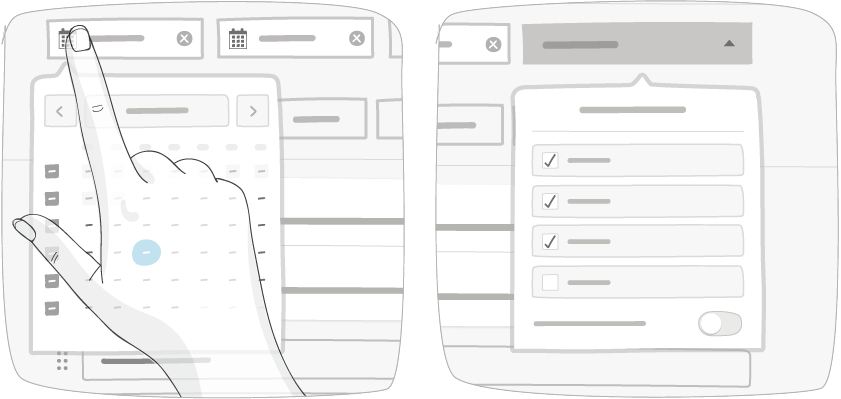
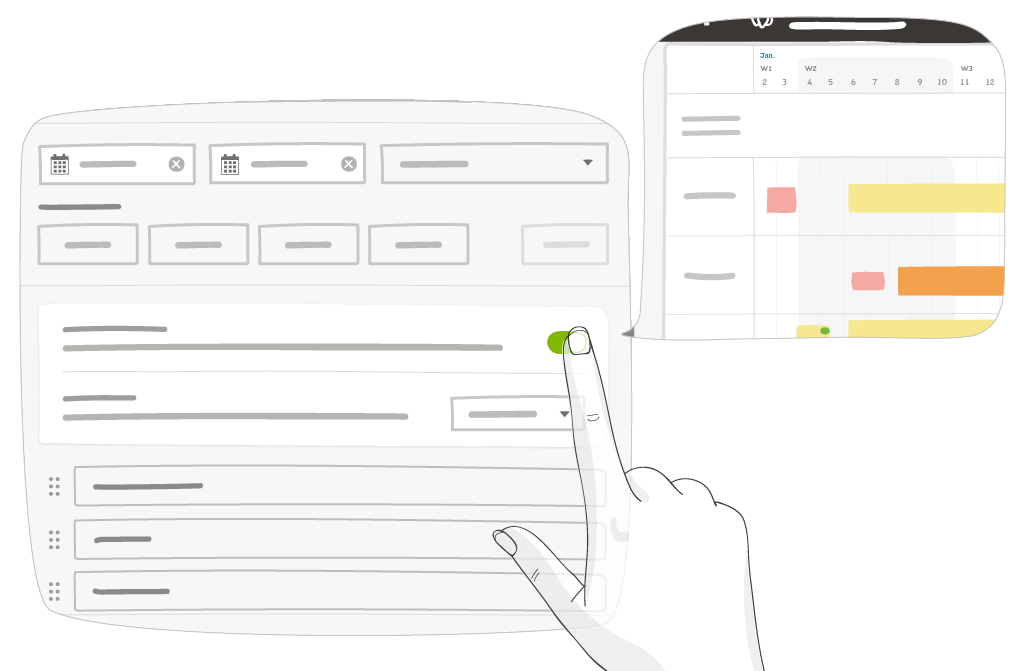
Configure the period of your schedule.
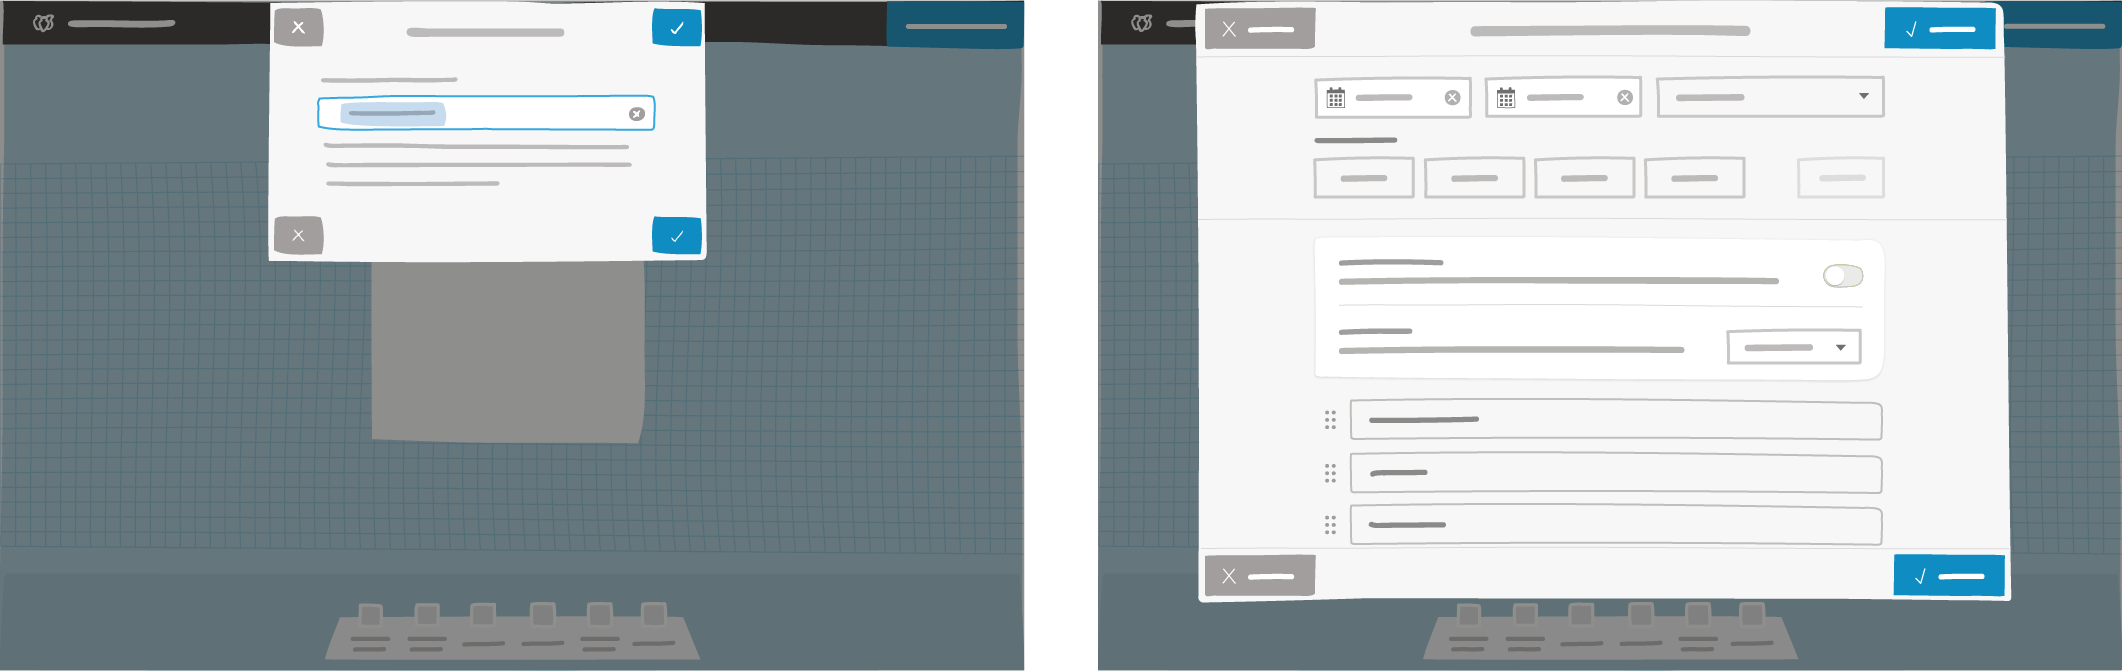
Select the start and end dates, then configure the days, weeks, months, or years to be displayed.
Certain display options cannot be activated due to the start and end dates selected. In this case, try increasing the size of your board to be able to display these.
Create the rows of your schedule.
Rows can represent projects, departments, functions or people, for example. Add row titles to the schedule one by one, using the Enter key to validate each one.
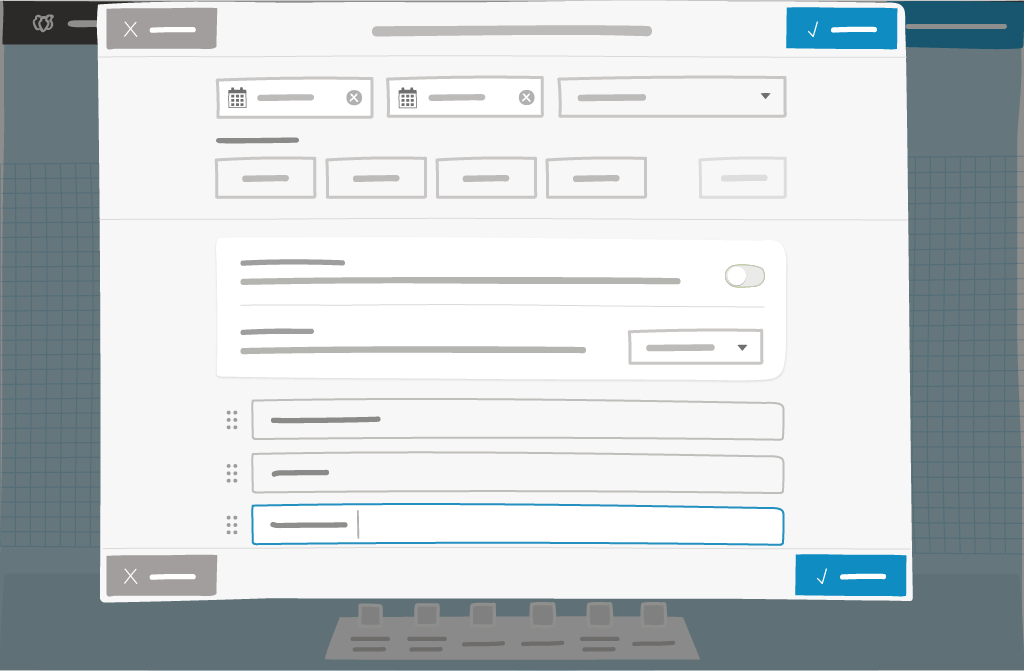
If necessary, activate the Milestone row to create an empty space at the top of the board. You can use it to highlight important events in the schedule, or simply to store elements.
If necessary, activate the Empty area on the right or at the bottom of your board to place unscheduled items, your backlog or even your KPIs. Feel free to add any useful element.
Click Save.
Your planning board is now ready to use.
Note
Adding an Empty area on the right impacts the maximum number of columns in your planning board:
- 2A0: 78 columns,
- 3A0: 122 columns,
- 4A0: 165 columns,
- 5A0: 210 columns.
If the time window excedes the board limits, the dates displayed are modified. For example, if you chose to display days, weeks, months and years; it will be changed to weeks, months and years. To keep the orignal settings, modify the size of your board.
Adding an Empty area at the bottom impacts the maximum number of rows in your planning board:
- 2A0, 3A0, 4A0, 5A0 with Milestone row: 48 rows,
- Double 3A0, double 4A0, double 5A0: 108 rows.
If the number of rows excedes the board limits, the board automatically switch to a double board. For example, from 3A0 to double 3A0.