Contextual Menu
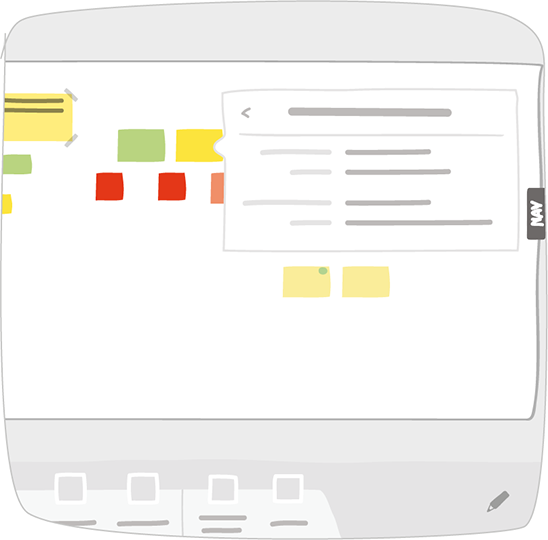
Click once on any element to bring up the contextual menu.
Certain actions are unique to specific tools, while others are available for many tools, or even for all tools.
Changing the Type of a Board Element
You can change the type of an element on your board based on how the tool is configured. It is possible to change a tool instance with another, or to change parameters (size, color, etc.). Change type only concerns certain tools:
- Standard notes
- VSM notes
- Standard Cards
- Activity Cards
- Shapes
- Rolls
- Labels
- Stickers
- Image gallery
- Team
Resizing a Board Element
Certain board elements can be resized in length and / or width. Resizing only concerns certain tools:
- Activity cards
- Shapes
- Rolls
- Labels
- Free text
- Image
- Gauge
- Charts
- Team
Reordering Board Elements
Board elements mimic the physical world, which is why they can be stacked on top of each other. Reorder allows you to change the position of an element, in relation to other elements. You can bring an element to the front or send it to the back, or bring it forward / send it back element by element.
Locking and Unlocking Board Elements
You can lock an element to a board, so that it does not move while you are panning around the board. You can also lock one element onto another, so that they all maintain their relative positions, even when moving the topmost element.

Any locked element can be unlocked through its contextual menu.
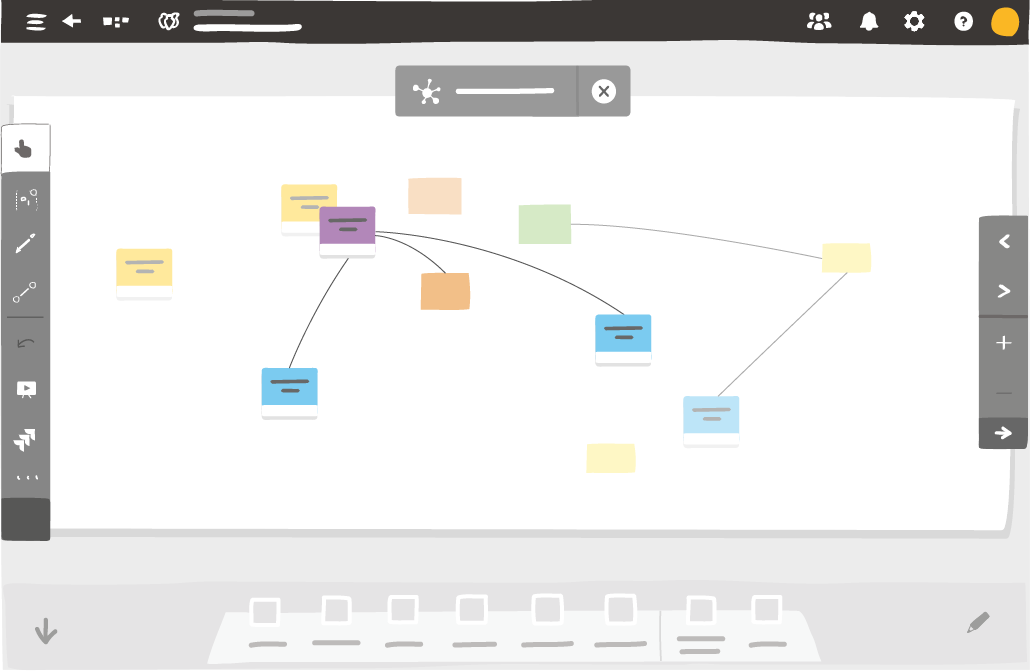
Highlight a card or note and its directly linked elements
In the contextual menu from any card or note, you can choose Highlight linked elements to highlight the selected card or note and all linked elements.

If you remove or add links from the card or note, the highlight will change automatically.
To deactivate the highlight, click on the cross at the top of the screen.
Aligning and Distributing Board Elements
This action is only available in the contextual menu of a group of elements, and allows you to quickly reposition the elements with respect to one another.
You can align your elements horizontally (left, center, or right), as well as vertically (top, middle, or bottom).
You can also adjust the spacing between a group of elements, so that they are evenly distributed.

Tip
Click Restore to undo the last set of modifications made with this feature.
Displaying Information About Board Elements

The Display information action lists the element’s creator and creation date, as well as the last user to have modified the element, and when they modified it.
Adding Hyperlinks to Board Elements
In iObeya, you can add hyperlinks to all elements on the board, except for:
- Stickers
- Team-tool elements
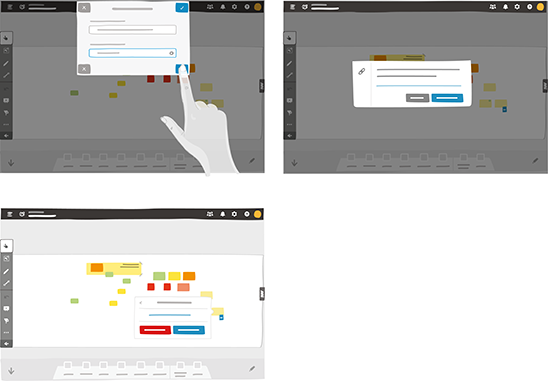
Fill out a description of the link, as well as its URL, in the window that appears.
Once a hyperlink is added, a blue indicator appears on the bottom right of the element, through which any user can access the link.

Tip
You can modify or delete a hyperlink through an element’s contextual menu.
You can also add a hypertext link to your element to access to a shared file (or directory) in your organization’s network:
- Copy the path to the file (or directory).
- In iObeya click on your board element.
- In the contextual menu that appears, click on “Add hyperlink”.
- Type file:// in the Hyperlink (URL) field, and paste the path of your file. Remove any quotes that may be inserted at the beginning and the end of the copied path.
Warning
Be cautious with hyperlinks, as they can pose risks to your computer data. To protect your computer, and your organization, click only on hyperlinks from trusted sources.
Hyperlinks using file:// URLs are blocked by default for security reasons in most web browsers. For more information, please refer to the documentation of your preferred web browser.
To use a hyperlink to a file:
- Click on the blue indicator of your element.
- In the pop-up window, right-click on the hyperlink and click on “Copy link”.
- Open a file explorer, paste the link in the navigation bar and validate to access the shared file (or directory).
Previewing Board Elements
Click an element, or a selection of multiple elements to display the contextual menu, then click Preview this element. The elements are displayed in a mosaic view, so that they can be read more easily.

Clicking an element whilst in the mosaic view takes you to its location on the board. You are also able to edit it.
To leave the preview, click the cross at the top of the screen.

Tip
Jump in and out of the preview using the space bar.
Voting on Board Elements
Click an element, or a selection of multiple elements, to display the contextual menu, then click Vote on this element.
Allocate or remove points on this element or on the current selection. Each voted element displays a score indicator, just like after a voting session. Feel free to vote on elements without activating a voting session.

If you are allowed to create and modify content on the board, you can remove all the points from a board.
Tip
Negative scores are not possible and they are removed when they reach zero.