Adding a Jira table to the Room
You can visualize a large number of Jira issues on specific axes and update them directly from iObeya.
Note
The size of your board is defined automatically by iObeya according to the number of values selected:
For columns:
- from 1 to 8 values + undefined: 3A0,
- from 9 to 13 values + undefined: 4A0,
- from 14 to 24 values + undefined: 5A0.
For rows:
- from 0 to 8 values: Standard board,
- from 9 to 29 values: Double board.
Tip
You can change the size of your board from the contextual menu of the board once created.
You can downsize your board according to its number of columns and rows:
For columns:
- 3A0: maximum of 14 values + undefined,
- 4A0: maximum of 19 values + undefined,
- 5A0: maximum of 24 values + undefined.
For rows:
- Standard board: 14 values,
- Double board: 29 values.
Adding a Kanban table
The Kanban table allows you to edit and reorganize easily Jira data by moving cards from one column to another and change automatically their status in Jira.
Note
To add a Kanban table, you need the following permissions in Jira: Browse project and Administer project.
Your Jira issues are placed automatically in the columns that correspond to their status.
From the Room configuration, click New boards in the dock.
Drag and drop the Jira table to your room.
Enter a board name.
Select Kanban table.
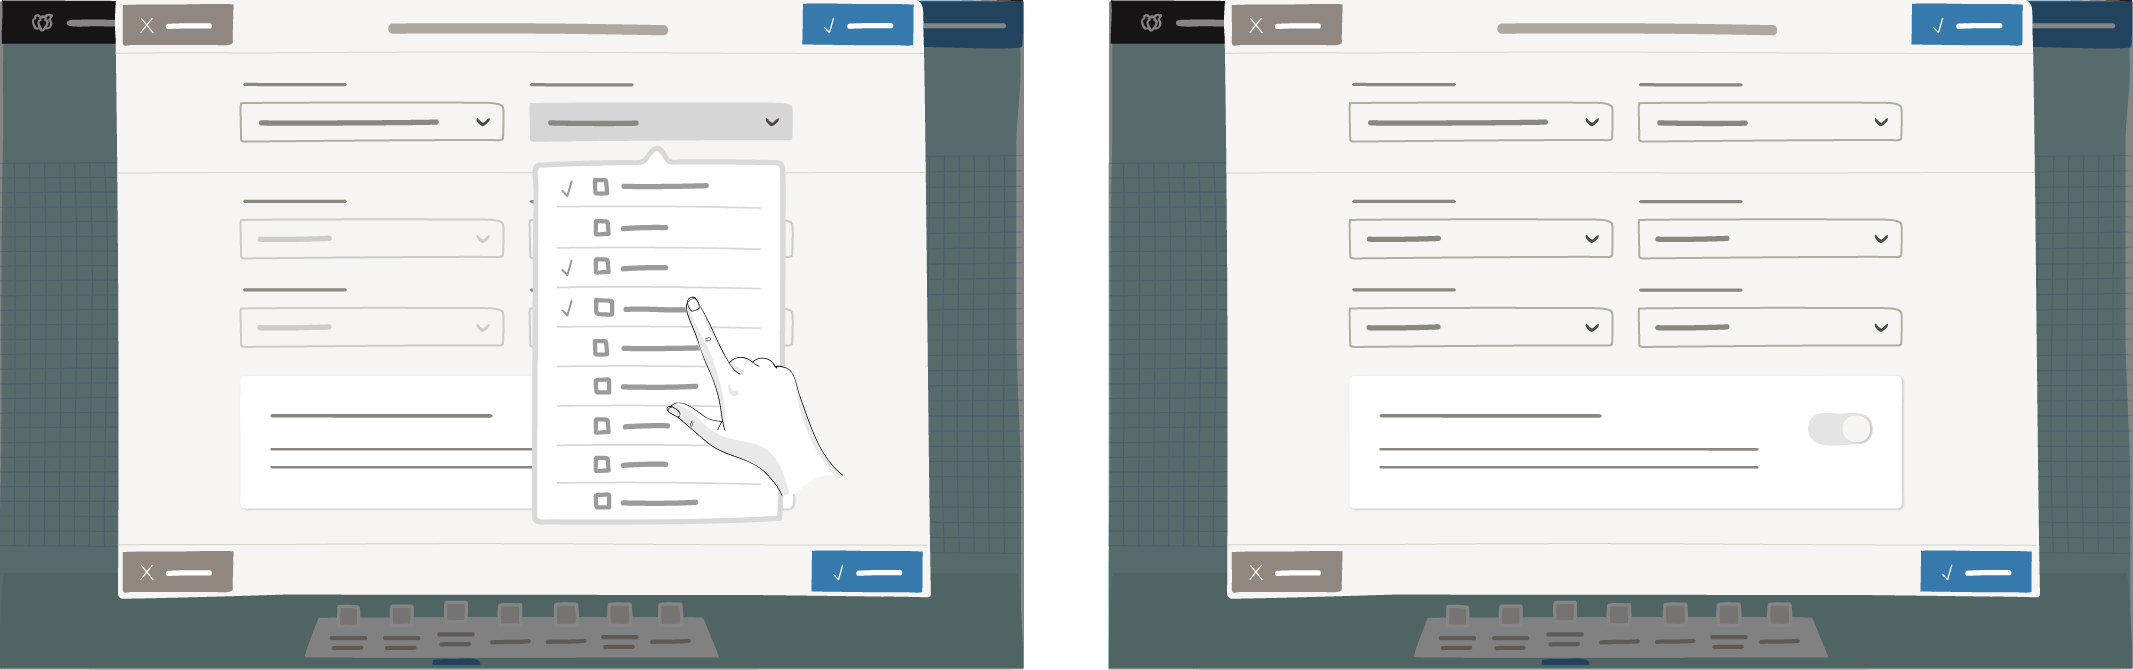
Select:
- an Instance
- up to 30 Projects
- the Workflow: only common workflows among the selected projetcs will appear in the list.
- in Status, the statuses you want to display on the Kanban table.
Warning
To create a Kanban table using multiple projects, you need to have administration permissions in all the selected Jira projects.
In the Workflow order section, reorder the statuses as needed.
Click Save.
Adding a Sprint table
Warning
You have to create a Sprint in Jira to manage Sprints in iObeya.
The Sprint table is only available for Jira Software projects.
The Sprint table allows you to visualize your issues during your agile rituals (PI Planning, Sprint planning, daily scrum,…).
Your Jira issues are placed automatically in the columns and rows of the board, depending on the Sprint table settings.
Note
To add a Sprint table, you need the following permissions in Jira: Browse project.
The Column values and Row values are displayed on the board by selection order.
From the Room configuration, click New boards in the dock.
Drag and drop a Jira table to your room.
Enter a board name.
Select Sprint table.
Select:
- the Instance
- the Jira Board
- the type of information displayed in the Columns is filled automatically with Sprint and cannot be modified.
- the Column values
- the type of information you want in Rows
- the Row values
Note
The values available depend on your permissions in Jira.
The fields available for Rows are the one shared by every issue of your Jira board.
Select Capacity and Load, if needed.
Note
This feature allows you to visualize your Capacity and Load in the columns of your Sprint table.
Click Save.
Tip
Since the 4.13 version of iObeya, your Sprint table automatically displays the date of each iteration.
To display the iteration dates configured in Jira on your Sprint table created before iObeya 4.13 export your Sprint table and import it in the same room.
Using Capacity and Load
- Visualizing your Load
The Load:
- displays the sum of the Story points from the issues in the corresponding Columns.
- appears in red if it exceeds the Capacity configured in the Columns.
- Configuring your Capacity
Click Capacity.
Enter your Capacity value.
Note
The value cannot exceed 9999.
Click on your board.
The Capacity counter is updated.
Adding a Free table
Warning
You cannot manage Kanban or Sprint project with a Free table.
The Free table allows you to create an interactive visualization of your Jira issues organized by one or two Jira parameters (e.g. assignee, priority, version, components)
Note
To add a Free table, you need the following permissions in Jira: Browse project.
The Column values and Row values are displayed on your Jira table by selection order.
From the Room configuration, click New boards in the dock.
Drag and drop a Jira table to your room.
Enter a board name.
Select Free table.
Select a Jira instance and a Jira project.
Select a Jira value for Rows and/or Columns depending.
For each row and column, select the values to display on the board.
Note
The values available depend on your permissions in Jira.
Click Save.
Viewing your Jira table settings
You can always view your settings later.
From the Room configuration view:
- Click your board.
- From the contextual menu, click Consult Jira table settings.
From your board:
- Click
 .
. - Click Change parameters.
- Click Consult Jira table settings.