Modifying Your Planning Board Settings
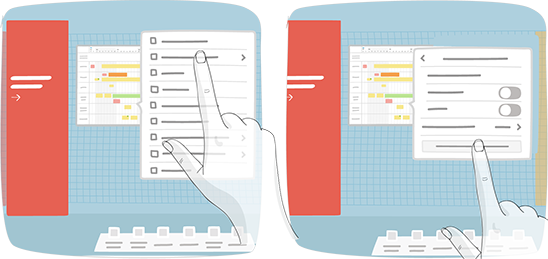
Enter your room, then click Configure the room at the bottom right of the screen.
The Room configuration panel displays.
Click a planning board, then click Change parameters ‣ Change schedule settings.

Modify the start and end dates of the schedule by using date pickers or directly shift the period range by one week, two-three weeks or even several months. Simple users (board edit permission only) can also modify the dates.

The modification of the overall period of the schedule automatically adjusts its activities, including their respective dates. The activities are resized and repositioned, if permitted.

If some activities are now beyond the newly defined period, they are sent to the trash.
The resized activities that are partially beyond the newly defined period are adapted, so as to remain visible on the schedule.
Add or remove rows.
Just like with the modification of overall schedule dates, the addition or removal of rows on the planning board leads to the automatic adjustment of its activities, with respect to the rows on which they were originally displayed. Any activities on a deleted row are sent to the trash. Activities that are displayed across several rows are resized, so as to respect the other rows to which they are associated.
You can also add a Milestone row or an Empty area to highlight important events in the schedule, place unscheduled items, your backlog or even your KPIs.
Feel free to add any useful element.

Modify the board format.
The modification of the format of the planning board does not affect its start and end dates, but may have an impact on the display of the date headers.
There are three sizes of boards available: 2A0, 3A0 and 4A0.
The procedure is the same as with blank boards.
Unlike blank boards, reducing the size of a planning board is not limited by its content, as its activities are resized and repositioned automatically, so as to respect the dates associated to them.