Converting Cards and Notes into Jira Cards
Convert any cards or notes into Jira cards and automatically create issues into your Jira projects.
Note
To convert a card or note into a Jira card, you need the following permissions in Jira: Browse project and Create issue.
To convert a story card with story points mapped on estimation field, you need the following permissions in Jira: Browse project, Create issue and Edit issue.
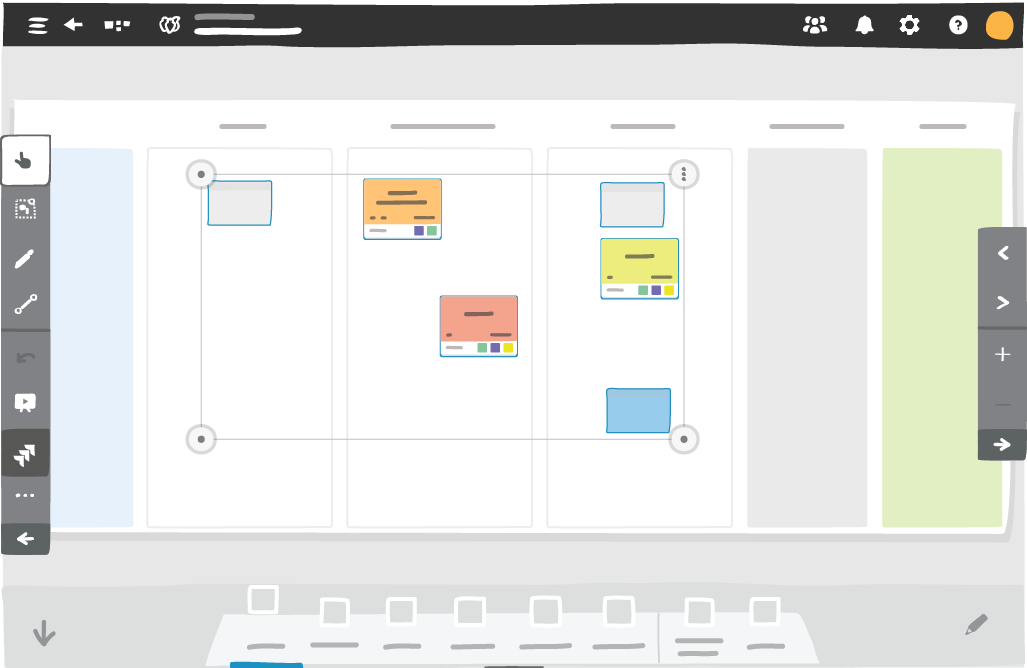
Tap the
 Multiple Selection mode icon.
Select one or several cards or notes.
Selected stickers, rolls, or other elements will remain untouched.

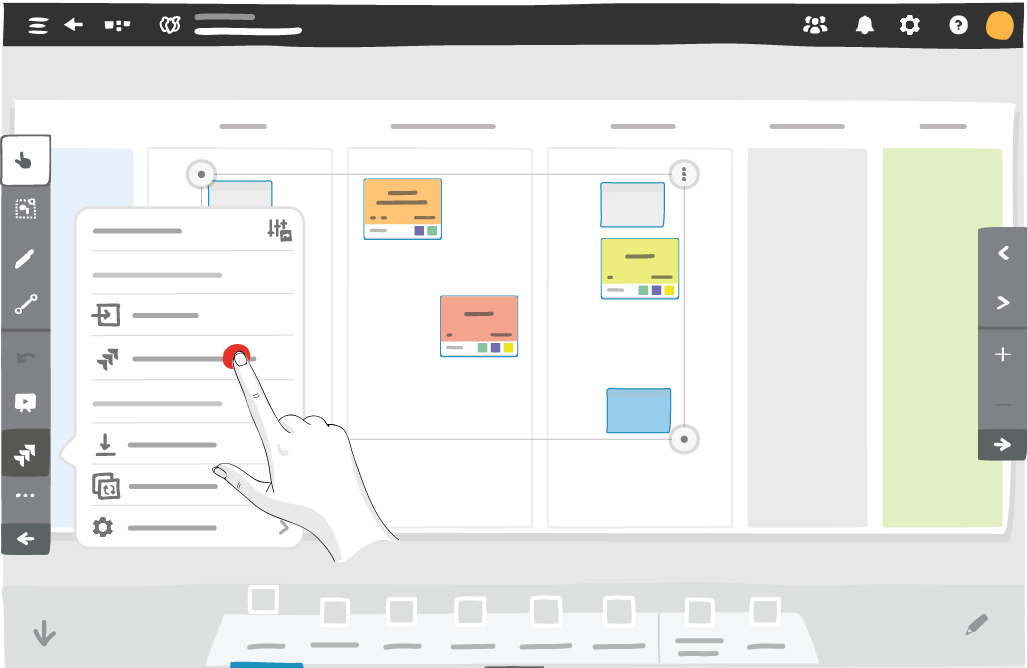
Tap Jira ‣ Convert to a Jira card in the utilities toolbar.

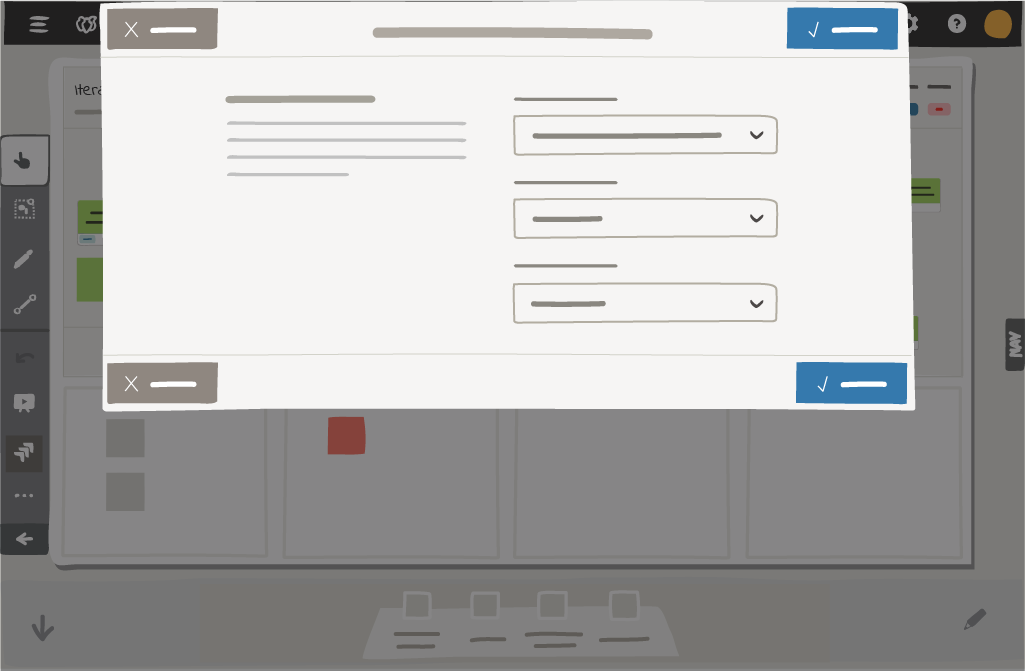
Select your Jira instance, then allow access to your Jira instance, if needed.
Select a Jira project and an issue type.

- If you have selected a card or note from a Team board
To map the iObeya iterations to your Jira sprints, tap I am using a Scrum board, select the board where your issue is created, then map the iterations.
Note
A Scrum board must exist in Jira to be able to select the option: I am using a Scrum board.
- If you have selected a story card containing story points
To use the default estimation field from Jira, click I am using a Scrum board, select the board where your issue is created.
You can then use the estimation field, or the custom field created from Jira.
Note
For the custom field to appear in iObeya, it must be a Number field.
- If you have selected a story card containing story points on a Team board
You can map the iObeya iterations to your Jira sprints and map your story points and iterations in Jira.

Tap Convert.
Your Jira issues are created.
Issues created from iObeya cards and notes contain their titles. Issues created from iObeya story cards also display their story points.
To restore deleted information, such as check list items, restore the original elements from the iObeya trash.