Managing Domains and Rooms
Introduction
This chapter describes how to manage your rooms on the platform.
As a platform administrator you will learn how to:
- Create and manage domains.
- Create and manage rooms (for domain administrators also).
A domain is an entity that contains rooms.
Domains allows platform administrators to partition their platform into several independent entities, ensuring confidentiality and security of the virtual rooms. It allows you to delegate room administration of each domain to domain administrators.
Important
- Public rooms of a domain are accessible only for users that have permissions for that domain.
- Room models can be used only in the domain in which the models have been created.
- A user needs to have permissions for a domain to be added to a room of that domain.
- A user can have access to multiple domains.
Creating a New Domain
Select ROOM MANAGEMENT in the left-hand side menu to open a submenu, then select Domains.
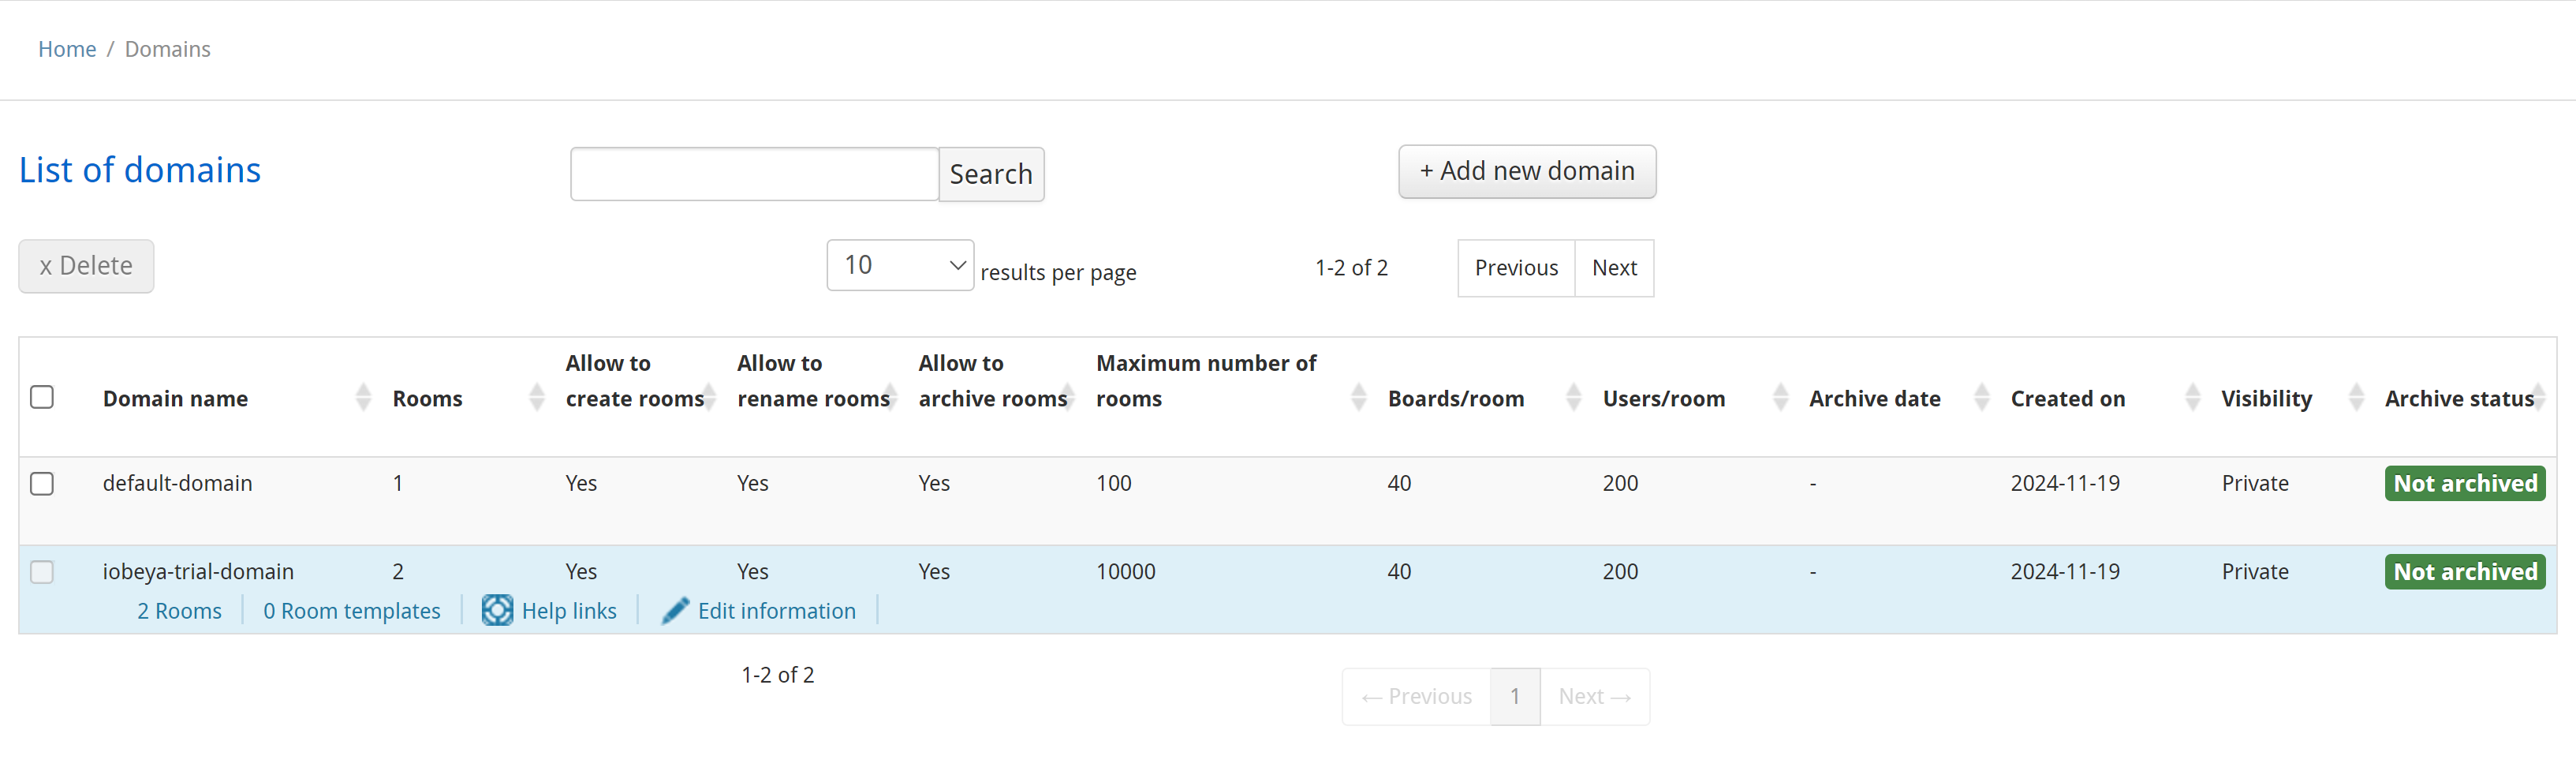
The list of domains displays.
On the top-right side of the page, select Add new domain.
Fill in the different fields.
The maximum number of rooms, users and boards in a domain are limited by the size of the license installed.
If necessary, select:
- Allow users to create rooms on this domain,
- Allow room administrators to rename rooms on this domain,
- Default room privacy public to make all the rooms in this domain public by default.
- Contact email to display to the users if there is no more room available.
Enter the Close date at which date the domain will be archived (i.e. locked).
Select Save.
The new domain appears on the interface’s domain list.
Managing a Domain
Editing a Domain
Editing a domain means changing the information defined when it was created.
- Move the cursor over the domain to display the available options.
- Select Edit information.
- Make the changes.
- Select Save.
Managing Domain Help Links
As described in the Platform help links section, platform and/or domain administrators can add a help link which will be specific to users of a domain.
Managing domains’ help links works in the same way as platform help links.
To add a domain help link:
In the left-hand side menu, select ROOM MANAGEMENT, then select Domains.
Move the cursor over the domain, then select Help links.
Select Add new help link.
Fill out the Label and URL fields, then select Add help link.
To edit a link, move your cursor over the link, then select Edit information.
To delete a link, move your cursor over the link, then select Delete.

Tip
Every link in the list is available to iObeya users when they select Useful links in the user menu (top-right hand corner of the screen, where the user’s initials are displayed).
- To see a domain help link, you need to have user permissions for this domain
- Domain help links will only be displayed when navigating a room in this domain.
Tip
To bulk delete help links, make a selection by checking boxes, then select Delete.
Managing Room Templates
A room model can be used as a template to create a new room. For now, editing the name and removing an unused model are the two available actions when managing room templates.
Note
Room models are published from the application by room administrators having the Publish as model permissions.
Select ROOM MANAGEMENT in the left-hand side menu, then select Domains.
Move the cursor over the domain, then select Room templates.

Change the name: move the cursor over the room model, then select Edit information.
Delete the model: move the cursor over the room model, select Delete.
Note
To bulk delete room models, make a selection by checking boxes, then select Delete.
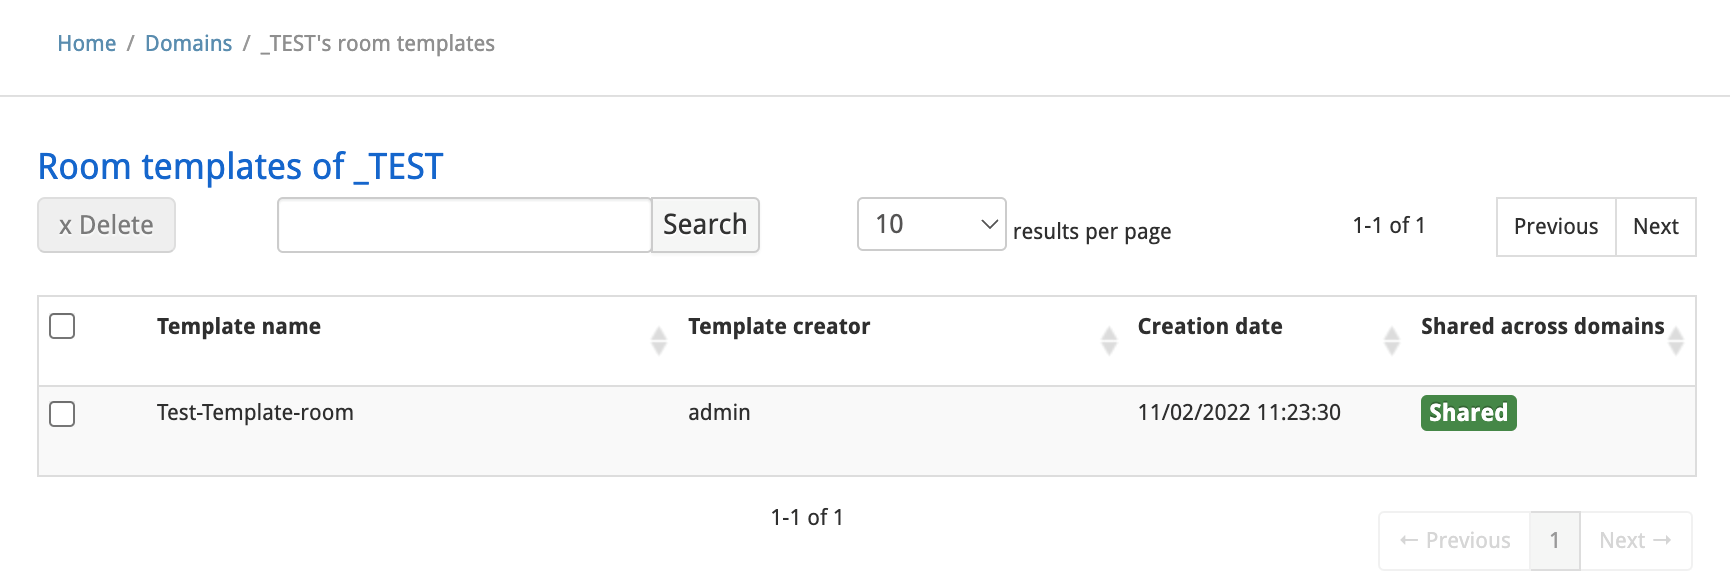
Cross domains room templates
iObeya allows you to share room templates across the several domains of your organization.
To share a template across domains:
- From the administration home page, in the Room management section, click Domains.
- Hover over the domain from which you want to share the room templates.
- Click [number] templates.
- Click Share across domains.
To stop sharing a template across domains:
- From the administration home page, in the Room management section, click Domains.
- Hover over the domain from which you want to share the room templates.
- Click [number] templates.
- Click Stop sharing across domains.
Archiving a Domain
An entire domain can be archived. All the rooms that belong to the domain will be archived too.
In the left-hand side menu of the administration interface, select ROOM MANAGEMENT, then select Domains.
Move the cursor over the domain to be locked.
Select Edit information.
Check the Archived box.
As an option, archiving can be scheduled. Instead of checking the box, select an archive date.
Select Save.
When a domain is archived, the value in the Archived domain column is true in the administration interface.

Unarchiving a Domain
To unarchive a domain, uncheck the Locked property, then select Save. All the rooms that belong to the domain will be unarchived (if the required licenses are available).
Deleting a Domain
Warning
Deleting a domain will remove the domain and all the rooms it contains. This action is irreversible.
- Move the cursor over the domain to display the available options.
- Select Delete.
Tip
To bulk delete domains, make a selection by checking boxes, then select Delete.
Creating a New Room
To manage rooms:
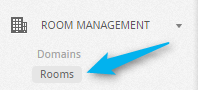
Select ROOM MANAGEMENT in the left-hand side menu, then select Rooms.
To create a room:
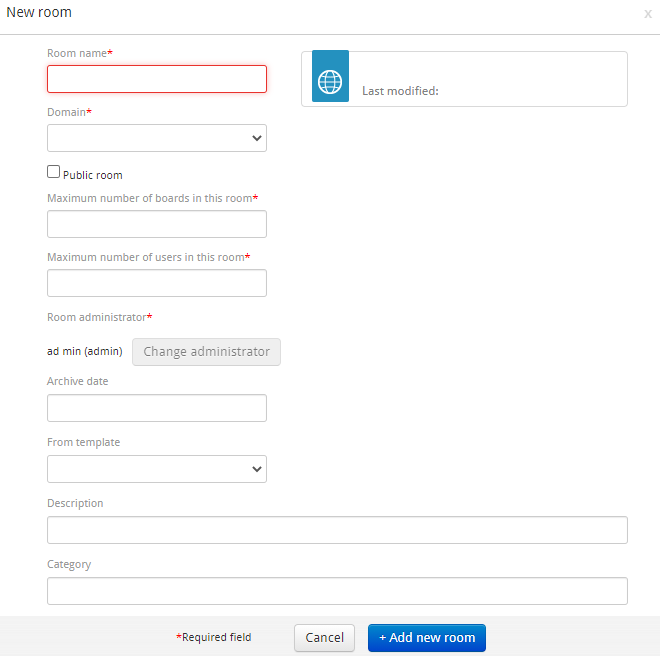
Select Add new room.

Fill out the following fields, then select Save:
- Room name
Name of the room.
- Domain
Domain containing the room.
- Public room
Checking this box enables any user with access to the domain to enter this room.
- Maximum boards in this room
This number is limited by the value defined in the domain parameters, which is limited by the value defined in the license.
- Maximum users in this room
This number is limited by the value defined in the domain parameters, which is limited by the value defined in the license.
- Room administrator
Default room administrator.
- Archive date
To schedule the archiving of the room (See more in Archiving a domain)
- From template
If a room model is available, a new room can be created from this template (it will be a copy of the room defined as a model, boards and content included). This is useful to deploy standardized Visual Management practices, or to save time (the room administrator will not have to re-create every board, tool set, etc. each time a new room is created).
- Description
Free text.
- Category
Free text.
Note
Information added in Description and Category fields is only visible from the administration platform.
The room is created and it appears in the list.
Note
If the Default room privacy public box was checked when the domain was created, the Public room box is checked by default.
Managing a Room
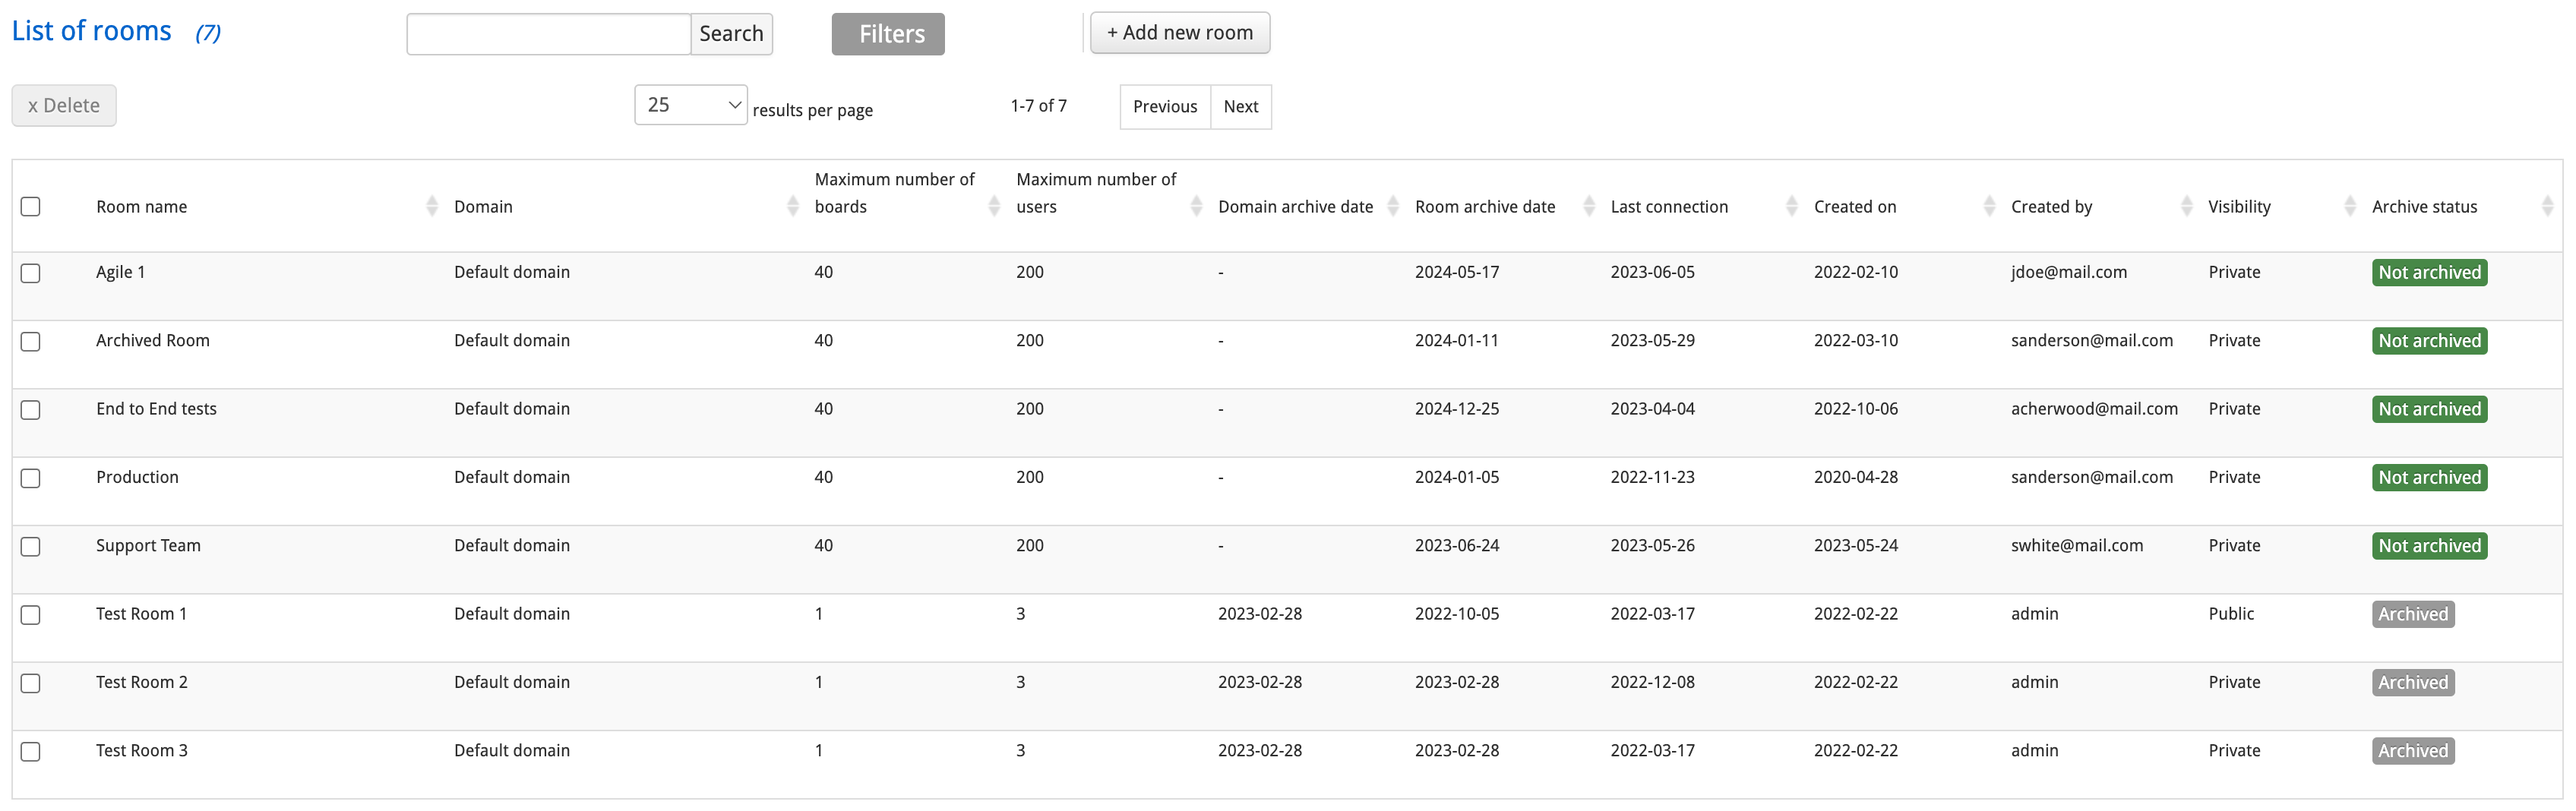
Searching for Rooms
In addition to the existing room name search box, there is now an advanced filter to retrieve the rooms you wish to display.
Select ROOM MANAGEMENT in the left-hand side menu, then select Rooms.
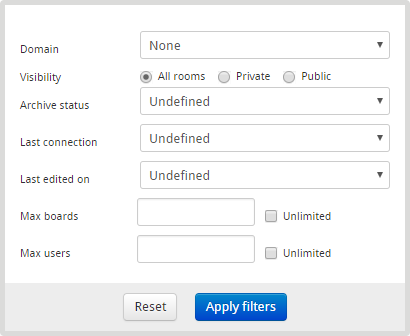
Select Filters.

The popup containing filter criteria opens.
Editing a Room
Editing a room means changing one of the following parameters: Domain, Name, Privacy, Maximum number of boards, Archiving date, or Archiving status.
Move the cursor over the room, then select Edit information.
Update the information as desired.
Select Save.
Note
- If a room is archived, it will no longer be displayed in the room list on the welcome page. Users can no longer access this room, but it is not deleted from the platform.
- If an iObeya room is dedicated to a project, and that project is over or put on hold, then that room can be archived, for example, to free up a license for a new project.
Moving a Room From a Domain to Another
- Move the cursor over the room, then select Edit information.
- Change the domain in the domain list.
- Select Save room.
Note
When a platform administrator moves a room to a new domain, the same level of permissions of the users of that room are automatically applied to the new domain to which the room is moved.
Converting a Trial Room into a Permanent Standard Room
Warning
A license is required to convert a trial room into a permanent standard room. Make sure a license is available before you proceed with the conversion.
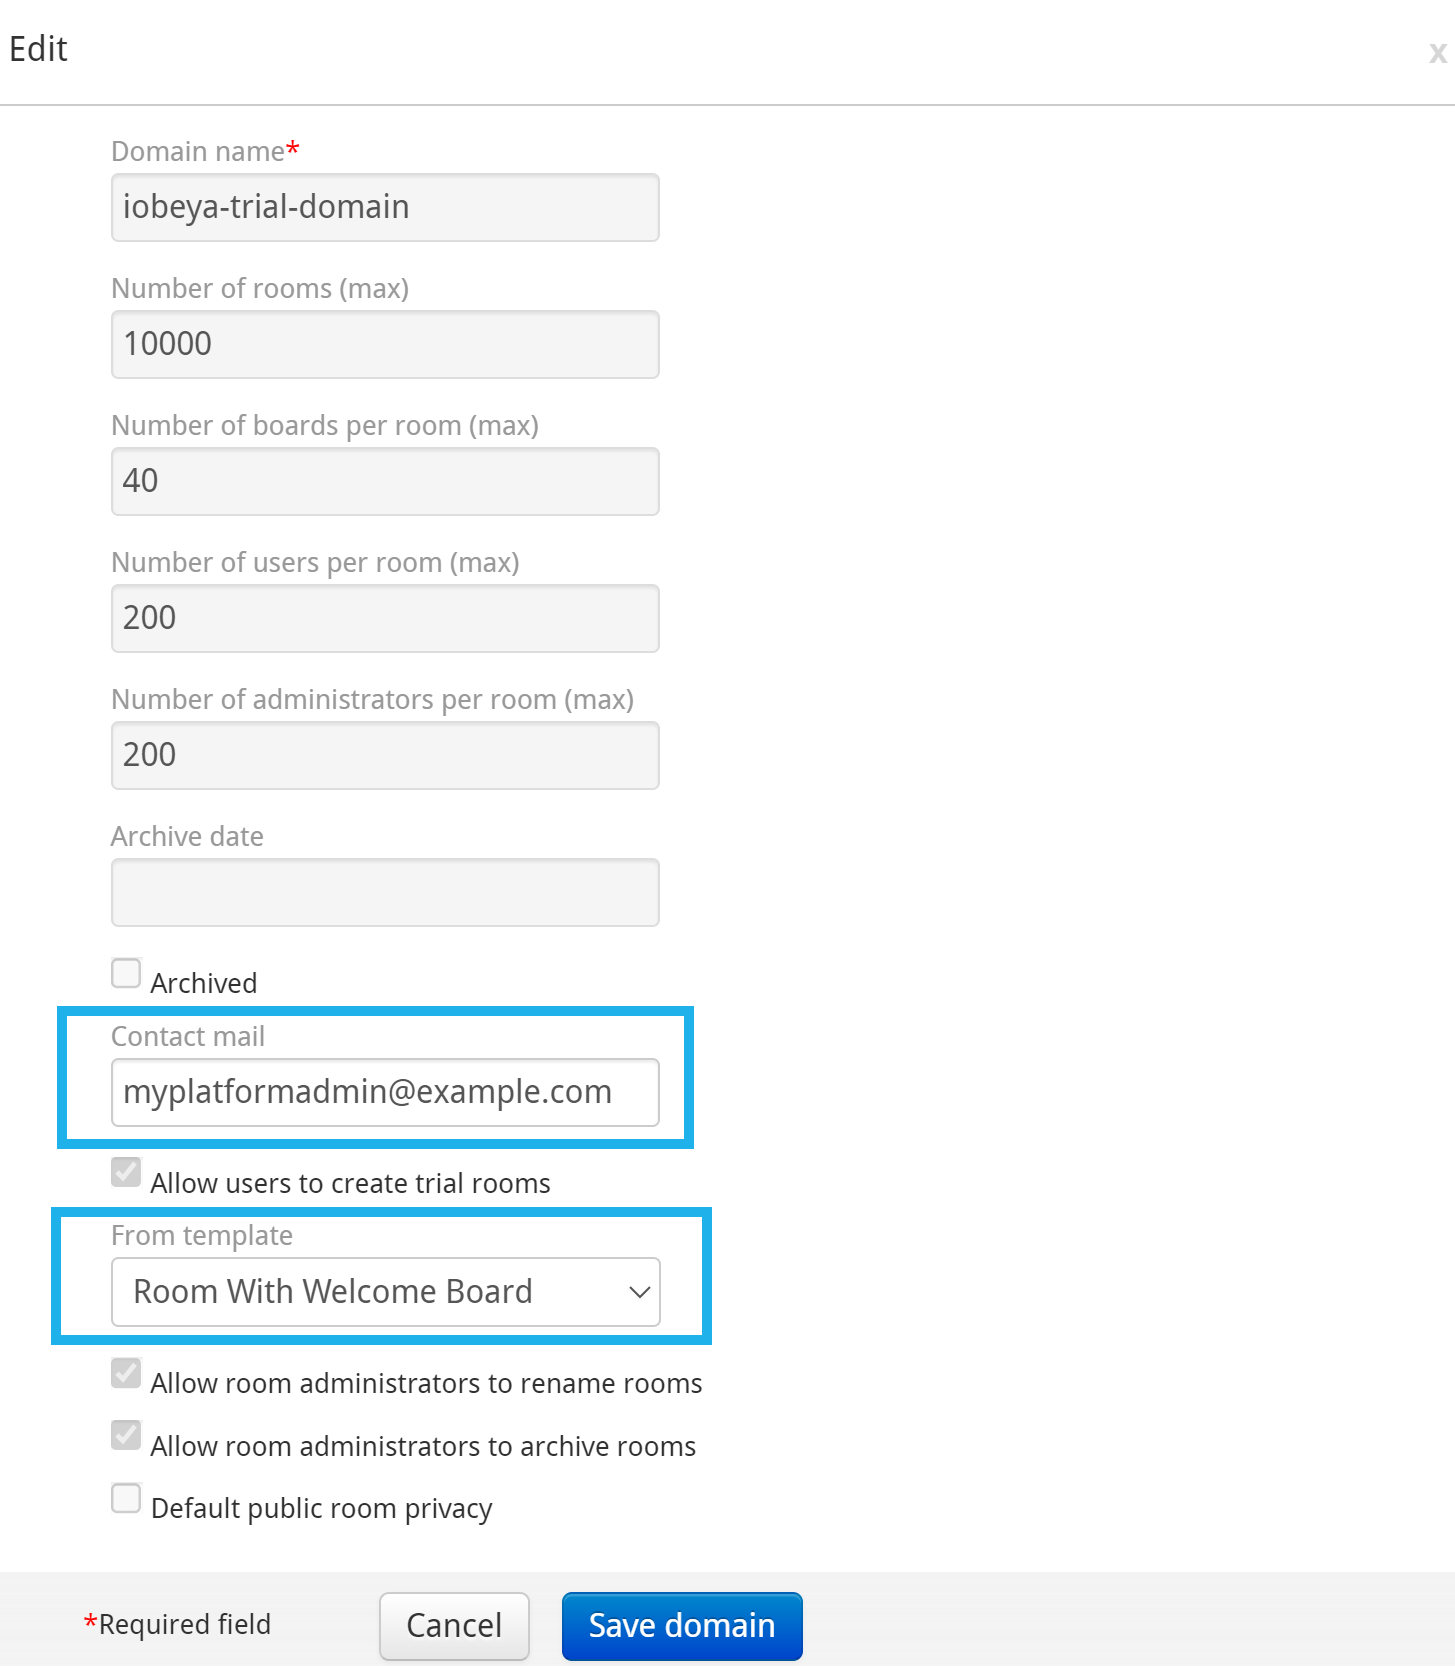
All trial rooms are created in a default domain iobeya-trial-domain.
You cannot modify this domain except:
- Contact mail: which is by default support@iobeya.com. You need to change it by your platform administrator email address for instances.
- Template: you can preconfigure a trial room template to fit your main use cases.
To convert a trial room into a permanent standard room:
Access the list of domains: in the left-hand side menu of the administration interface, select ROOM MANAGEMENT, then select Domains.
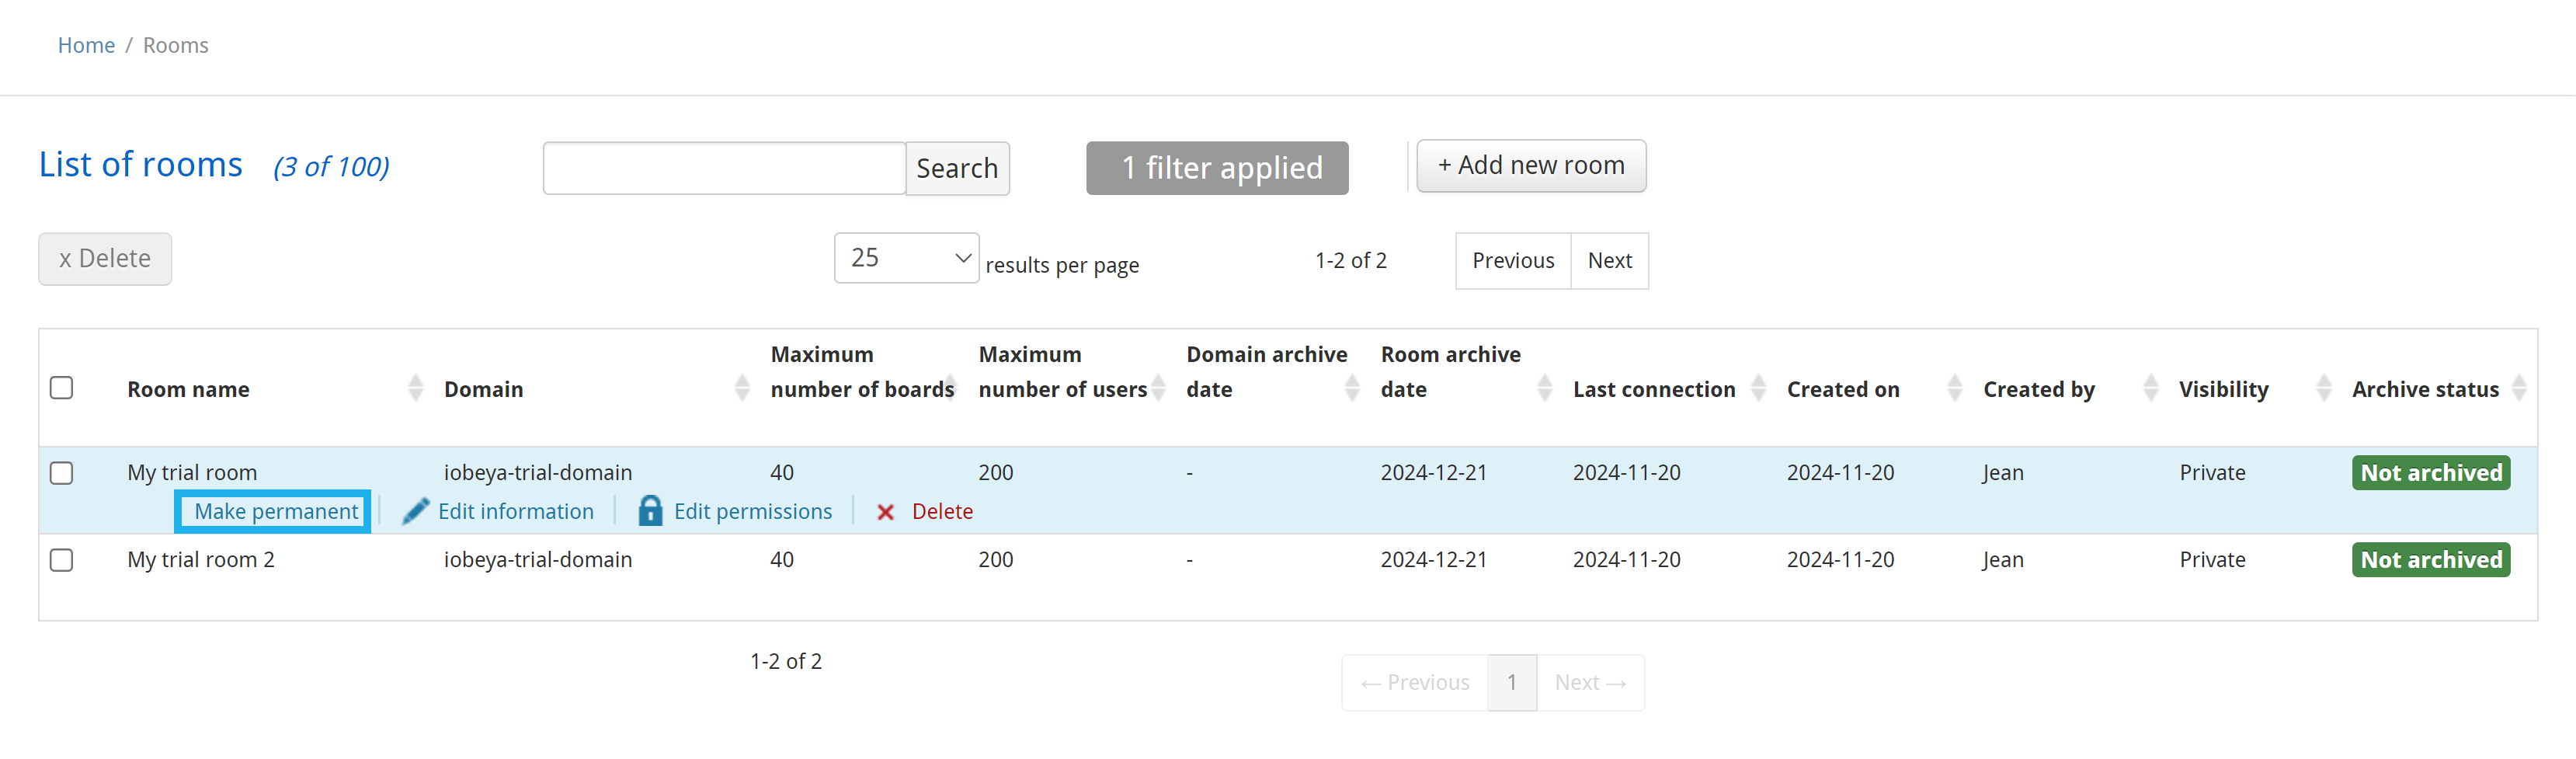
Move the cursor over the domain iobeya-trial-domain and click Rooms.
Move the cursor over the trial room that you want to convert and click Make permanent.
The Make permanent action aims to:
- unarchive the trial room if it was previously archived,
- remove the archiving date if the trial room was not yet archived,
- automatically grant access to the users of the trial room on the domain you will select,so they can access it.
A pop-up is displayed.
Select the domain where you want to move the trial room.
Click Save changes.
Your trial room is no longer displayed in the iobeya-trial-domain and becomes a permanent standard room in the selected domain.
Archiving a Room
Warning
If a room that contains shared boards (boards that belong to other rooms) is archived, then these shared boards will be removed from that archived room. In the same way, if a room in which room administrators have shared some boards is archived:
- The shared boards are no longer shared (even if the room is unarchived).
- The shared boards will be removed from the destination rooms.
If a room is archived, nobody can access it, although the content is not deleted.
In the left-hand side menu, select ROOM MANAGEMENT, then select Rooms.
Move the cursor over the domain where the room to be locked is contained.
Select Rooms.
Move the cursor over the room, then select Edit information.
Check the Archived box.
As an option, archiving can be scheduled. Instead of checking the box, select an archive date.
Select Save.
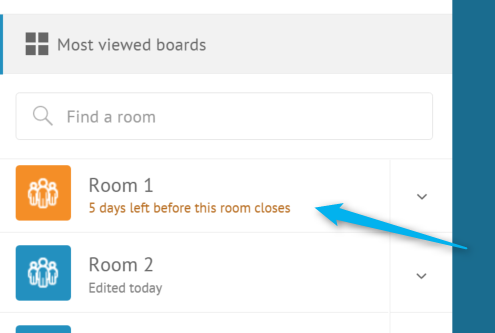
If an archive date is specified, a message will be displayed to all users 15 days prior to this date to inform users that the room (or the rooms that belong to the domain about to be archived) will be closed soon, as illustrated below.
When a room is archived, it is no longer listed on the welcome page. In the administration interface, the value in the Archived room column is true.
Unarchiving a Room
To unarchive a room, uncheck the Archived room property, then select Save.
The room will be unarchived if the required license is available, and will be listed on the welcome page for every team member initially granted permissions to that room.
Deleting a Room
Warning
If a room is removed from the platform, all the boards and their content will be deleted. This action is irreversible.
Tip
Should there be any doubt as to whether this information could be useful later, we strongly suggest archiving the room first and deleting it afterwards, when it has been confirmed that the room and its contents are no longer of any use.
- Move the cursor over the room.
- Select Delete.
- Confirm the action.
Tip
To bulk delete rooms, check the boxes corresponding to the rooms to be deleted, select Delete at the top of the list.
Exporting/Importing a Room
The Export/Import feature is useful for copying rooms and room models between domains or platforms.
Exporting Rooms
Warning
The users, their permissions, and the elements in the trash cannot be exported. Only the boards, the board templates, the tools, the elements on the boards, and elements in the exchange zone are exported.
Select Export room in the left-hand side menu, under the TOOLS section.
Select the rooms/templates you wish to export.
The domain name is written in brackets to differentiate rooms with the same name.
Select Export at the top left-hand side of the page.
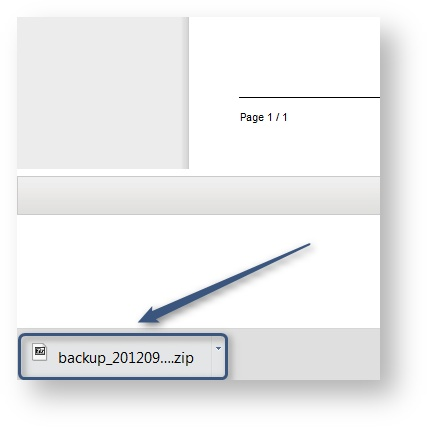
The platform administrator may then be prompted to save a ZIP file, depending on the browser. The file name format is: backup_YEARMONTHDAY_HOURMINUTESECOND.zip
Importing Rooms
To import a backup, you need an iObeya export ZIP file:
- Select Import on the left-hand side menu of the administration interface, under TOOLS.
- Select Choose file.
- Select the iObeya export ZIP file on your computer to import.
- Select Submit.
- When the file is uploaded, a list of the rooms and room models it contains is displayed. Select the ones intended for import.
Warning
- A warning message is displayed if the iObeya version has changed between the platform from where the export has been made and the platform to which you are importing.
- The import/export feature is not supported between two different versions of the application. However, you can still try to import the data and see if errors occur during the process.

You may also receive a message if there is a custom add-on in your backup and you do not have that add-on installed on your server. Please install the add-on first, then try again.
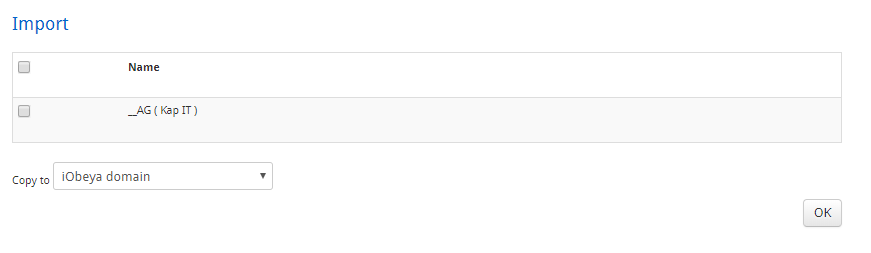
Select the domain into which the rooms or templates will be imported.
Select OK.
Wait until the import is confirmed by a message at the top of the page. The option to import the rooms into another domain is available on this screen.
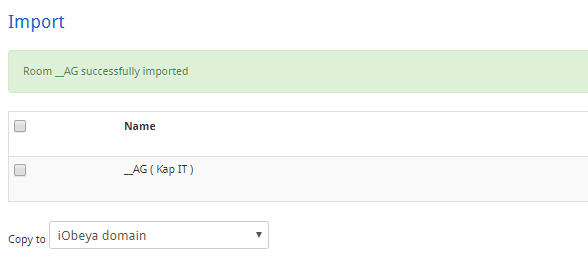
The rooms and the models have been imported into the selected domain, and by default, the user account used to import the rooms is the default room administrator of the imported rooms.
You can now create a new room from the templates, or assign team members to the imported rooms.