From Power BI to iObeya: Differents Ways to Trigger your Automation
Learn how to automate and streamline your data integration workflow between Power BI and iObeya using various trigger options in this article.

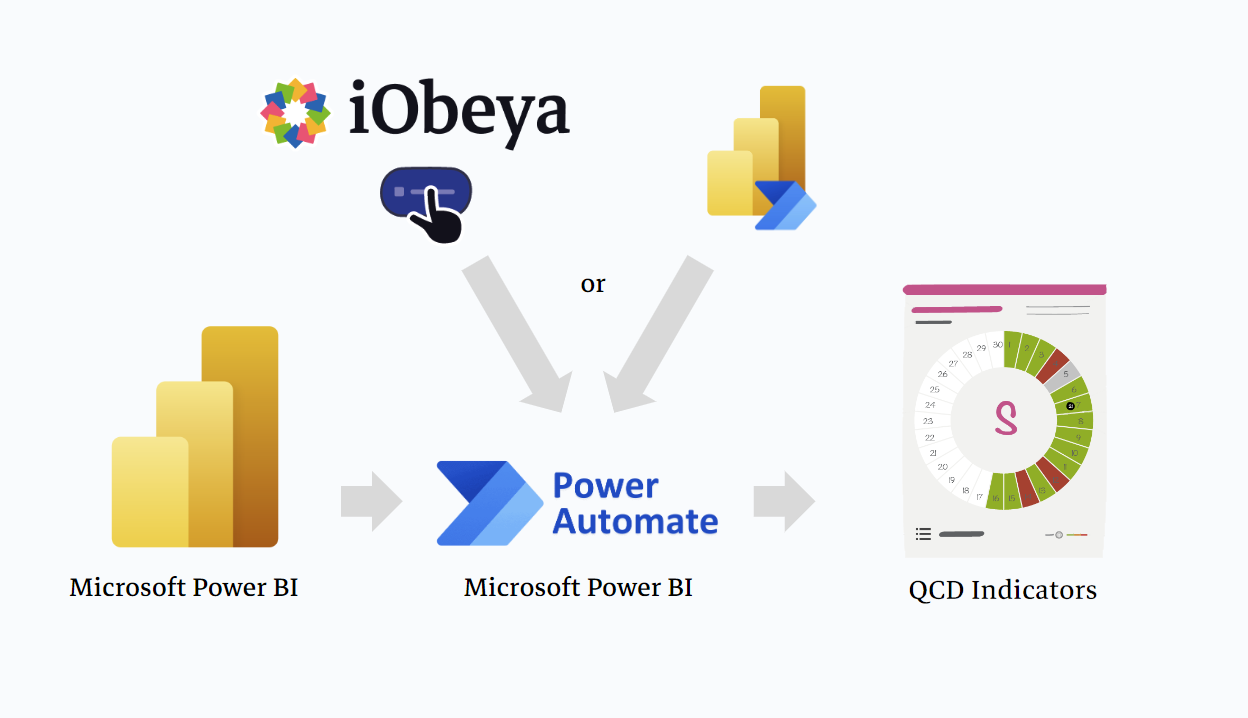
In today's fast-paced business environment, being able to quickly and efficiently manage and act on data is critical. Power Automate is a powerful tool that helps organizations automate manual processes, freeing up time for more important tasks. When used in conjunction with Power BI and iObeya, you can take your data visualization and decision-making capabilities to the next level.
In this article, we will explore two ways to trigger a Power Automate flow from within Power BI and iObeya. This will allow you to automate your workflow and make it even easier to manage and act on your data.
You can also take a look right now to this related article which shows the result in a quick video.
Part 1: Triggering a Power Automate Flow from Power BI
Create a Power BI Report
To get started, create a Power BI report that contains the data that you want to work with. Make sure that the report is properly formatted and contains all of the data that you want to extract.
Create a Power Automate Flow
This step explains how to create a button in Power BI that triggers a Power Automate Flow. For a complete and detailed explanation of how to create a Power Automate Flow with PowerBI actions, please read our article Maximize Your Data Insights with Power BI and iObeya.
With this flow, you'll be able to automate your data management processes with just a few clicks.
Add a Power Automate Button to Your Power BI Report

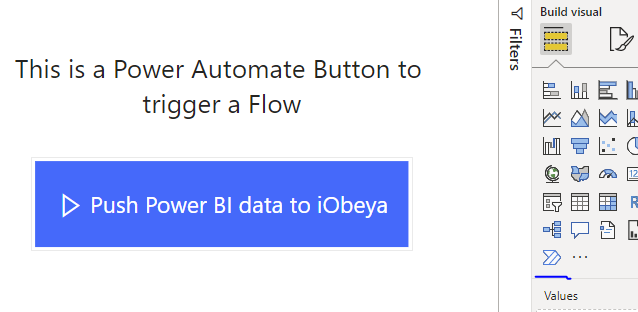
With your flow in place, it's time to add a Power Automate button to your Power BI report.
This button will trigger your flow when it is clicked. To add a button, go to the “View” tab in Power BI and click on the “Buttons” dropdown.
Select “Power Automate” and choose the specific flow that you want to trigger.
Trigger Your Flow
With your button in place, it's time to trigger your flow. Open your Power BI report and click on the Power Automate button. This will trigger your flow and extract the data from Power BI, allowing you to automate your workflow and streamline your process.
Part 2: Triggering a Power Automate Flow from iObeya
In this part, we'll show you how to create a button in Power BI that triggers a Power Automate Flow.
Advantages of Using the iObeya Button Tool :
- Stay within iObeya for visual management: By using the iObeya button tool, you can trigger a Power Automate Flow without leaving the iObeya platform. This allows you to keep all your data management processes within one system, making it easier to manage and monitor.
- Make decisions close to the board: With the iObeya button tool, you'll have quick and easy access to the Power Automate Flow, right from within your iObeya board. This means you can make decisions about your data management processes quickly and efficiently, without having to switch between multiple systems.
Create an iObeya Board
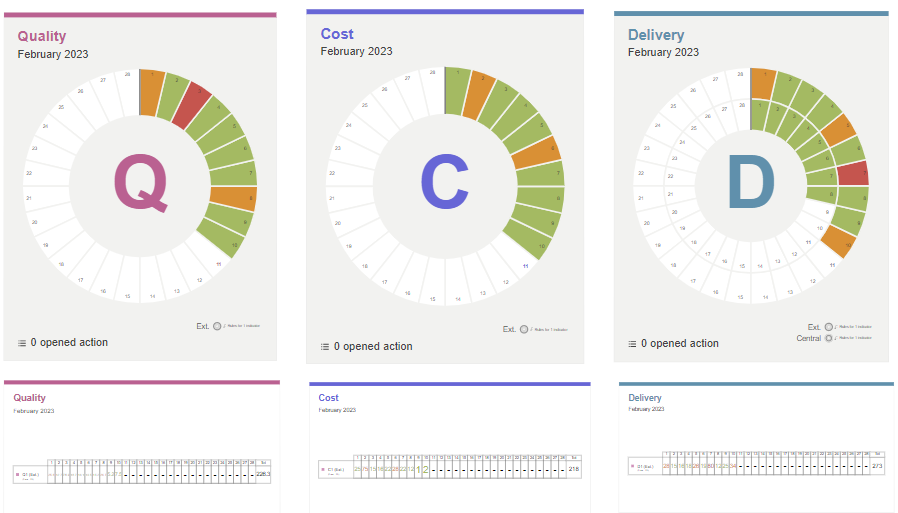
To get started, create an iObeya board that contains the data that you want to work with. Make sure that the board is properly formatted and contains all of the data that you want to extract.
Create a Power Automate Flow
For a complete and detailed explanation of how to create a Power Automate Flow, please see our article "Maximize Your Data Insights with Power BI and iObeya".

But replace step 2 by : Select "HTTP Request" as the trigger instead of “On Power BI button clicked”.
- Configure the trigger with the desired parameters and save the Flow.
- After saving the Flow, copy the HTTP GET URL provided by Power Automate.
Add a Tool Button to Your iObeya Board

To add a button tool in iObeya, follow these steps:
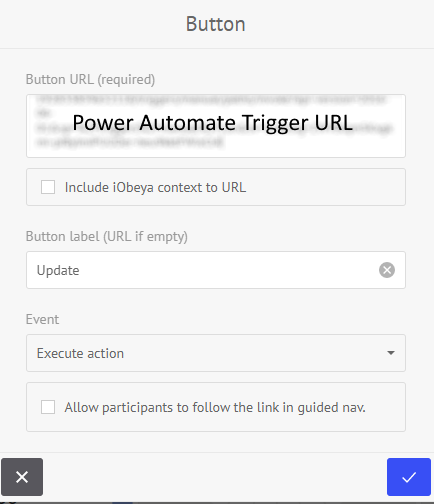
- Pick up the Button tool from the dock of your board.
- Place the button on your board.
- In the Button URL textbox, enter the URL that corresponds to your Power Automate Flow.
- Set the Button Label to "Update”.
- Under Event, select "Execute action".
- Save the button.

It's as simple as double-clicking the button to trigger the external integration with Power Automate.

With these simple steps, you've now created a Power Automate Flow with an HTTP Request trigger and added a button to your iObeya board that will trigger the Flow. This allows you to automate your data management processes and make more informed decisions without leaving the iObeya platform.
Looking for more ?
- Do you want to learn more about this connector capabilities? Browse the iObeya connector documentation
- You are using another RPA/iPaaS platform than Power Automate? Browse the Facade API documentation to discover the API services used with Power Automate
- Interested to have an overview of the integration capabilities of the iObeya platform? Access the integrations page
If you have any questions or would like more information about using iObeya APIs for your business, please don't hesitate to contact us at integrations-support@iobeya.com.
Our team of experts is available to provide additional guidance and support, and can also offer personalized demonstrations of these powerful tools to help you get the most out of them. We look forward to hearing from you and helping you achieve your business goals with iObeya.
Type of integration
PowerAutomate Flow for PowerBI
Tags
Tools

