Configuring External Sources
Adding a New Source
Adding Your Source
Tip
Ensure that the connector you wish to use are enabled in the ADD-ONS section: Source connectors
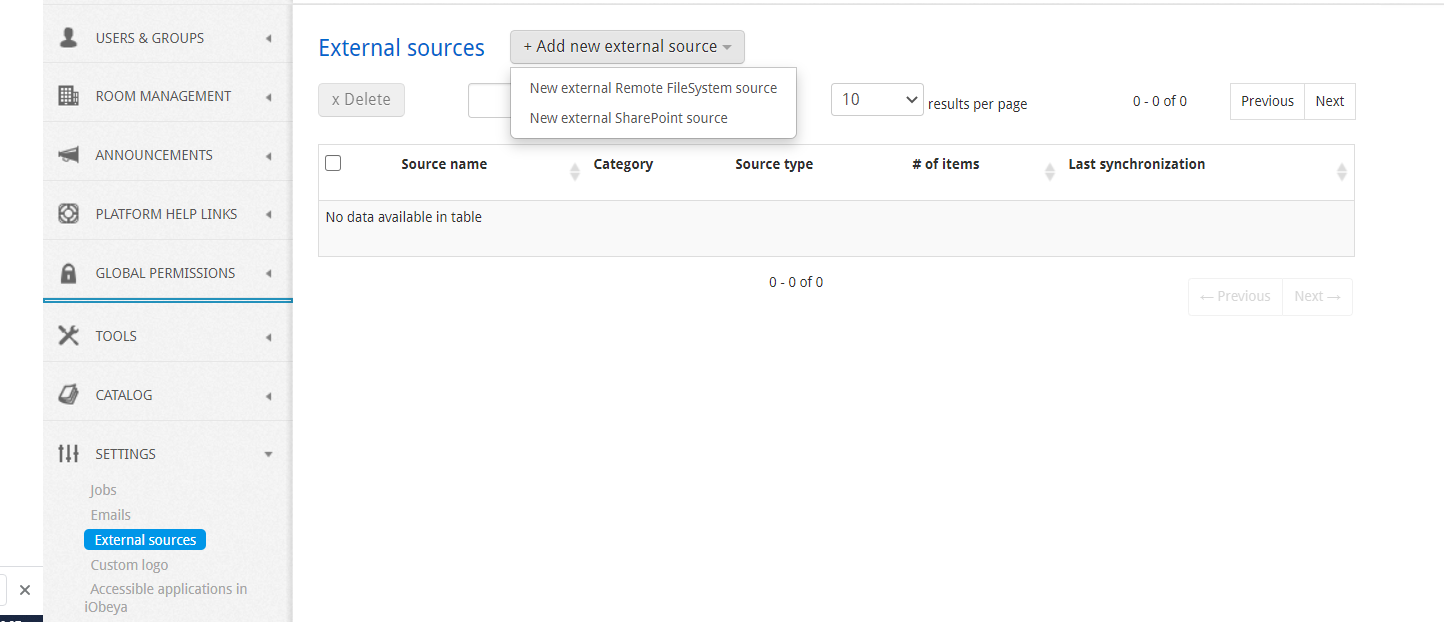
- Expand the SETTINGS section, then select External sources from the drop-down menu.
- Select Add new external source.
- Click New external SharePoint source.
Configuring the Source
Warning
iObeya currently only supports the following external file sources:
- Image libraries of SharePoint 2013 and 2016, both on-premise and on the cloud.
- Shared folders.
- Only .JPG and .PNG formats will work.
The first step to configure a remote file source is to create a name for the source. This name is a unique identifier for a source (if you delete a source, you can recreate this source using the same name).
The next step is to configure the specific calibration to access a source.
Configuring a SharePoint Source
Warning
Ensure that SharePoint is accessible through the iObeya server.
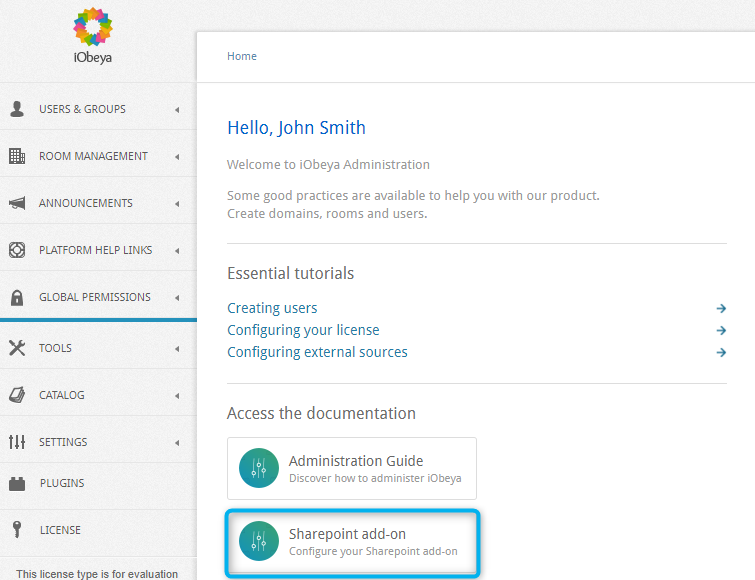
The sharepoint external sources are managed with an add-on that you need to install. The specific documentation is embeded with this add-on and is accessible from the home page of the Administration.
Configuring a Shared Folder Source
Warning
Only folders on the server are supported. This folder must be accessible through the iObeya server by the user who has launched the application server.
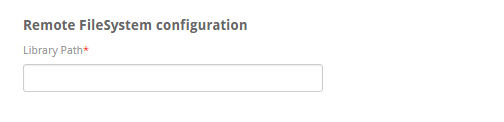
To configure a shared folder, the platform administrator simply has to provide the shared folder’s path.
Tip
In Unix environments, the folders you wish to use can be mounted on the server as shared folders, and access can be granted to them for users who have launched the application server.
A synchronization system can be used to synchronize a shared folder on the server with another folder that is not accessible directly by the server.
Configuring the Update Policy
Note
The DataSourceTasks job synchronizes iObeya with several defined sources.
There are two update policies available:
- Automatic
- Automated
- Manual
- Need user acknowledgment to generate an update in iObeya
Automatic Update Policy
If the platform administrator configures a source with automatic update policy, when the DataSourcetasks job runs, all modified resources within the external source will be updated automatically in iObeya, without requiring any action from the users.
In this case, the platform administrator can select an option to notify users of the automatic update, and can define the duration of the notification period.
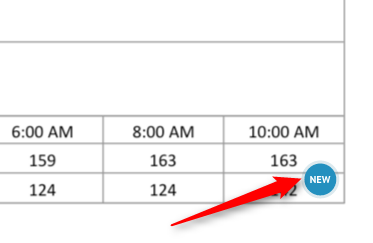
Manual Update Policy
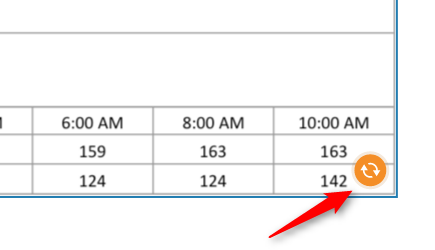
If the platform administrator configures a source with the manual update policy, an indicator will be displayed on the element that can be updated (because a more recent version of the file is available in the file source). The user must select the indicator to update the element.
Generic Parameters
There are two other parameters that can be defined:
- Synchronization interval
- Time, in seconds, between two synchronizations with the source (DataSourceTasks job takes this interval into account when launching the synchronization of an external source with iObeya).
- Maximum number of items
- This value sets the maximum number of items that can be synchronized with the source. If the source contains more than the max number of elements, only the first elements will be synchronized (an error will be displayed next to the source). Default value is set to the maximum value supported (1000 items).
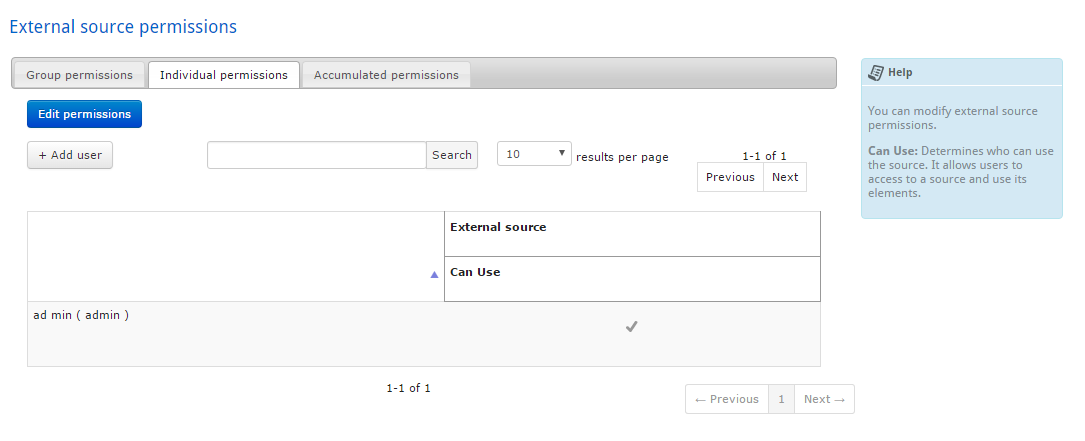
Granting Access to a Source
For each external file source, the platform administrator can define the list of users and groups that are allowed to use the data source.
Managing Your External Sources
Editing a Source
Warning
You cannot change the library path of an external source, so as to avoid synchronization problems. Platform administrators can only modify the source name and the update policy parameters.
- Select the source in the list.
- Select Edit.
- Modify values, then select Save.
Deleting a Source
Warning
If you delete a source, all images from this source that are being used in iObeya will be replaced by an error indicator. If the removal of a source can be foreseen, users should unlink these resources from the deleted source, and keep a local copy in iObeya.
- Select the source in the list.
- Select Delete.
Tip
To bulk delete sources, make a selection by checking boxes, then select Delete.