Customizing Your Platform
Introduction
This chapter explains how to customize your iObeya platform, and how to customize certain content that is provided to users from the administration interface.
As a platform administrator you will learn how to:
- Replace the default iObeya logo on the navigation bar.
- Modify the platform board background catalog.
- Publish information to your users using announcements.
- Communicate best practices using help links.
Customizing the Home Page Logo
Changing the Logo
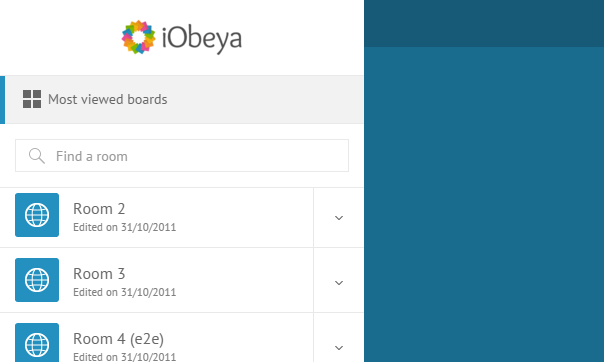
By default, the logo present at the top of of the navigation bar in the end-user interface is the iObeya logo.
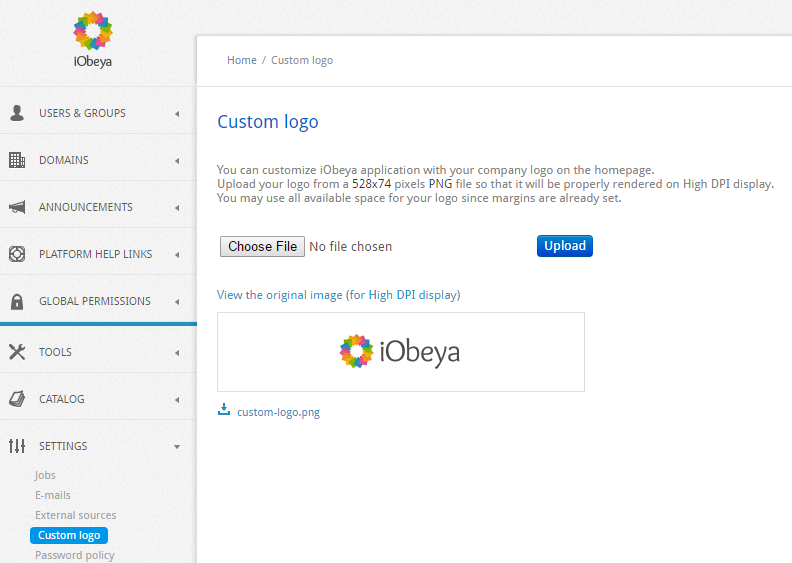
A platform administrator can change this image to their own custom logo. To modify the image, the platform administrator needs to upload a new image via the Custom logo section.
Warning
Be sure to respect the specified size of 528x74 pixels to ensure that the logo is correctly rendered in the global navigation bar.
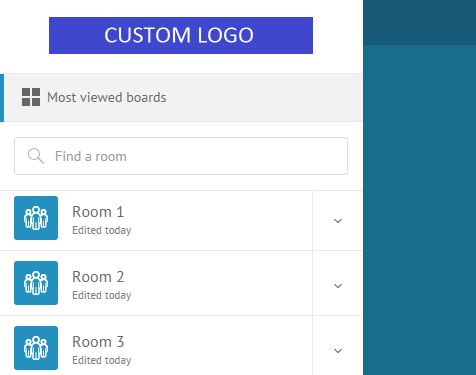
When the logo is uploaded, the custom logo is directly visible in the navigation bar of the end-user interface.
Restoring the Default Logo
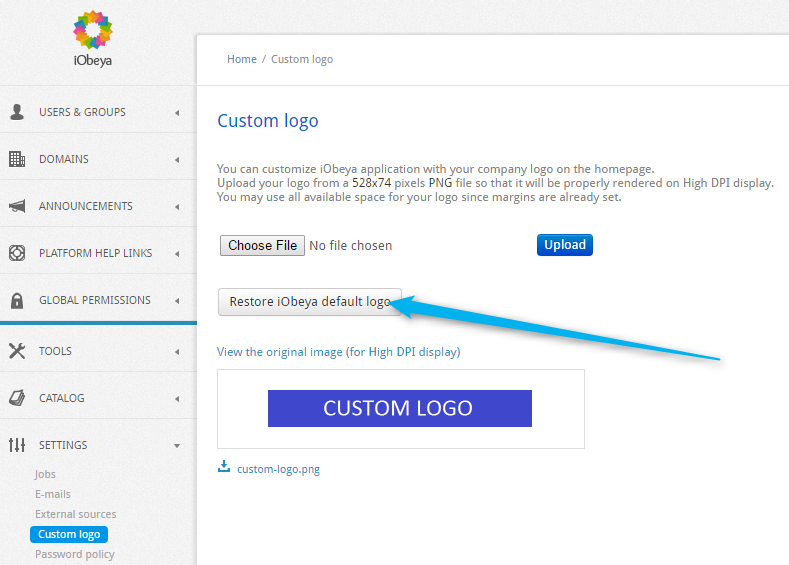
When a platform administrator has set a custom logo in the navigation bar of iObeya, a new button appears on the configuration page.
If the platform administrator wants to restore the iObeya default logo, they just simply select Restore.
Customizing the Backgrounds Catalog
Note
The 4A0 format is not yet supported in the backgrounds catalog.
Note that backgrounds are arranged into categories, and that for each background there is a standard version, and a 3A0 version (due to the board dimension ratios).
The custom background catalog feature allows a platform administrator to:
- Add/Edit/Delete a category.
- Enable/Disable a category, or a specific background in a category.
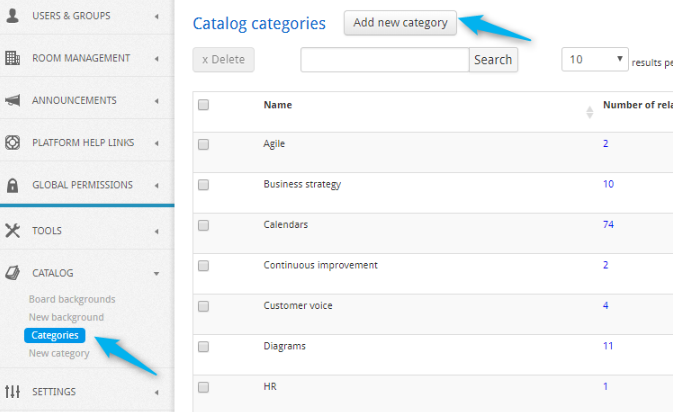
Adding a Category
Select Add new category on the Categories page, or select the New category submenu on the left-hand side of the administration interface.
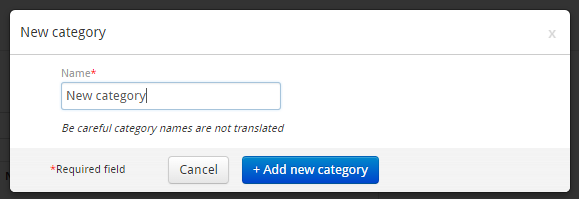
Define the Name of the new category.
Select Add new category.
Managing Categories
Editing a Category
- Move the cursor over the category to be edited.
- Select Edit.
- Change the name of the category, and confirm.
Deleting a Category
Warning
Deleting a category that contains backgrounds will automatically disable these backgrounds. It is also impossible to enable a background that does not belong to any category.
- Move the cursor over the category to be deleted.
- Select the Delete link, then confirm.
Tip
To bulk delete categories, make a selection by checking boxes, then click on Delete.
Creating a Board Background
From a room in iObeya, click a board.
From the contextual menu, click Download guidelines.
Click Download (ZIP).
Tip
You can also download the PowerPoint templates files from the Resource Center.
Use the provided assets and guidelines to create your own board background or modify an existing example.
Save your custom background as a picture: PNG file.
Note
For board formats bigger than 3A0, users will have to add their custom board background as a background image.
Adding a Board Background
Note
Added board backgrounds will be available for all platform users.
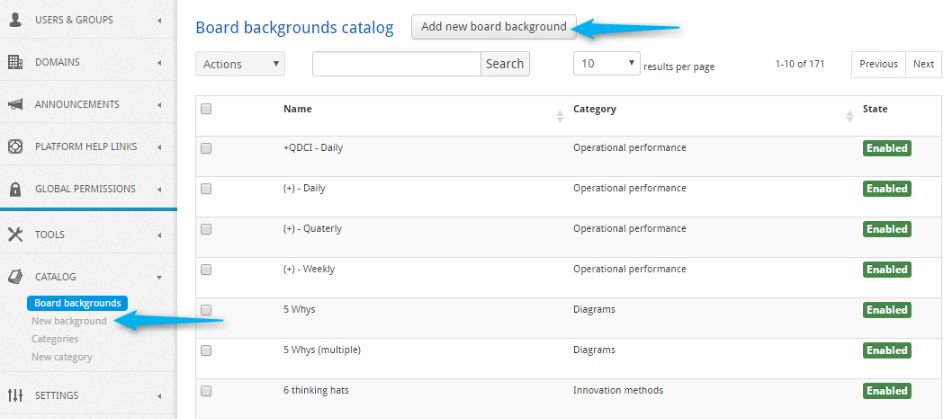
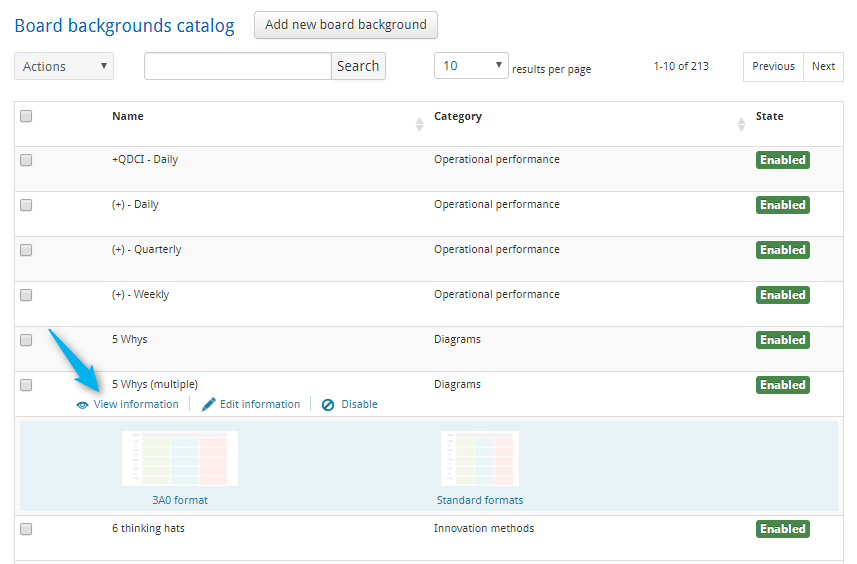
Select Board backgrounds in the CATALOG section of the left-hand side menu.
All the catalog backgrounds are displayed.
Select Add new board background, or on the New background menu.
Define the Name of your background.
Upload your background image through the 3A0 format (Triple A0 format) uploader, or through the standard background (Standard format) uploader, depending on the format used to create the template.
Select a category.
A new category can be created by completing out the blank field in the category list.
Select Add new board background.

Managing Board Backgrounds
Editing a Board Background
Move the cursor over the background.
Select the Edit information link.
Modify its name and/or select a category.
You can create a new category by completing out the blank field in the category list.
Select Save background.
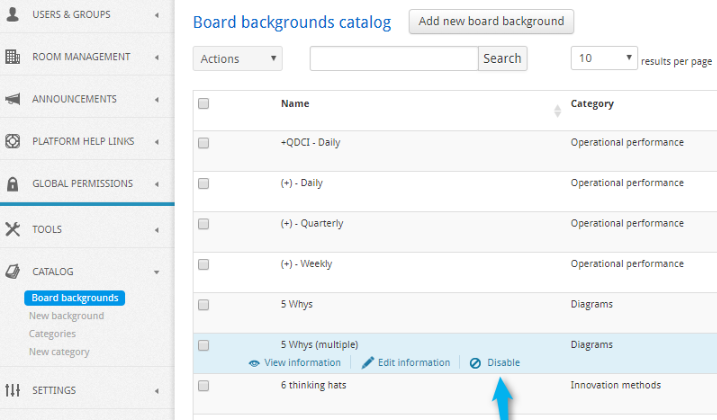
Enabling or Disabling Board Backgrounds
Move the cursor over the background to be disabled.
Select the Disable link.
The state is updated to Disabled. Users of the application no longer have access to this background when they browse the background catalog.
Note
Do the same to enable a disabled board background.
Tip
To bulk enable/disable board backgrounds, make a selection by checking boxes, then select the Actions list.
Previewing an Overview of Board Backgrounds
The different backgrounds can be previewed by clicking on View information when the mouse cursor is placed over a background.
Tip
Select the image to open it in a new tab in order to download it.
Publishing Announcements
Note
Required permissions: Platform (Can use + Administrate).
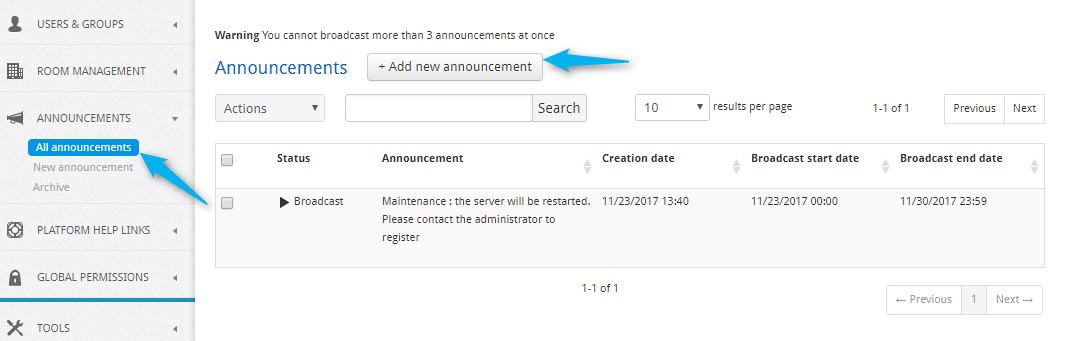
A platform administrator may need to communicate information to the users of the platform, for example, in case of maintenance operations. In order to do this, the platform administrator can use the ANNOUNCEMENTS feature in the administration interface.
Creating a New Announcement
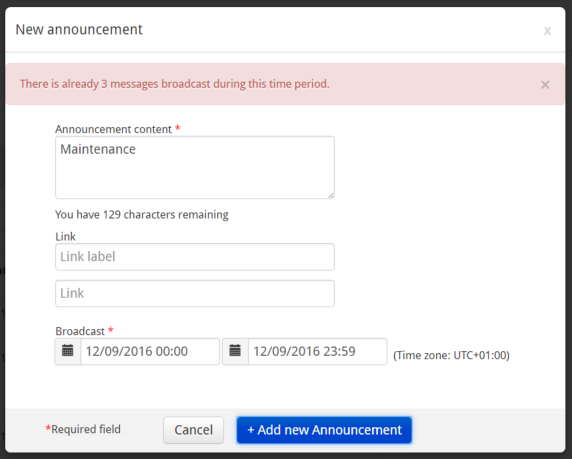
Select New announcement or All announcements, then select Add new announcement.
Define:
The announcement content that will be displayed on the welcome page. It cannot exceed 140 characters.
Optionally, a link can be added to the message. Complete the link fields accordingly:
- Link label
Name of the link
- Link
URL
The broadcast period, referring to the period during which the announcement will appear.
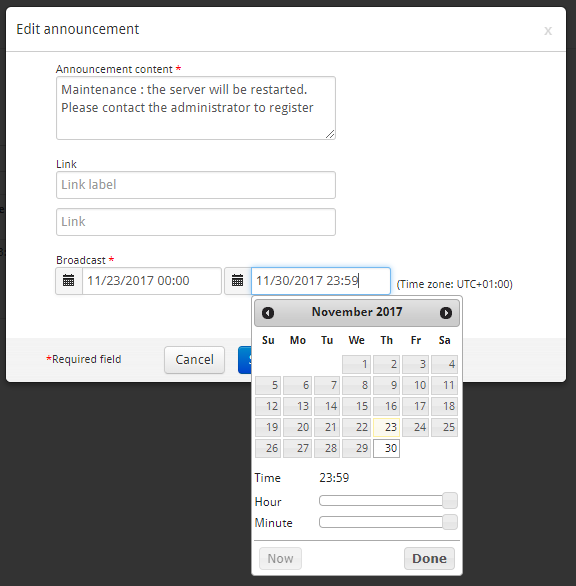
Select Save.
During the corresponding period, the message will be broadcast in the notification center.
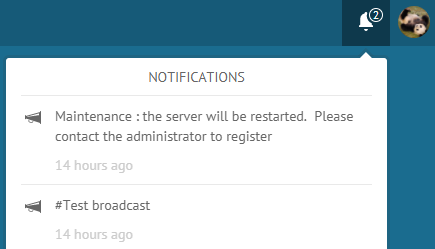
Warning
Pay attention to the selected period, as iObeya will not allow more than three simultaneous announcements at any one time, as illustrated below.
Managing Announcements
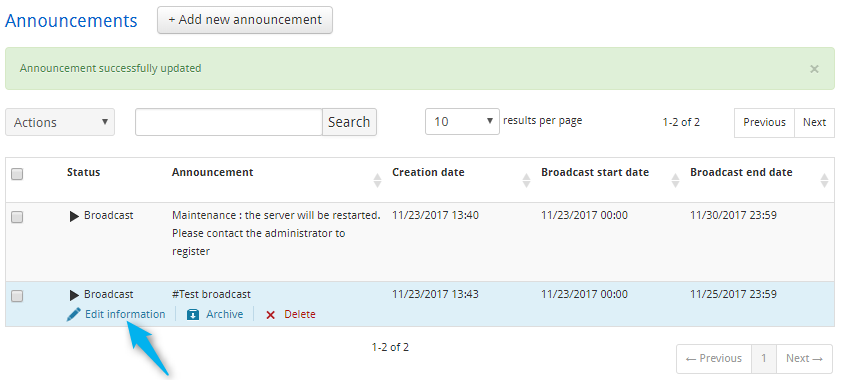
Finding a Specific Announcement
- Use text-based search containing any information referring to the previous announcement (e.g. content, period, etc.).
- Select Search.
Editing an Announcement
- Move the cursor over the announcement.
- Select Edit information.
- Make modifications, then select Save.
Deleting Announcements
- Move the cursor over the announcement.
- Select Delete.
- Confirm.
Tip
To bulk delete announcements, make a selection by checking boxes, then select Actions.
Archiving/Unarchiving Announcements
To keep track of old announcements, or to backup the content of a previous message, use the announcement archiving feature.
When the broadcast end date is past, the message will automatically be archived.
To manually archive an announcement:
- Move the cursor over the announcement.
- Select Archive.
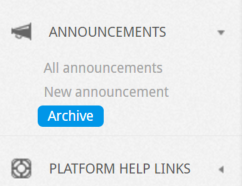
To access archived announcements, select Archive in the left-hand side menu.
To unarchive a message:
- Select Archive in the left-hand side menu.
- Move the cursor over the announcement.
- Select Unarchive.
Tip
To bulk archive/unarchive announcements, make a selection by checking boxes, then select the Actions list.
Publishing Platform Help Links
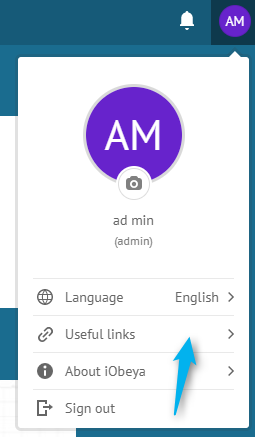
A platform administrator can provide help links to all users to aid them in using iObeya, by providing digital resources (e.g. documentation, templates, internal website URL, e-mailing list, etc…). These links are available to all users of the application by clicking on their user profile (icon with their initials in the top right-hand side corner of the screen), and selecting Useful links.
There are two types of help links: Platform and Domain. Any user will see platform help links, while domain help links will only be visible to users who access a room belonging to that domain.
Creating a New Platform Help Link
On the left-hand side menu of the administration interface, select the PLATFORM HELP LINKS section.
Either select New platform help link or All platform help links, then select Add new help link.
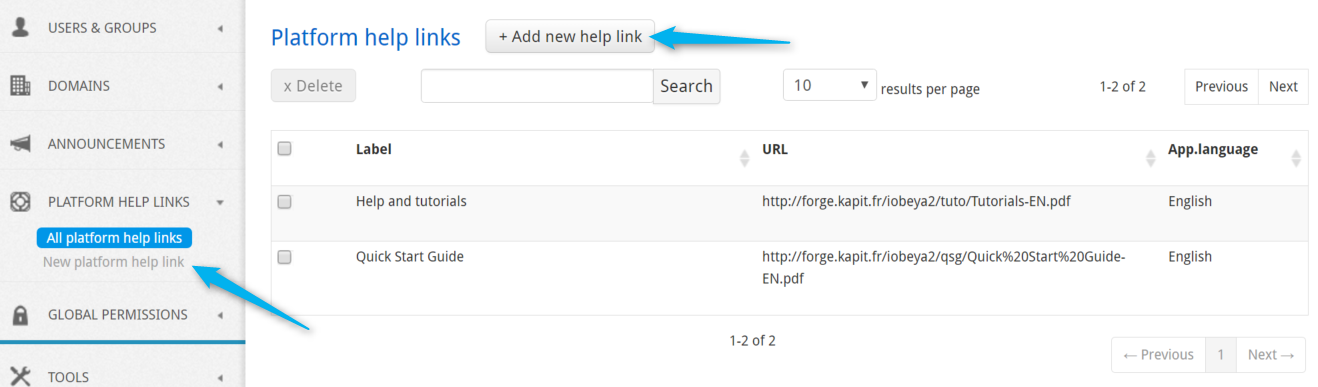
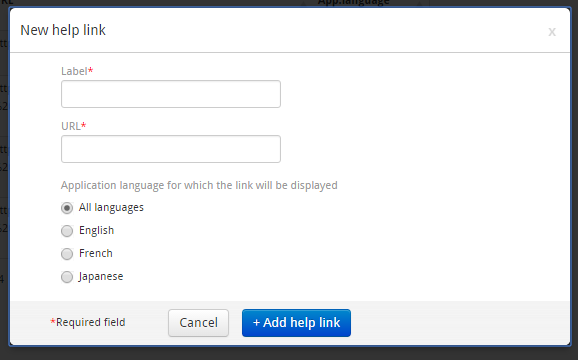
Define the label, the URL, and select the language, then select Add help link to create it.
Note
Users will only be able to see help links that are in the language they selected for the iObeya interface, as well as those documents designated as All languages.
Managing Platform Help Links
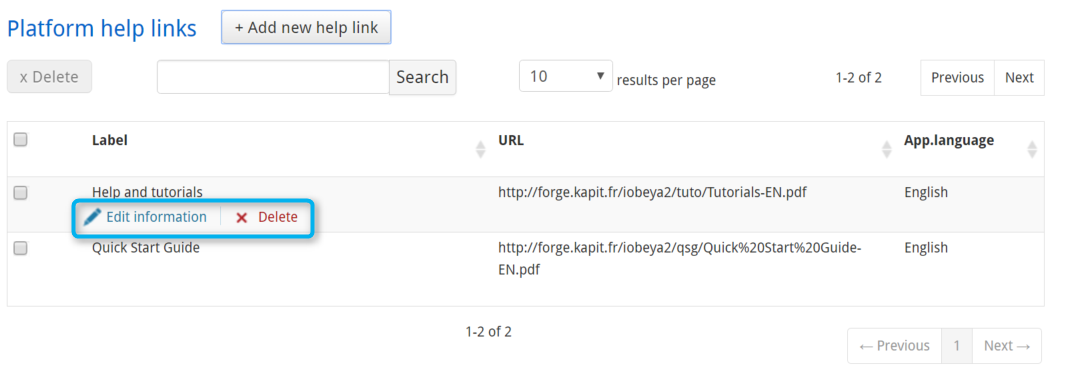
Editing a Platform Help Link
To edit a link, move your cursor over the link and select Edit information.
Deleting a Platform Help Link
To delete a link, move your cursor over the link and select Delete.
Tip
To bulk delete platform help links, make a selection by checking boxes, then select Delete.
Configuring External Sources
To use external images in iObeya, you can configure external sources.
If you use SharePoint, you can use the SharePoint Add-on.
If your images are stored on a servor:
- From the Administration platform, click SETTINGS ‣ External sources.
- Click Add a new external source.
- Select New external Remote FileSystem source.
- Fill in the Source name and the Library Path
- Select the Library update settings.
- Define:
- The Time after which the user will no longer receive an update indication in minutes, if you selected Notify users for update,
- The Synchronization interval in seconds,
- The Maximum number of items.
- Click Add a new source.